_____Stu's___Dungeon__
Joyful Honda
Treasure
Lesson Room Cabs
In the beginning
2
3 4 5
6 7 8
9
10 11
12 13 14
15
Jointer1
Jointer2
Router
Table1
Router Table 2
The Doors
Do
Pa
Give Me A Brake
Cyclone
Cyclone 2
Cyclone
3
Cyclone 4
Liquor
Shop Reno Tenjinsama Shrine Tree Tour
Beer Shelves
Wine Shelves
Five Cuts
Drill Press <NEW
DoPa 2007 <NEW
Turning
Jean Francious Escoulen
Eli Avisera Demo Day One
Eli Avisera Day Two
Lathe Stand!!
Turning
Roughing
It
Sharpening Station
Bowl Blank Processing
Captured Hollowing Rig
<NEW
Logging In Tokyo
Woodlot Woodlot
2006 Woodlot
3 Woodlot 4
Chainsaw Mill
Chainsaw
Mill Mk II
Lathe Stand MkII
I made a stand for my lathe out of some I-beam, I thought it
would be good and strong, it was,
but it was also remarkably flexible!
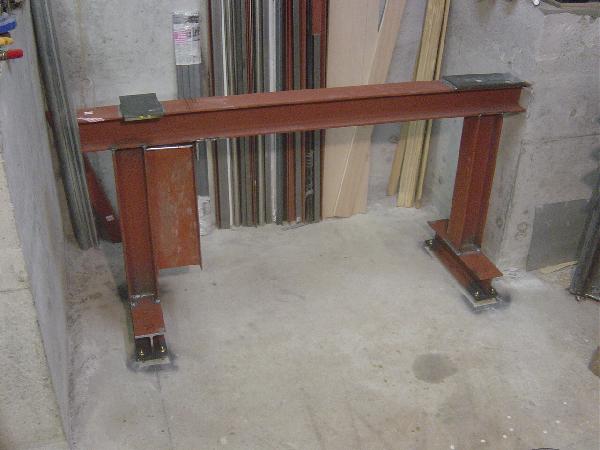
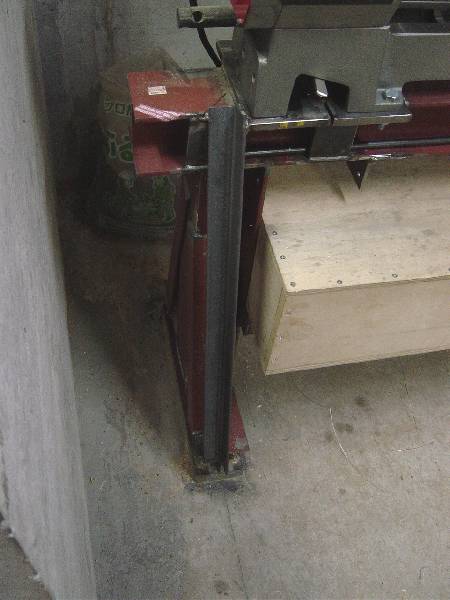
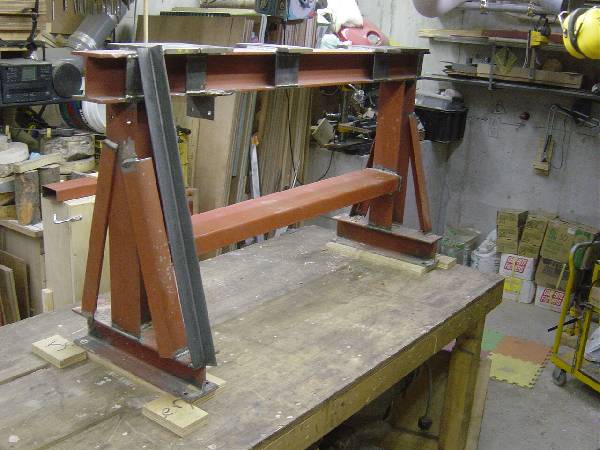
This is the stand I built in the beginning.
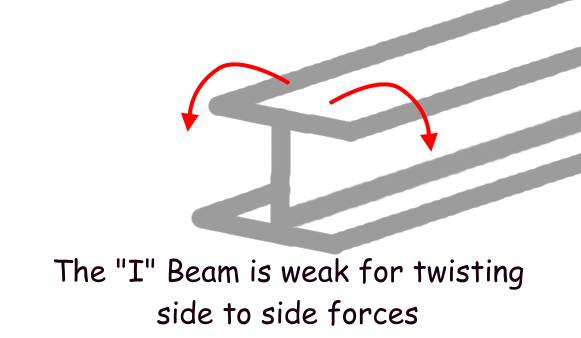
I did add some braces to the stand, and a box full of 80 kg of sand,
but, due to inherent side to side twisting of the I-beam, the stand was not good
and solid.
I also bolted the stand to the concrete floor, which transmitted
any sounds and vibrations to the whole building,
which was not good if I was trying to rough out a bowl at 2 AM......
I needed a new stand
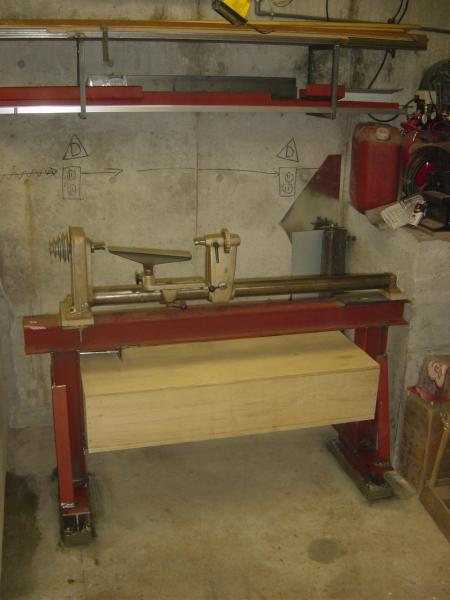
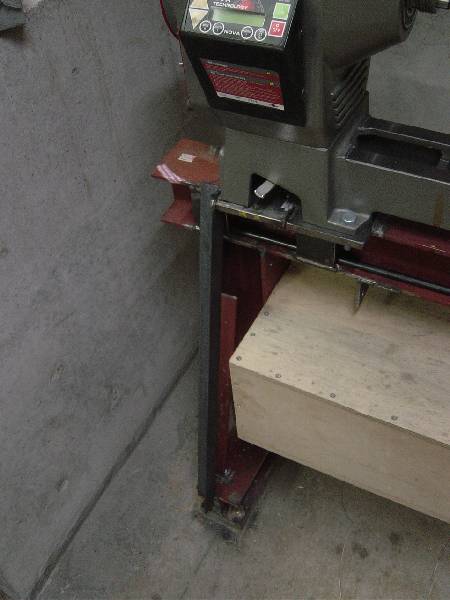
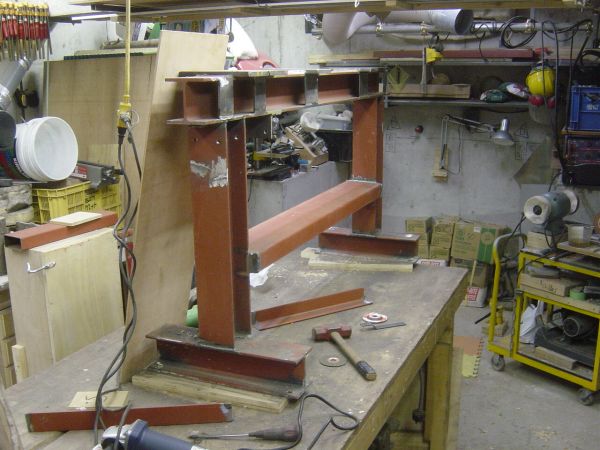
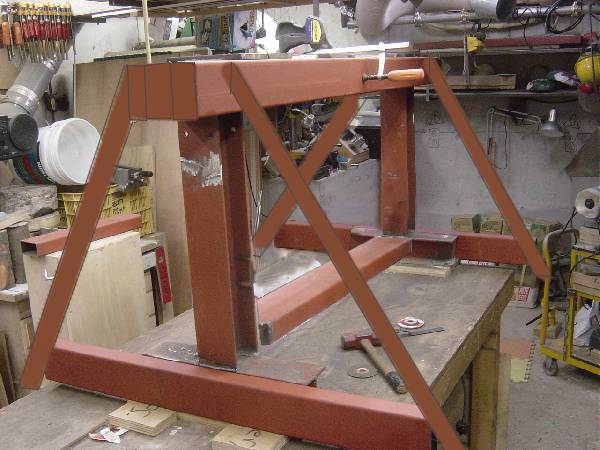
I first temporarily tacked a longer brace to the stand
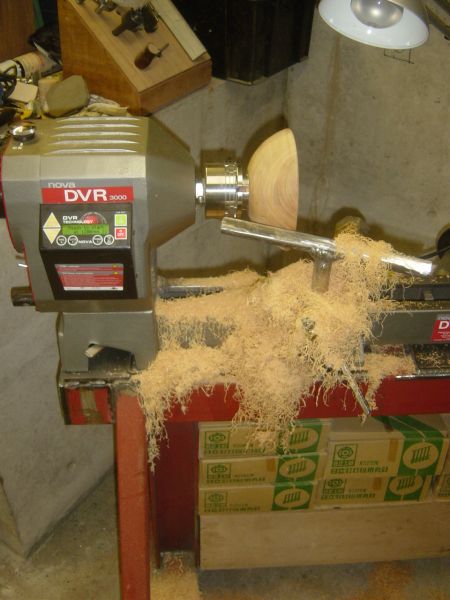
Here you can see the stand with the New DVR 3000 lathe mounted.
I tacked a piece of angle iron in place to see how it would stiffen up the
stand.
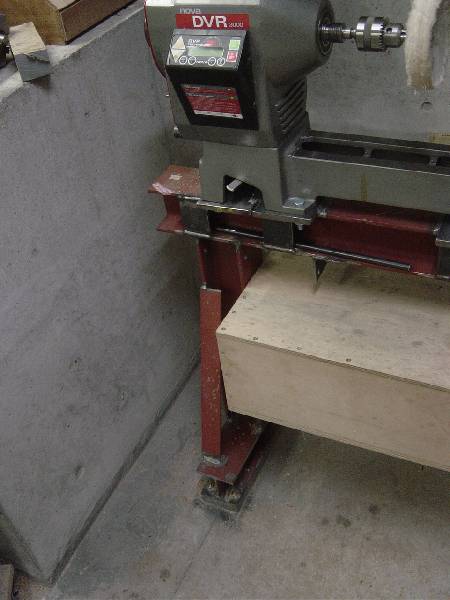
And another view. I found that the whole stand was much stiffer, which was good,
but I did not want to just do a "fix" I wanted it done for good.

I also want to make the stand wider, and stand alone, not bolted down to the
floor.
This is my idea to make it a lot wider.
.
Excuse the crude drawing, but this is the kind of thing I have in mind.
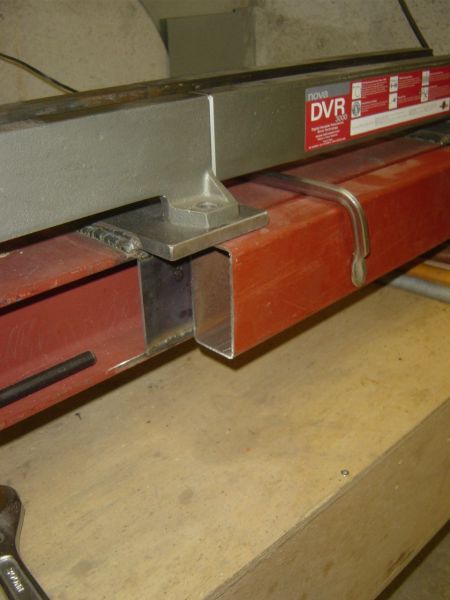
I'm going to box in the I-beam with some of this rectangular tubing,
I used this same stuff to make a stand for the jointer......
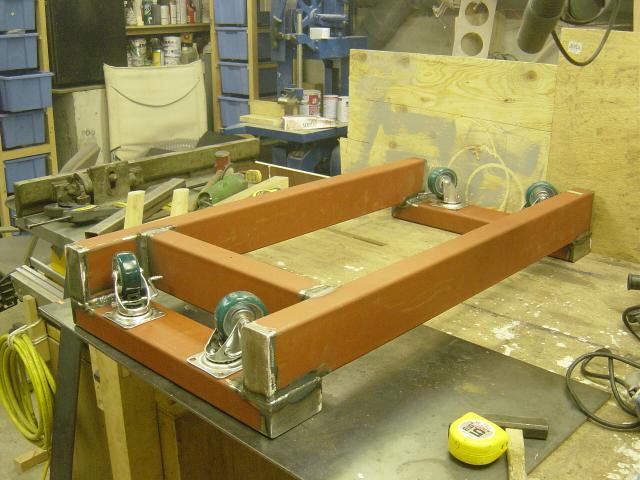
This stuff makes good stands
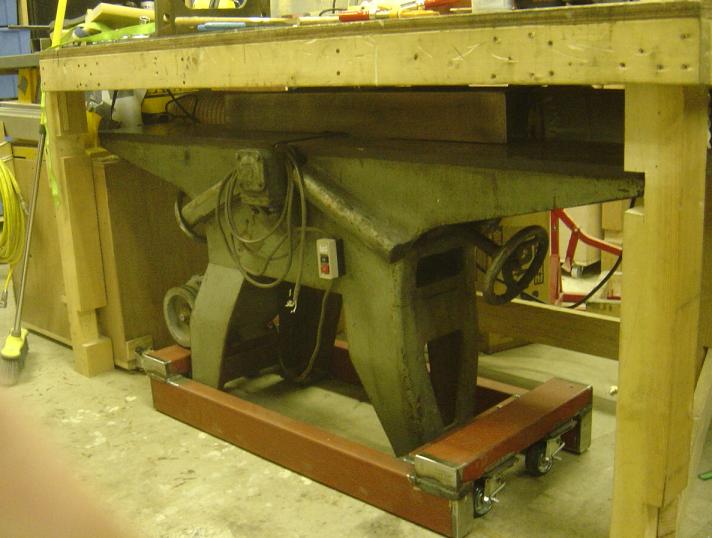
Good and solid.
I got this sucker up on the bench, boy it is heavy, but I'm going to add to
it....
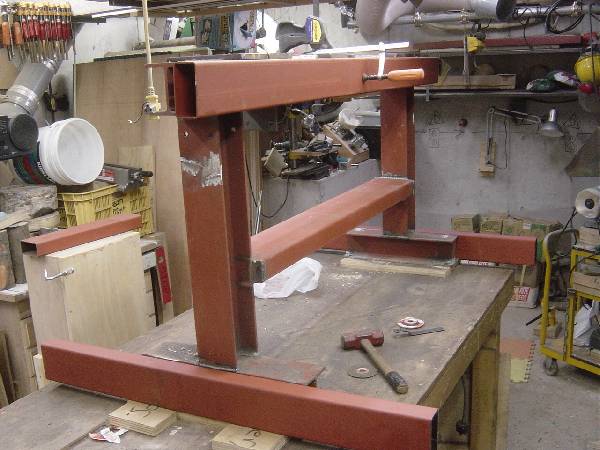
OK, I've gotten down to the basic stand, I removed the braces,
and now I'm going to box in the I-beam on on top, as well as make some feet that
are wider
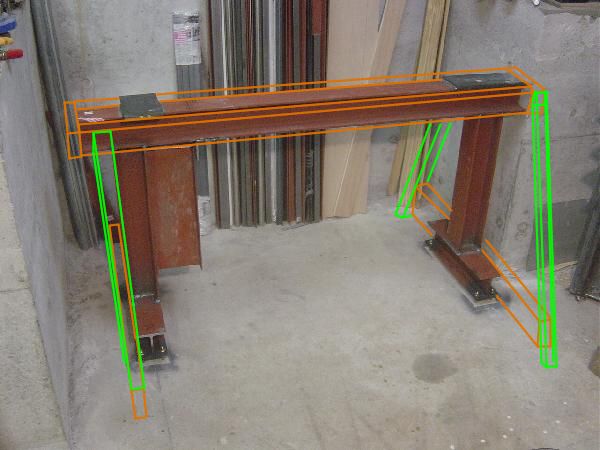
Here is a mock-up of what I want to do
With a bit of Photoshop added. I moved the sandbox support down lower, and I
made everything wider etc,
but the thing is I'm stuck for space, if I make the stand this size, I'll be
hitting the walls etc.

The space I'm using, I'll have to put the lathe on an angle to get it in there
and use the space best.
This pic has the tailstock and headstock ends with the feet the same length.

Here is a diagram with the tailstock end shorter. This should work.

This is a Vicmarc VL300, and it has a stand that is narrower on the tailstock
end.
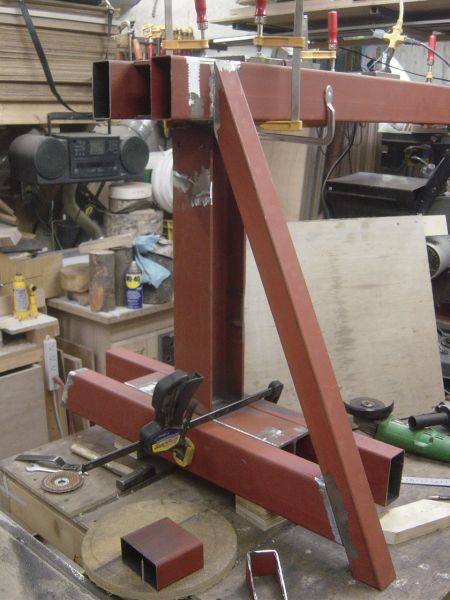
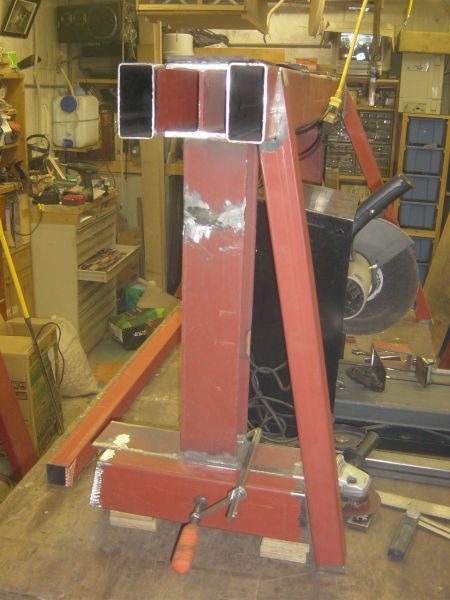
OK, this is the headstock end, of the stand, I'm just test fitting here,
preparing for welding.
I've tacked the pieces in place, time to burn some wire!

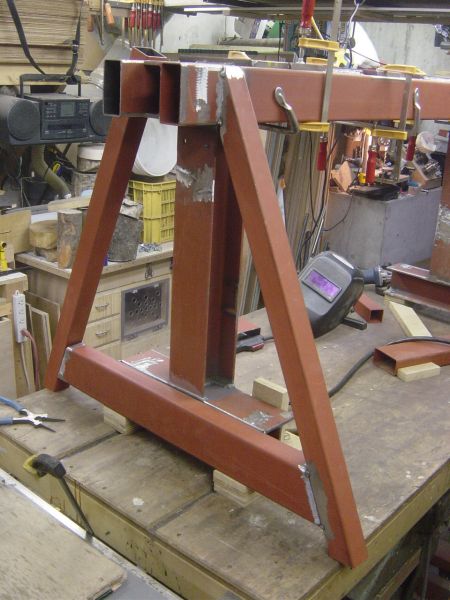
Yep, spent time standing in front of the artificial sun for a while, but it is
just about there, on this end!
On to the tailstock end
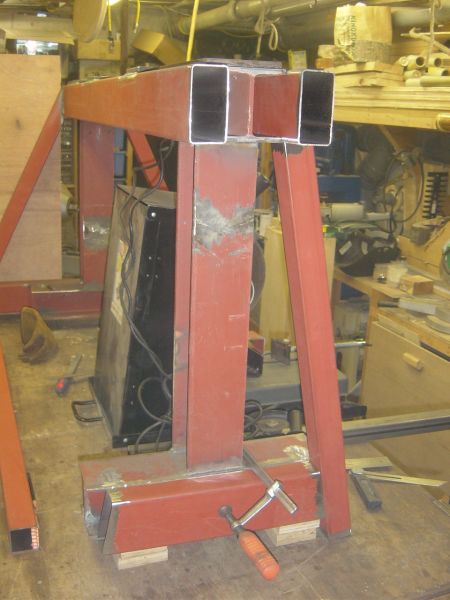
Just test fitting here, but I think you can see how it will be.
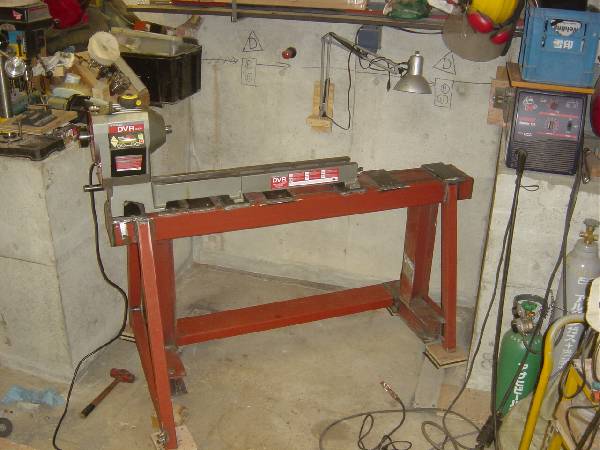
The stand is in place, and the lathe is on for a test fit.
I'll drill and tap holes into the mounting plates, to bolt it down.
![]()
OK all bolted down, I also put the tool rest holder and the tailstock in place.
![]()
I chucked up a bowl, that came out of the DNA bath, it is out of round and
wobbled badly, the stand was rock solid!
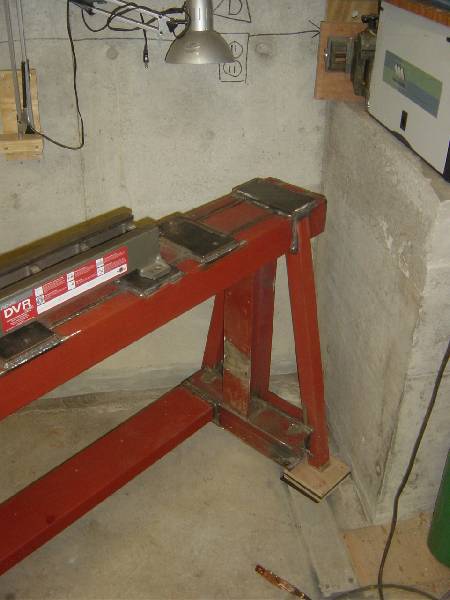
I set this up so I can add one bed extension, when I get one.

To further isolate the stand from the floor, I made up these isolation pads,
they seem to work.
Now I want to build an outboard tool rest, so when I turn the
headstock 90 degrees,
I'll be able to have a 21" swing over the stand, boy, that is some big
bowl!!
Maybe I'll even paint it...........?
OK, I got the last bits done...........

There is 100 Kg of sand in the sand box, a 25 Kg bag of cement and maybe another
50 kg or so of nails
I also made up a new tool rest, I like it very much!
Well that stand is ROCK solid, and runs smooth as silk, I was
finish turning a bowl on it,
and it was some HARD Red Keyaki, it was noisy, but even at 2 AM my lovely wife
did not call me on the interphone
to find out what I was doing, thus, mission accomplished!!
Cheers!