_____Stu's___Dungeon__
Joyful Honda
Treasure
Lesson Room Cabs
In the beginning
2
3 4 5
6 7 8
9
10 11
12 13 14
15
Jointer1
Jointer2
Router
Table1
Router Table 2
The Doors
Do
Pa
Give Me A Brake
Cyclone
Cyclone 2
Cyclone
3
Cyclone 4
Liquor
Shop Reno Tenjinsama Shrine Tree Tour
Beer Shelves
Wine Shelves
Five Cuts
Drill Press <NEW
DoPa 2007 <NEW
Turning
Jean Francious Escoulen
Eli Avisera Demo Day One
Eli Avisera Day Two
Lathe Stand!!
Turning
Roughing
It
Sharpening Station
Bowl Blank Processing
Captured Hollowing Rig
<NEW
Logging In Tokyo
Woodlot Woodlot
2006 Woodlot
3 Woodlot 4
Chainsaw Mill
Chainsaw
Mill Mk II
Chain Saw Mill
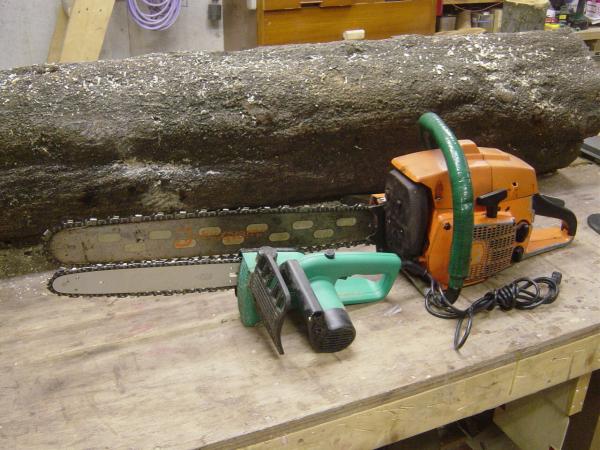
As you can see, this new (to me) Husky 185CD saw is quite the upgrade from the
small electric saw.
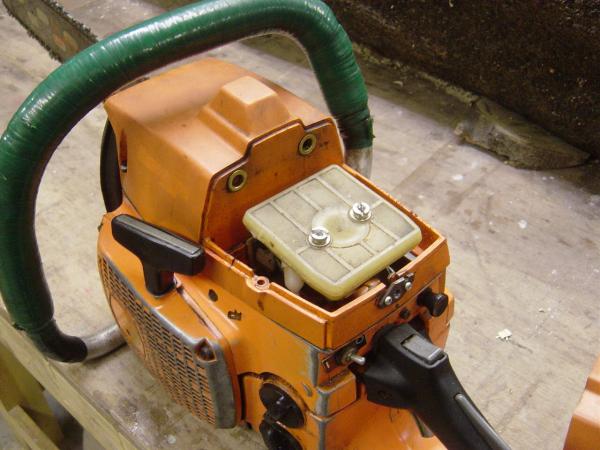
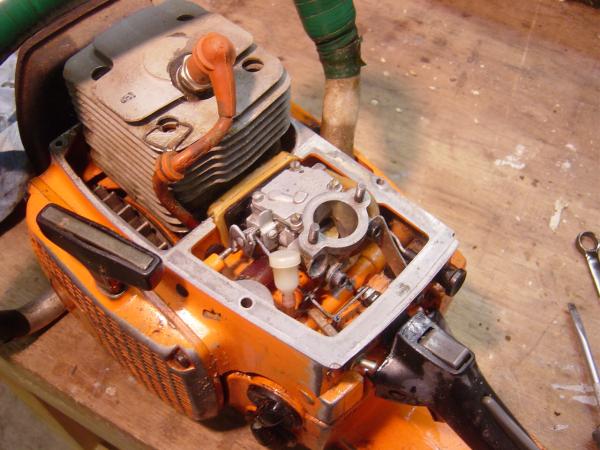
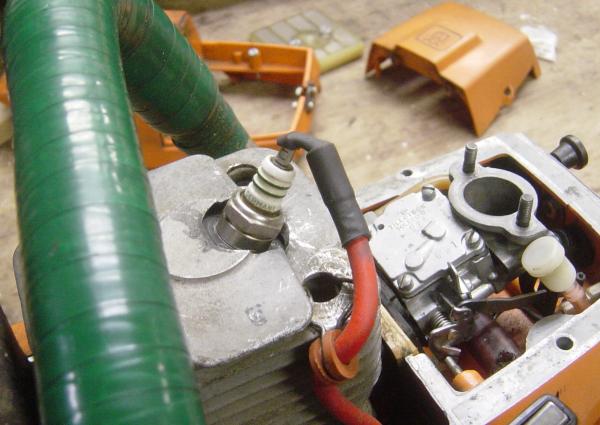
I wanted to see what kind of shape things were in, so I took off the top cover
and had a look around.
The air cleaner seems in good shape, I gave it a quick cleaning.
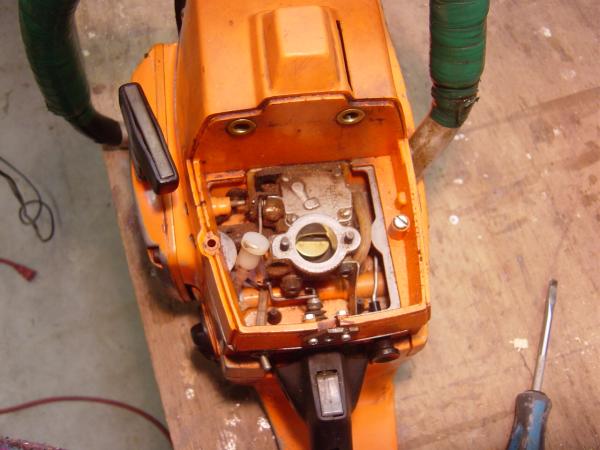
Around the carb was full of small sawdust, to be expected, I guess, so I cleaned
it out as well.
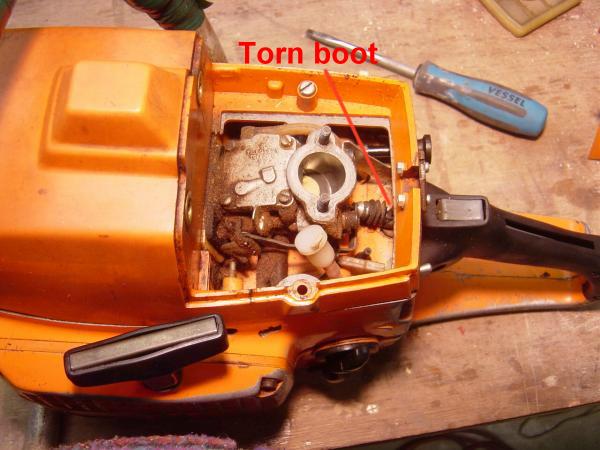
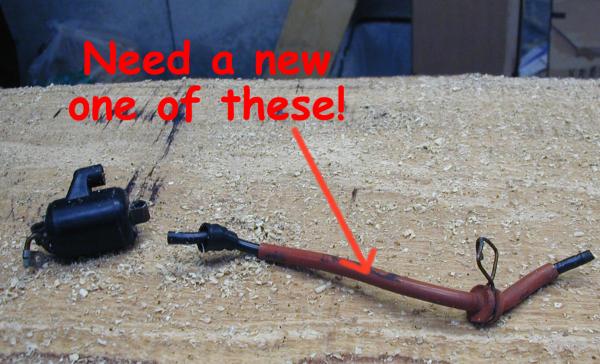
The only thing I noticed "Wrong" was the boot covering the throttle
cable is torn,
I don't think this is a big deal, I'll see if I can order a new boot.

Next I took off the head cover, and everything looked clean.
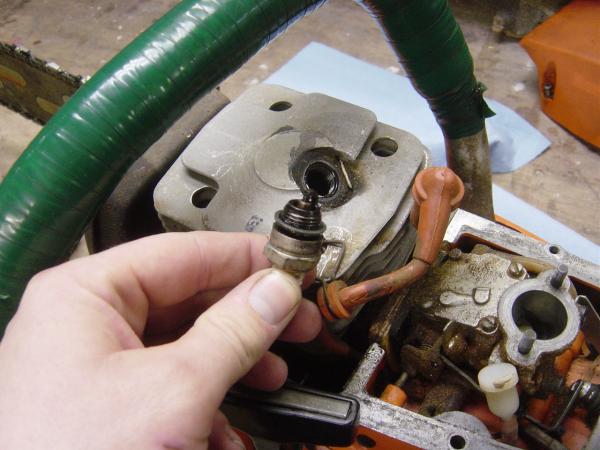
The sparkplug was fairly rich looking, black and oily,
but I'd only run the saw for about 30 seconds, so we will see.
A bit on the rich side is much better than the lean side for sure.
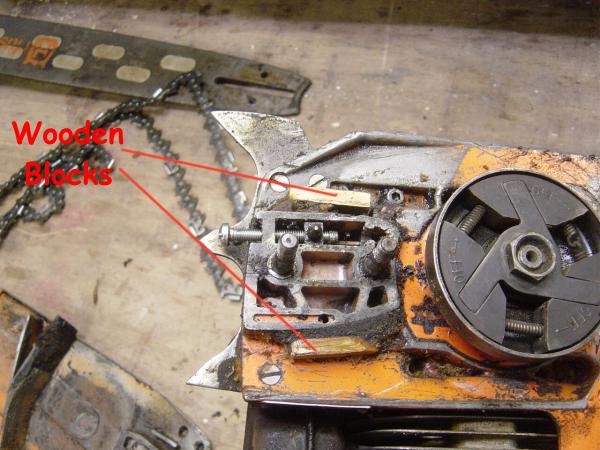
Next I took off the chain-bar and chain, as well as the side cover.
Of course it was fairly dirty here, but all very well lubed!!
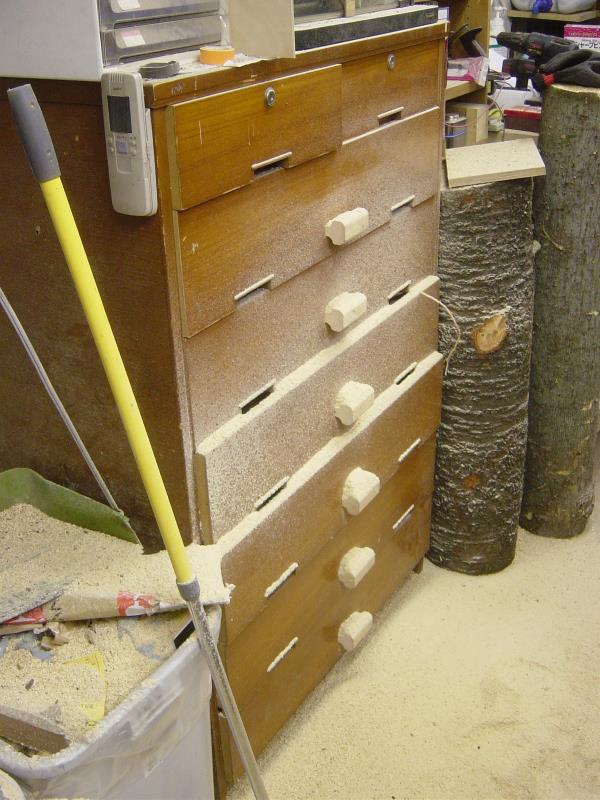
I did notice two wooden blocks that do not look stock, I guess someone added
them at some point?
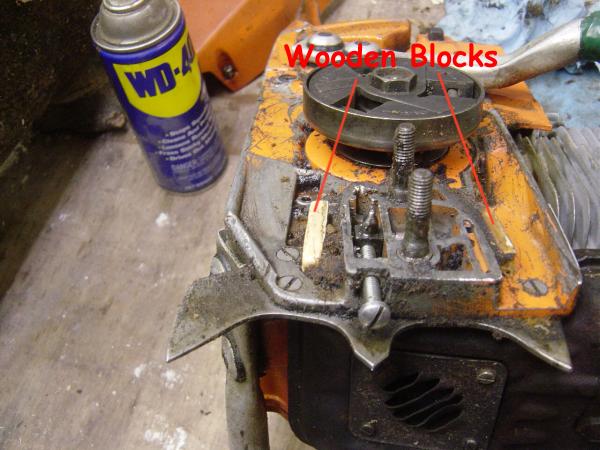
Another view of the wooden blocks
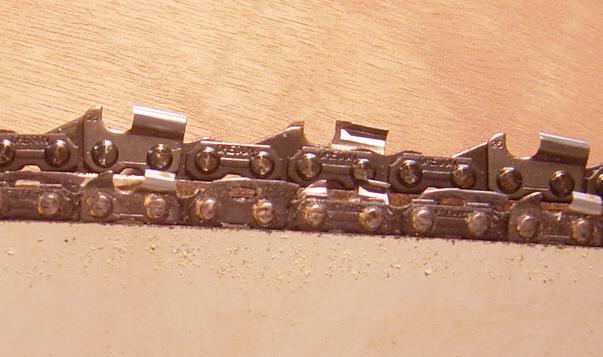
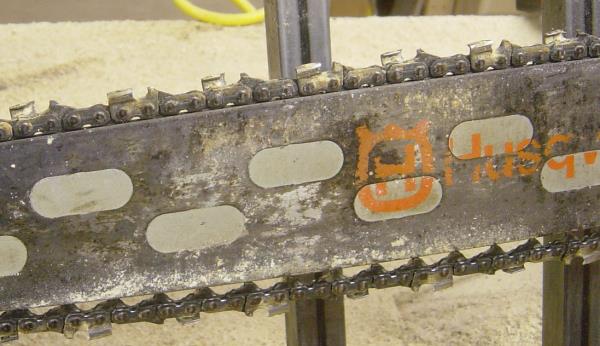
Here is a comparison of the two chains from both saws,
the little electric is in the front, The big Husky is in the rear.
I noticed the electric's chain is different, it has a full raker on each second
tooth.
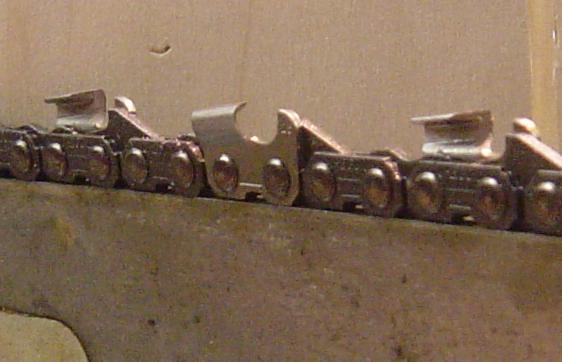
The teeth are nice and sharp, but they do not look like they were filed with a
round profile file.
Another view
I cleaned up around the carb, and lubed up everything.
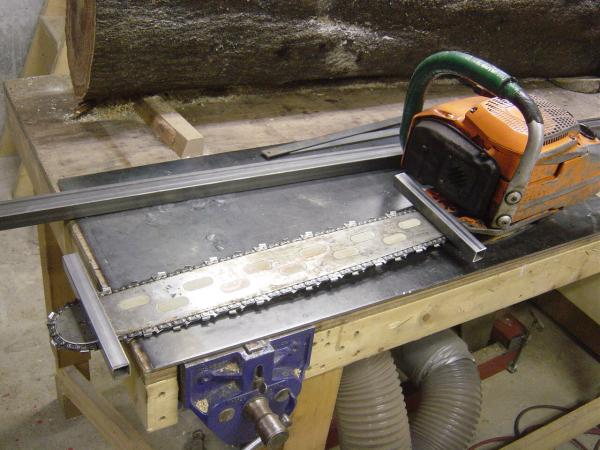
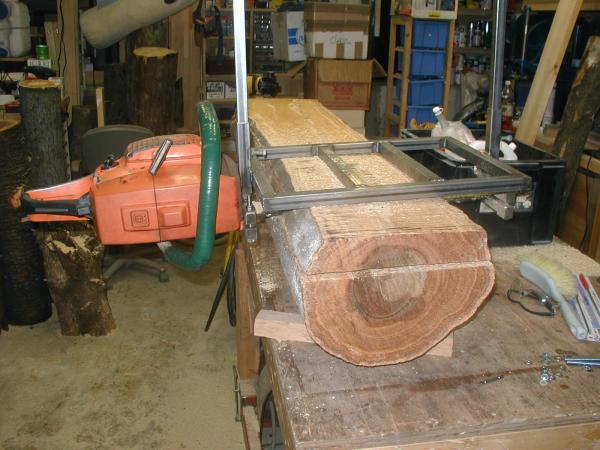
That is about the size of the chain saw mill I'm going to make, it will be about
50 cm or 20".
OK I got a good start this morning, 4 hours later I was making boards!
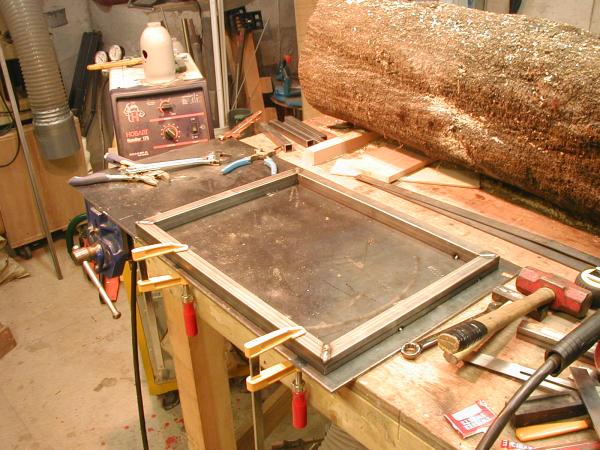
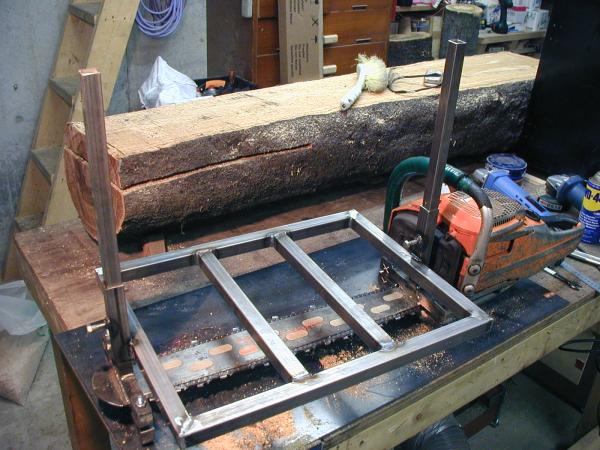
Here I am welding up the frame for the Chainsaw mill
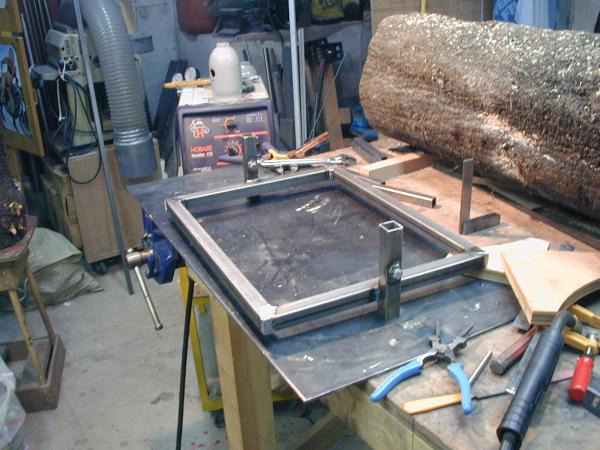
Here the guide tubes have been welded on
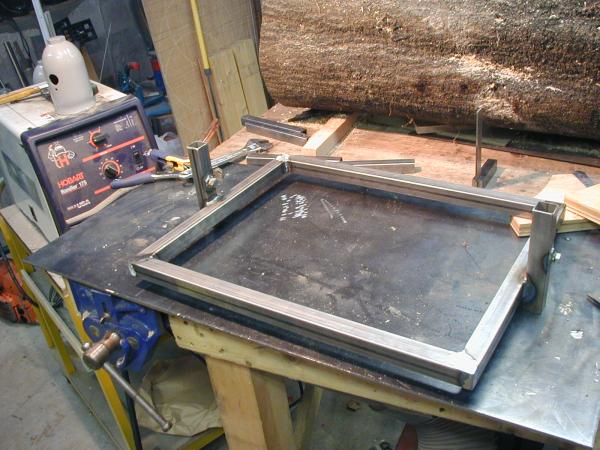
Another view
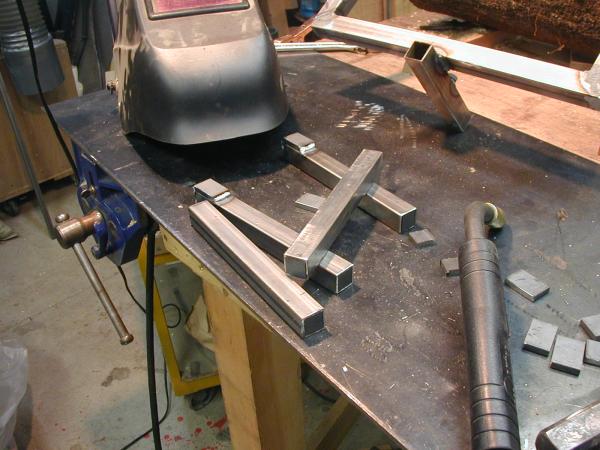
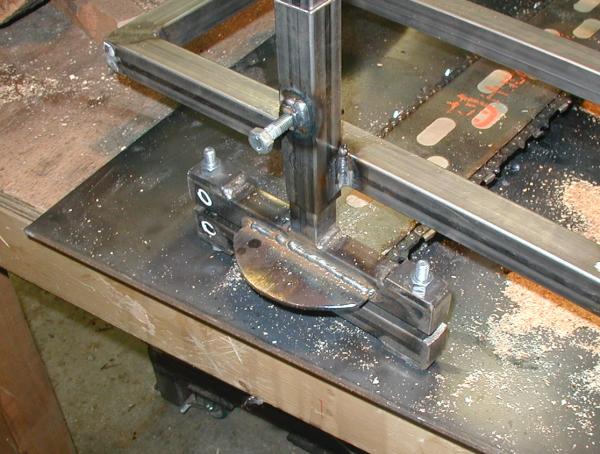
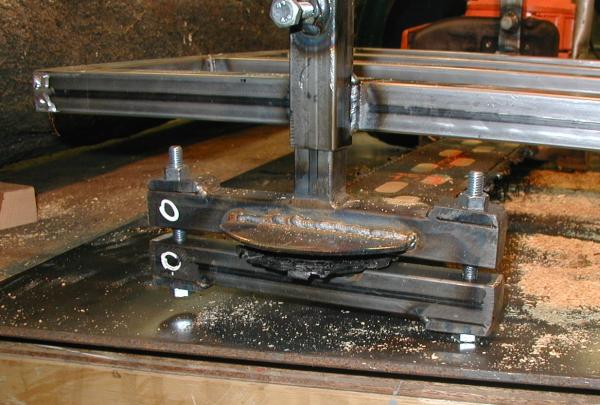
I will pinch the bar of the saw in two places, these four pieces of tubing will
be the clamps that do so.
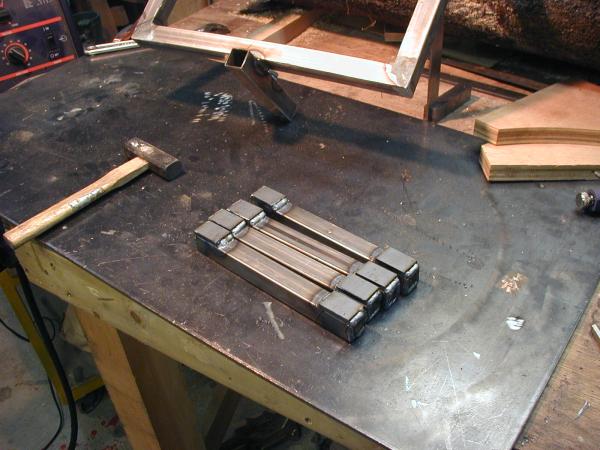
I put the extra bits on top so the tubes will resist being
crushed by the bolts that will go through them. The end pieces make it look
good, and and more strength to the tubes.
Two of these will then have another piece welded to them to make a "T"
that will go through the guide tubes on the sawmill frame.
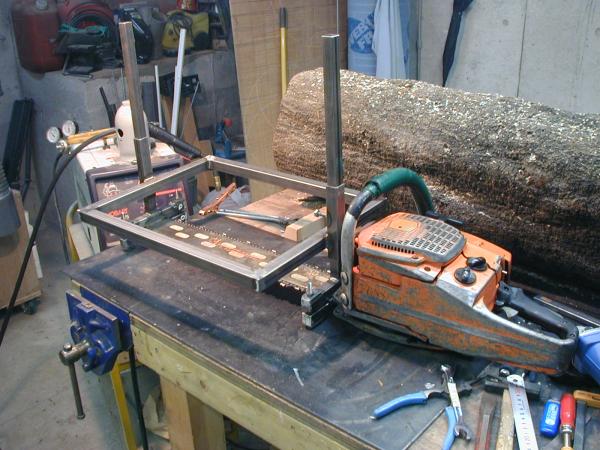
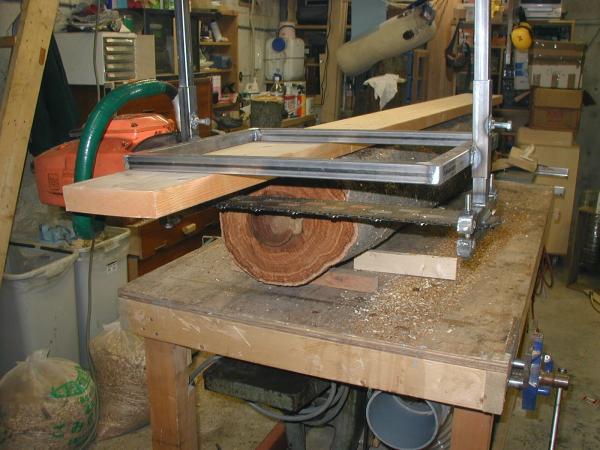
With the "Ts" welded up, I test fit everything
The frame rides on guide board, or the flat of the log to make a cut,
The depth of the cut (thickness of the slab) will be set by how far the chain is
from the sawmill frame.
![]()
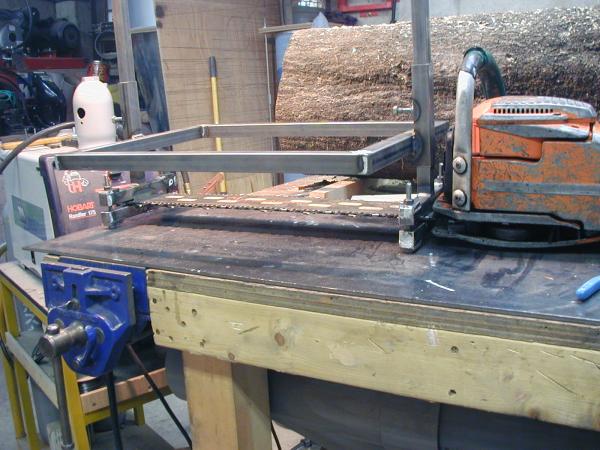
Here you can see the bar clamped in place,
and the spacers on the clamp to keep the chain from hitting steel.
![]()
Here is the tip, I'm going to make a guard for that bad boy!
Getting ready to fill the Dungeon with blue smoke
All set to rock and roll!
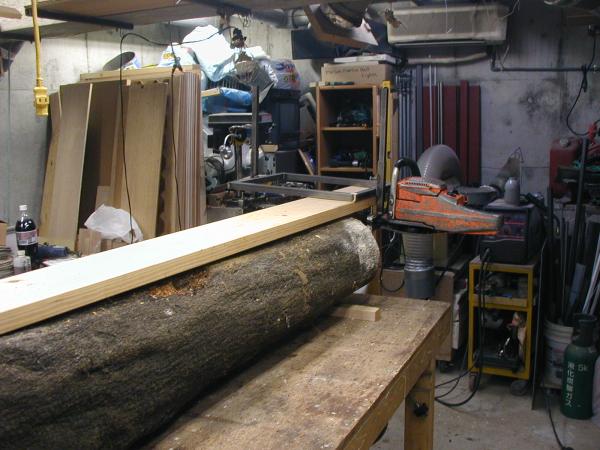
Done, man that saw can cut through some wood!!
Cut done.
I realize that I have to do a few more minor mods to the Chainsaw Mill, I'll do that and then get to the wood lot tomorrow morning and cut up some trees.............
.....or at least that "WAS" the plan....
I did some more tweaking the mill....
I added the two middle bars, and a tip guard as well...
makes me feel better knowing that is there.
I was doing this second cut and the saw died. I assumed (wrongly it turns out)
that I was out of gas.
The problem turns out to be one of no spark.
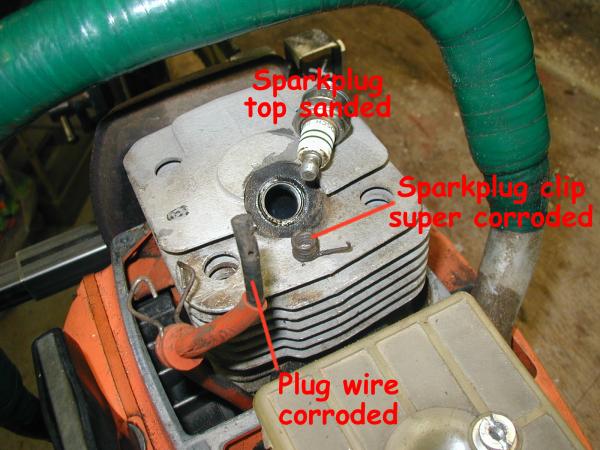
I'm in awe that the saw ran at all.
I did find out the Husky dealer is very close to me, only about a 15 minute
scooter ride!
To get at the coil and wire, I had to take off the magneto??
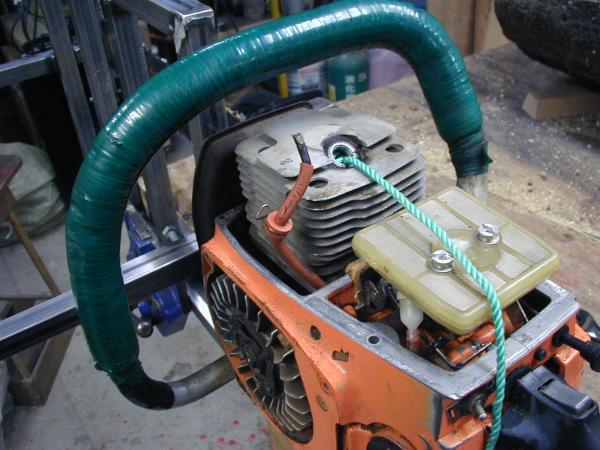
I did not have the proper tool to grip it while I undid the nut, so I used an old trick I learned fixing busted off road bikes. You feed in enough rope to stop the piston from moving up in it's cylinder, the nut came undone no problem!!
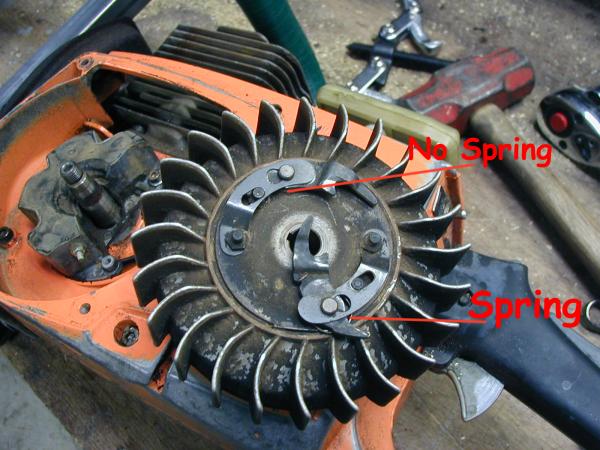
I also found out I am missing a spring
Well, I won't be sawing any lumber tomorrow, but I will be getting the saw parts ordered at the very least.
OK, now I'm finally in business, the saw is running!!!!
I made a sparkplug wire of my own out of some motorcycle stuff I had laying around.
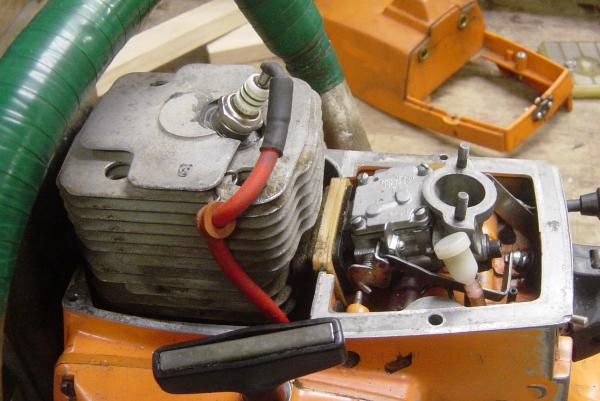
The bike wire is a lot thicker and I still have not been able to source a cap,
but I will get one
Another look.
After I got this done, I found out that the saw was not running well at all, actually it would often NOT run.
It
turns out the carb was in need of a really deep cleaning, so I got out the sonic
cleaner and super cleaned the carb,
and then, with some help from the guys at the Arborists site, I set up the
carb how is should be.
the saw is running very well now!
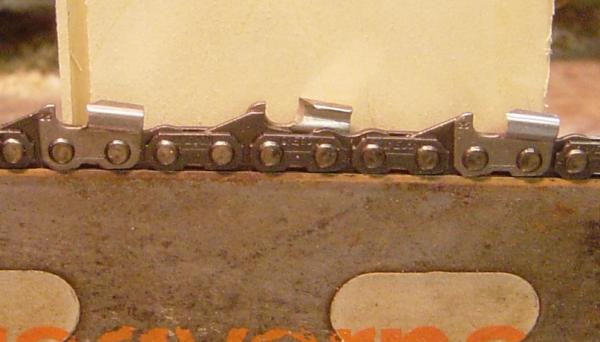
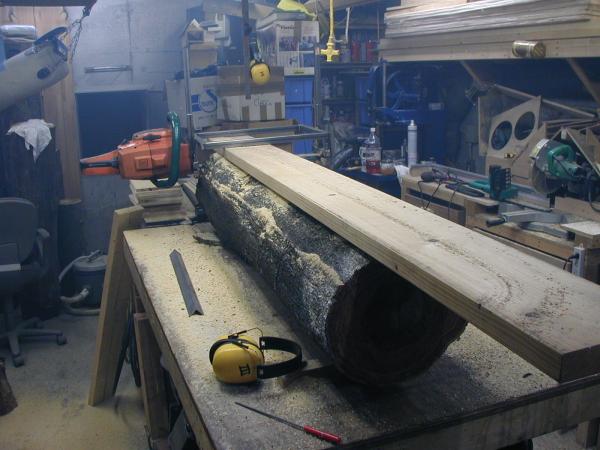
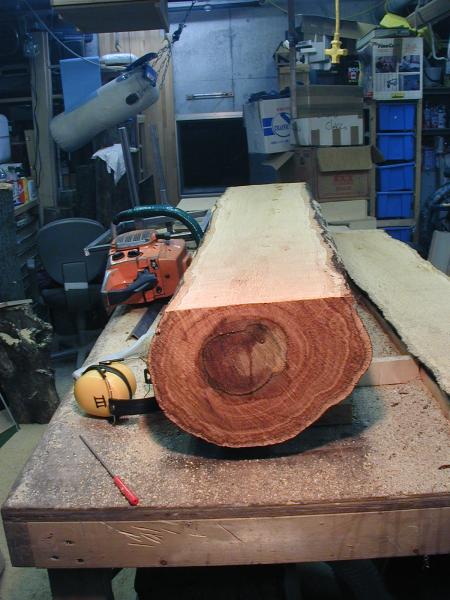
I finished slicing up that one big log......

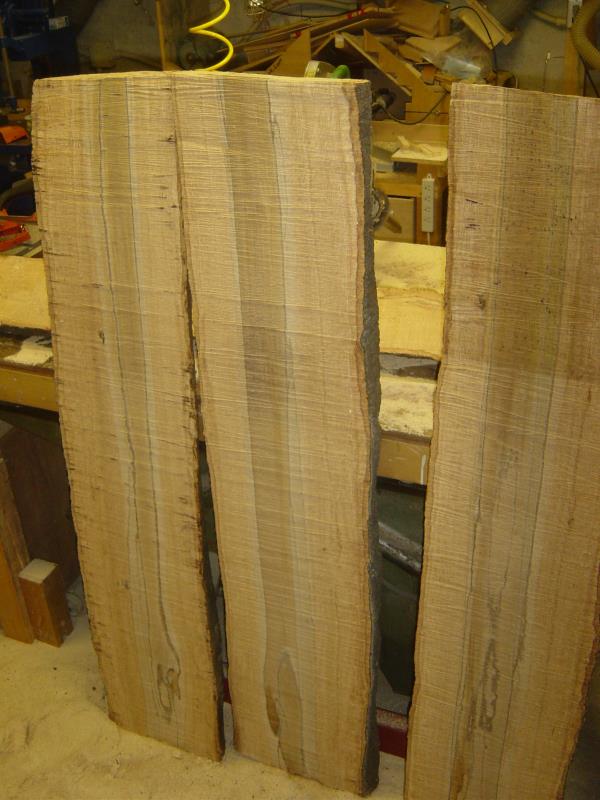
Dunno if this is good or bad, but that is how the chain looks now.
The Sakura is HARD wood, and the dust is not chunks, but dust, I'll have to
break out the file and try sharpening the chain again.
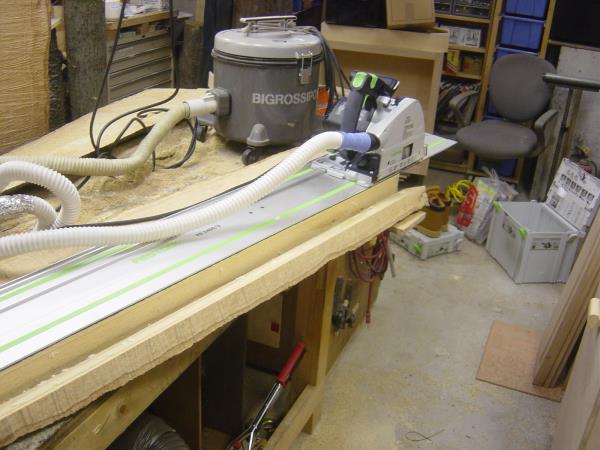
and then I broke out my newest toy, ah tool... to edge the boards.....
Chainsaw mills are best used outside.....
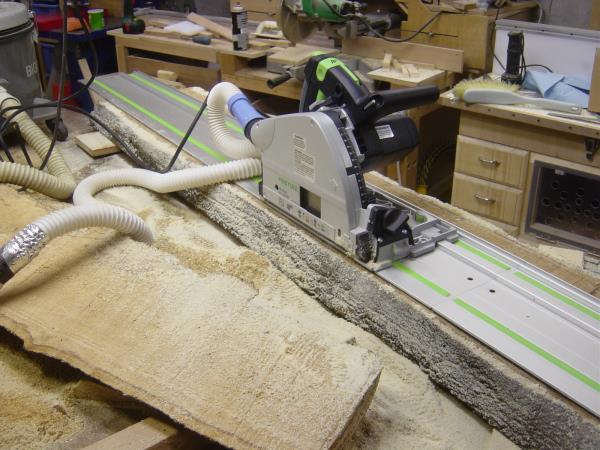
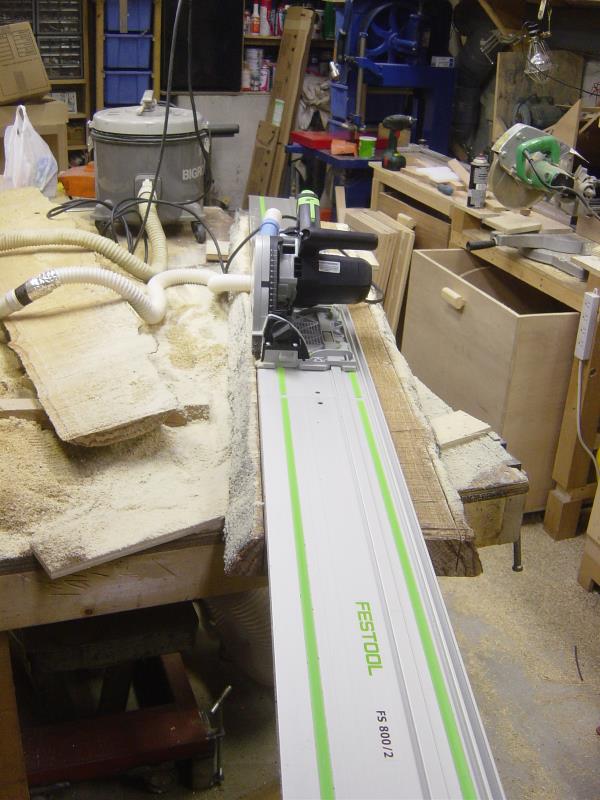
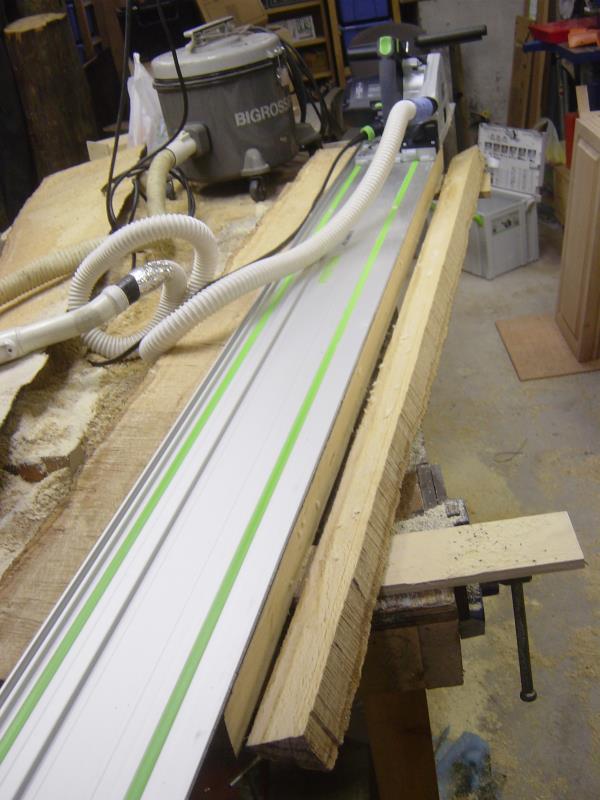
I guess the Panther ripping blade would have been better, but it worked just
fine.
The boards are 6 cm thick and the TS55 cuts 5.5 cm, so I had to flip the boards...
Off to the woodlot tomorrow to slab some logs!!