_____Stu's___Dungeon__
Joyful Honda
Treasure
Lesson Room Cabs
In the beginning
2
3 4 5
6 7 8
9
10 11
12 13 14
15
Jointer1
Jointer2
Router
Table1
Router Table 2
The Doors
Do
Pa
Give Me A Brake
Cyclone
Cyclone 2
Cyclone
3
Cyclone 4
Liquor
Shop Reno Tenjinsama Shrine Tree Tour
Beer Shelves
Wine Shelves
Five Cuts
Drill Press <NEW
DoPa 2007 <NEW
Turning
Jean Francious Escoulen
Eli Avisera Demo Day One
Eli Avisera Day Two
Lathe Stand!!
Turning
Roughing
It
Sharpening Station
Bowl Blank Processing
Captured Hollowing Rig
<NEW
Logging In Tokyo
Woodlot Woodlot
2006 Woodlot
3 Woodlot 4
Chainsaw Mill
Chainsaw
Mill Mk II
Treasure!!
One man's Junk is another man's treasure!!
So the saying goes. I've gotten in the habit of surfing the
net when I get stuck
in the liquor shop in the evenings. I often find myself on the Yahoo
auction pages,
Yahoo auction is the "E-Bay" of Japan.
Recently I got this toolbox full of tools....
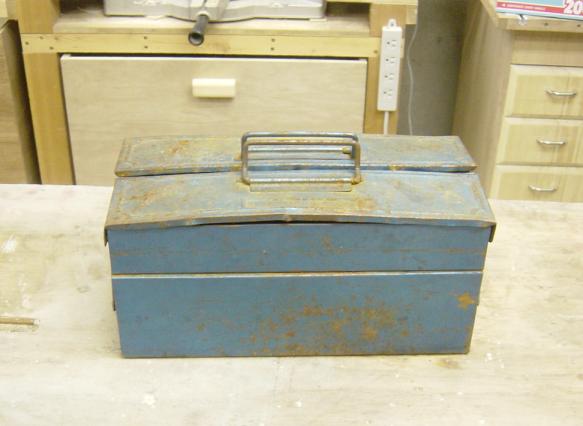
The tool box is not worth much, I might sand it down and let my
daughters paint it and keep it for themselves.
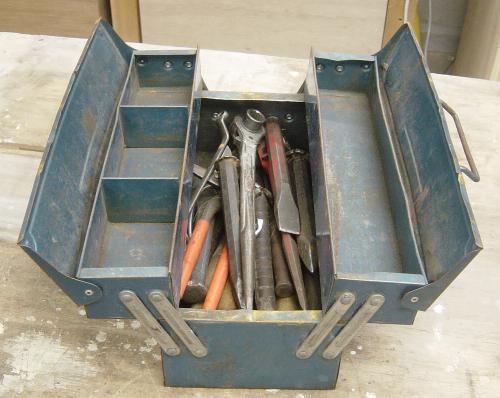
Open it up and there they are, not much to look at, but in amongst the rough,
there are a few gems...
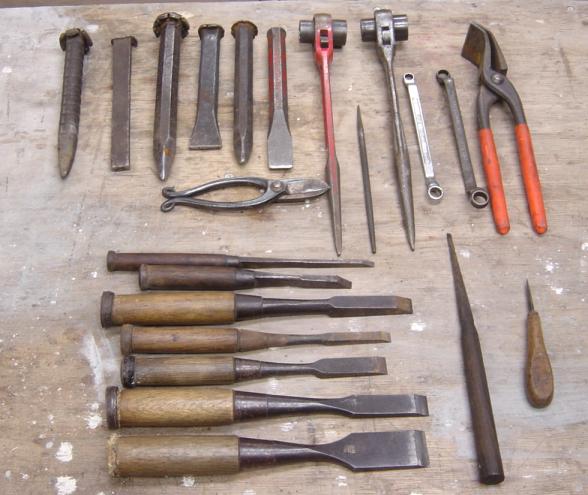
OK, I have seven wood chisels, one wood working tool that I'm not quite sure
what it is, a scratch awl,
four steel chisels, one re-bar chisel, one round (dull) file, two wrenches two scaffolding
wrench socket things,
one sheet metal bender pliers things (?) and a pair of garden sheers.
The main reason I picked up this set of tools was the wood working chisels, they are all mortising chisels, which means they are heavier and made for pounding. I've found it hard to get them here in Japan, the normal pairing chisels are easy to find, but these ones are not, and when you do they are expensive.
Including shipping, I paid less than $40 US for this haul.
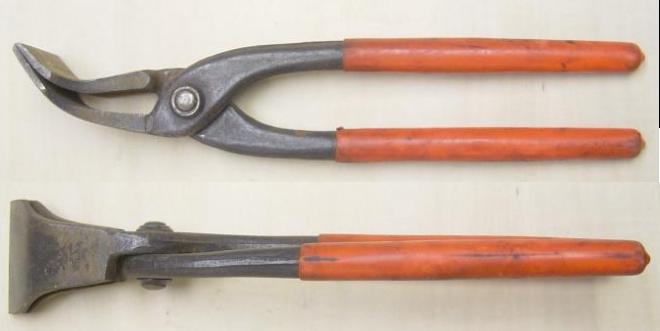
Here is the sheet metal tool, I think that is what it is anyways!
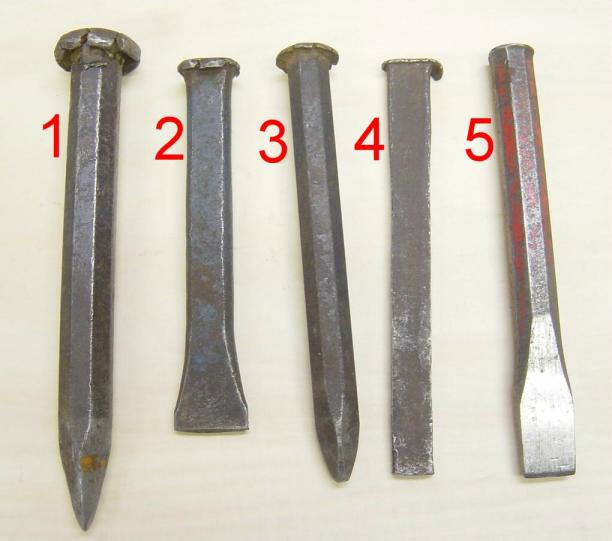
Here are the steel chisels, they are all in need of some TLC.
The heads all need to be ground down to get rid of the mushrooms, as this is not
a safe way to have a chisel.
The number 4 tools is not a chisel as much as a drift punch, it also looks like
it is hand made,
the steel looks very different from the rest.
No real "Gems" here, but they will all see good service I'm sure.
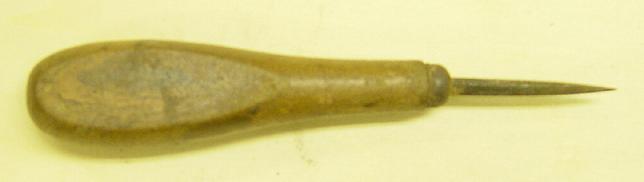
Just a nice little scratch awl, not much going on here,
but the steel tip sure seems to be a lot better steel than the last awl I bought
here.
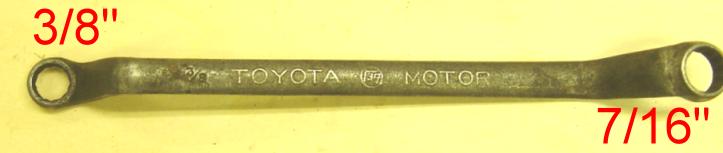
Now this might be worth something to someone,
as it is a Toyota Motor company wrench, that is NOT metric, but inches!!
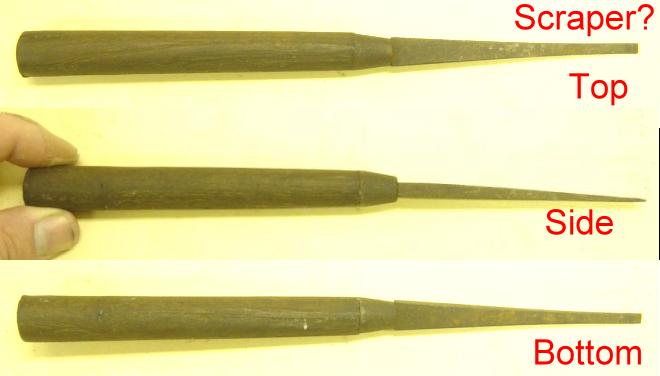
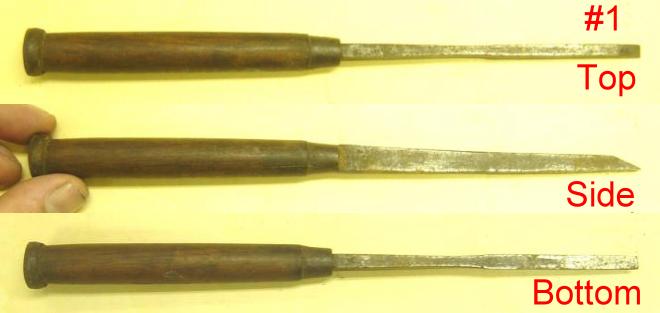
I'm not sure what this is, some kind of a clean up tool maybe,
the tip is pointed like a chisel, but the rest of the tool is not like any
chisel I've ever seen before.
Some rust, but it looks like it should clean up well.
This chisel is a mortising chisel, and it is only about 1/4" wide,
It is in OK shape, needs some TLC
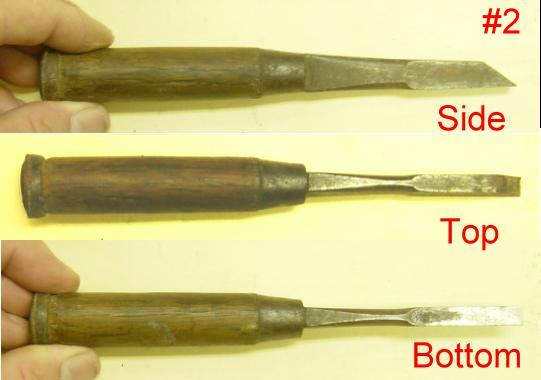
Another thin chisel that is thick top to bottom, should take a lot of abuse.
I suspect it has been used a lot, as it looks like is was a lot longer at some
time.
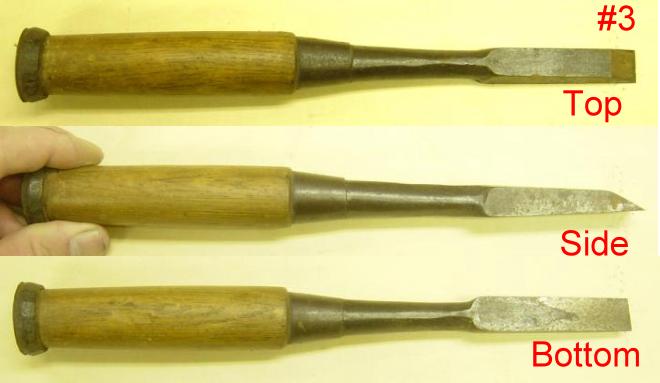
Another bit of a stubby, but it should also clean up nicely and be good for
work.
This one is a bit longer than the last one, but also thinner.
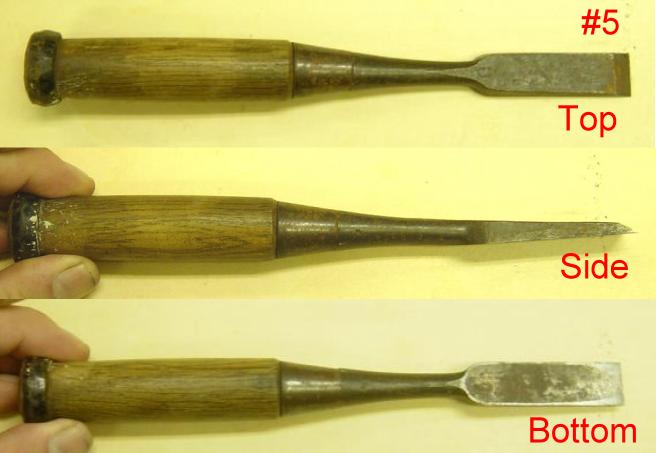
Now this chisel is in fairly good shape, looks like it was sharpened in the not
too distant past.
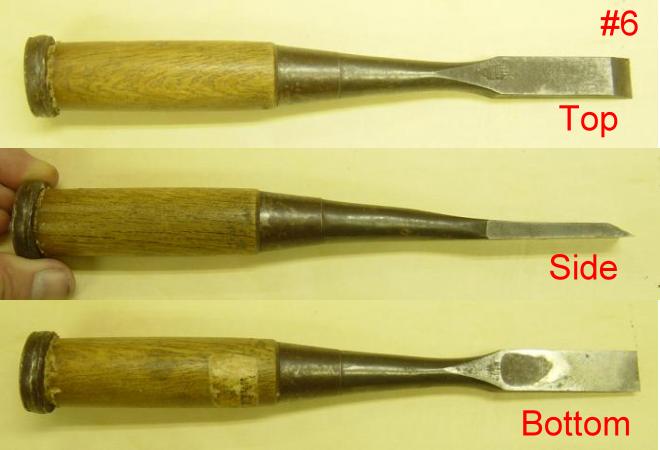
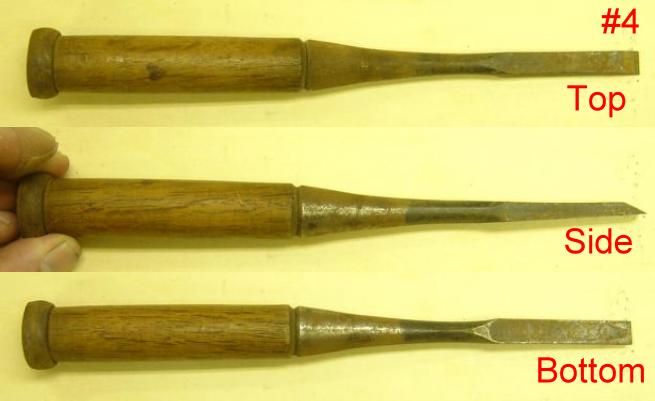
Getting wider now, maybe 3/4", again, a bit of a stubby,
but lots of work left in it, needs some handle work too.
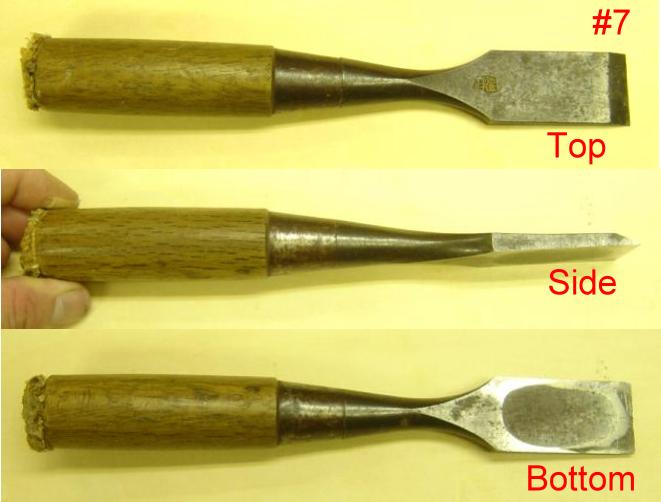
This one is nearly an inch wide, and in very good shape, but the handle needs
some work.
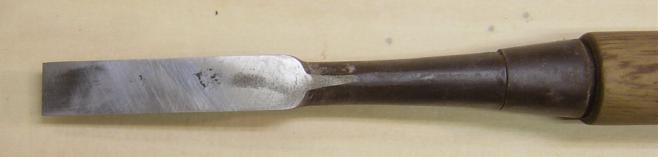
These tools seem like the steel in them is a whole lot better than most of the new pairing chisels I see in the stores here.
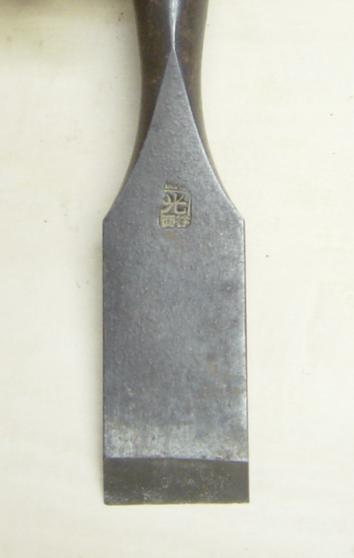
All of the chisels have the makers stamp on them, like this one.
Moving right along....
I tried the "Scary Sharp" stuff, but with the price of sandpaper here,
it just cost too much,
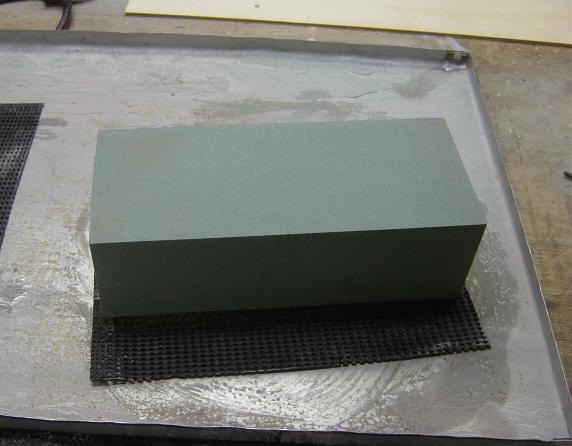
so I bought some good stones. The green one above is my coarse stone, it removes
a lot of material in a hurry, but it also becomes dished easily. I've learned to
use the whole stone, like this...
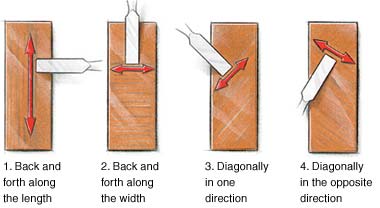
I find this really works well, but eventually, I have to
flatten the stone,
that is where the granite tile on the right come in.
I need to make another tray for it, as it gets the workbench messy
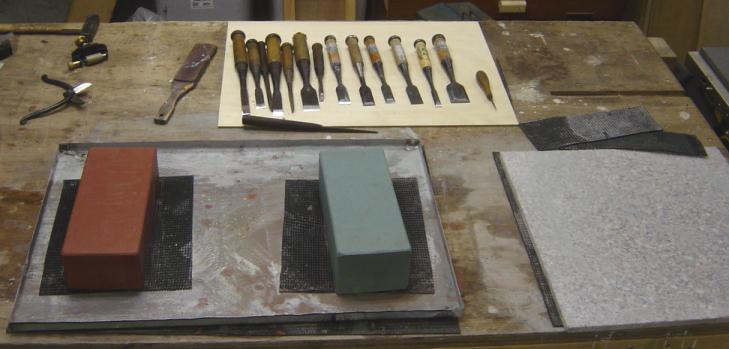
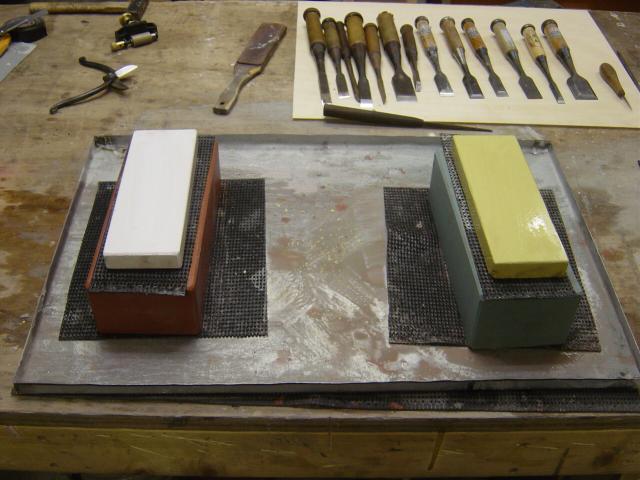
The second stage of sharpening involves two more stones,
The yellow one on the right is fine, and the white one is ultra fine.
I will check these stones for flatness as well, but they don't
take much of a beating,
because by the time you get to the last two stones, you are more polishing the
chisel,
than grinding it, not much wear and tear.
I do check, and the best way I've found is to rub the stone on the granite tile until is sticks....
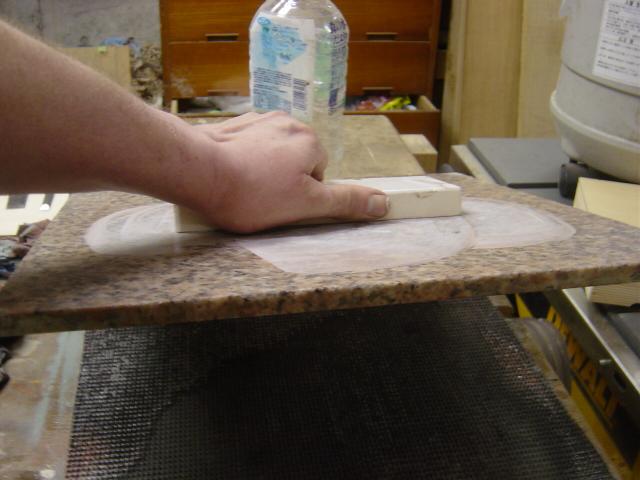
Here I'm lifting the granite tile with the white ultra fine stone stuck to the
tile like a handle.
When the stones get to this stage, they are flat.
The back side of the chisel, it needs to be hollow ground again.
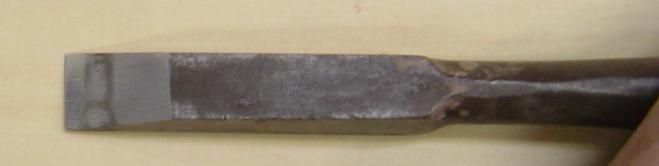
The bevel is sharpened
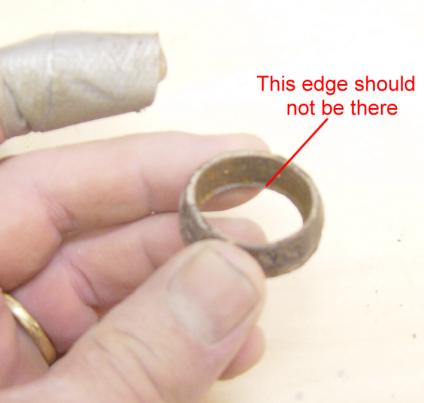
Here is the end ring removed from the chisel. That inside ring should not be
there,
I filed it off.
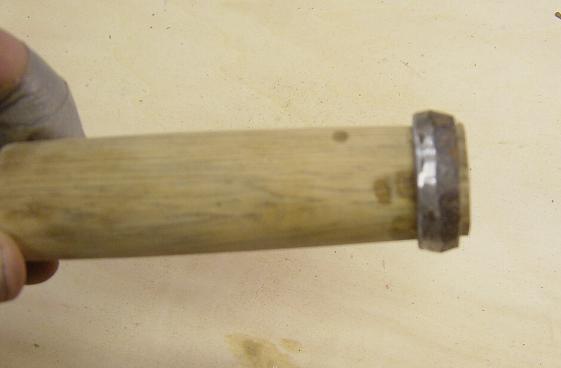
I then reset the ring on the chisel handle and then.......
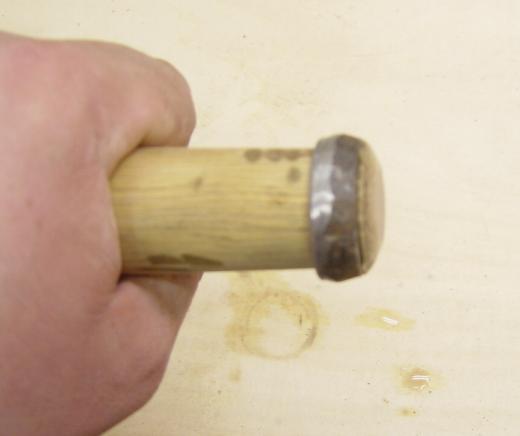
Pounded the wooden end over to hold the ring in place.
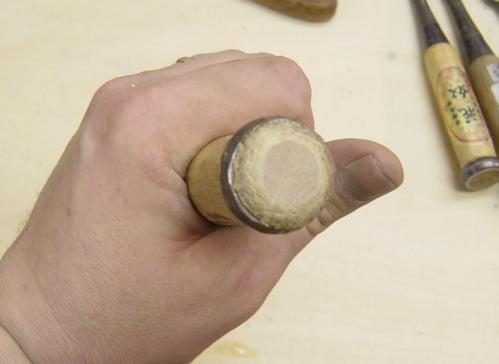
This worked well.
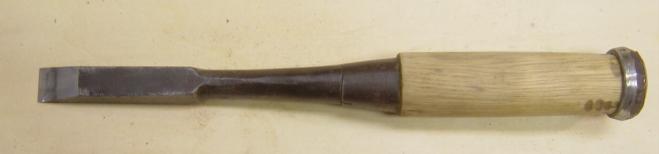
Finished, it will be used, not a display piece, so I don't see the point in
taking past this stage.
It is sharp, really sharp, takes the hair off my arm like a razor, and slices
through beech like butter.
In sharpening this old chisel, I found out a few things;
The ring at the top is a hand formed piece, you can see the
hammer marks on it,
and the joint were it was forge welded together.
The hard steel in this chisel is WAY harder than the hard
steel in the new cheaper chisels I have,
no comparisons, this took a lot longer to sharpen, but when done, it is
SHARP.
I'm very pleased!
Cheers!
PS only another 6 or so to go........
On to some more Treasure!!
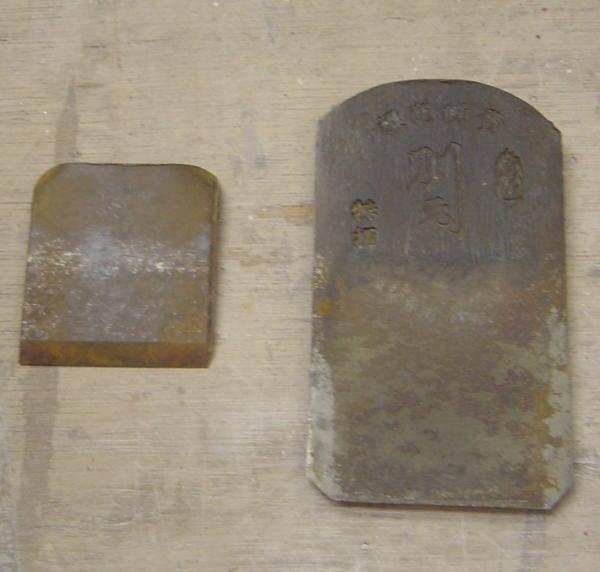
I bought some used planes, or Kanna off Yahoo Auction, I only
paid about $7 or $8 dollars for them,
so I was prepared for some crap, but I hoped I could save them, or at least
learn something while trying
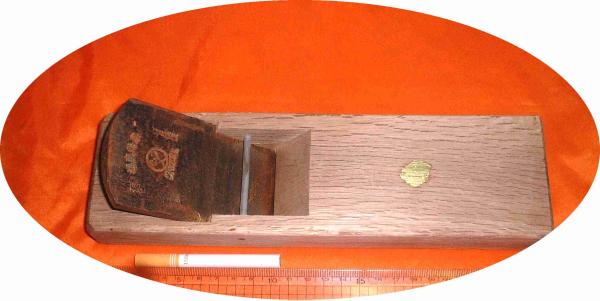
Number 49
Number 50
They both look a little worn, but I hope I can do something with them
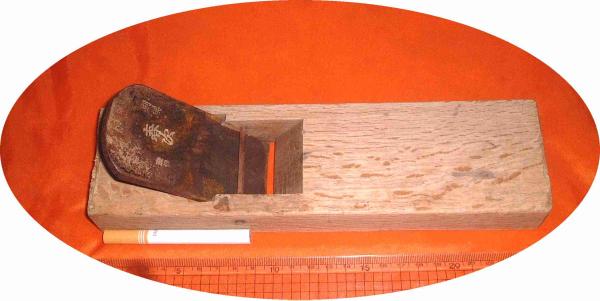
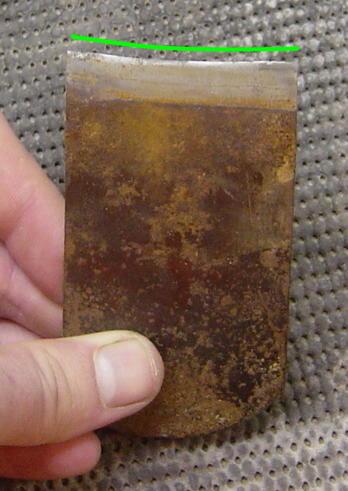
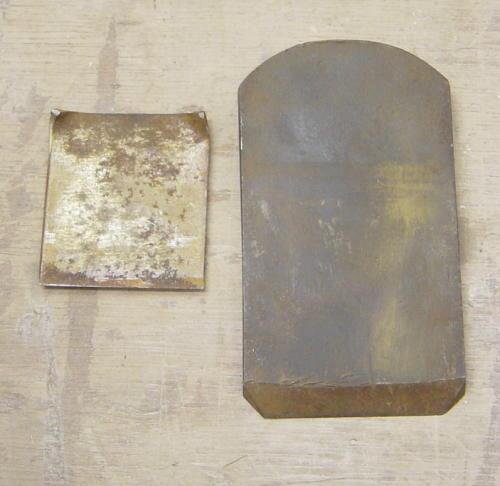
I'll start with number 50, it was in really bad shape.
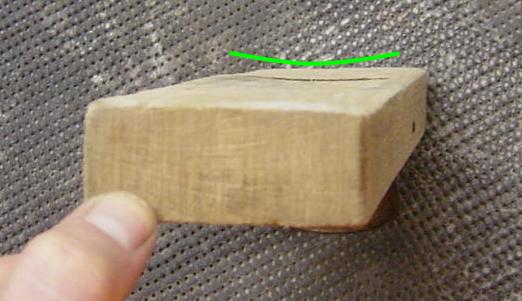
There was a very strange groove, or dish in the bottom, it went from one corner
to the other

You can see here where the groove is.
And the heel of the body is also not even sort of flat
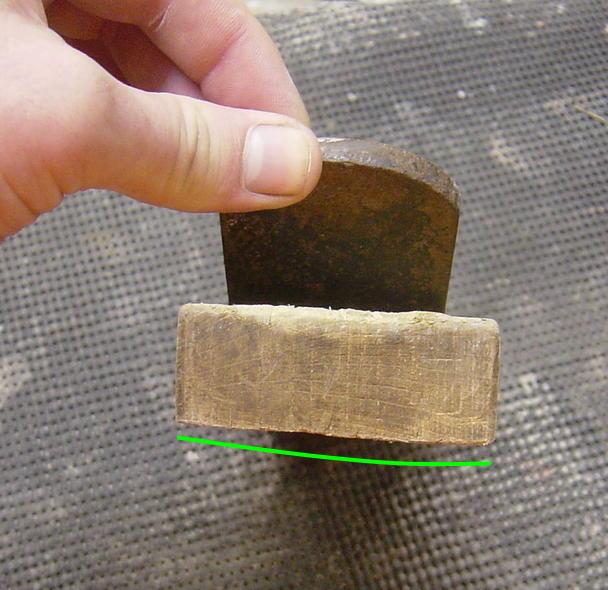
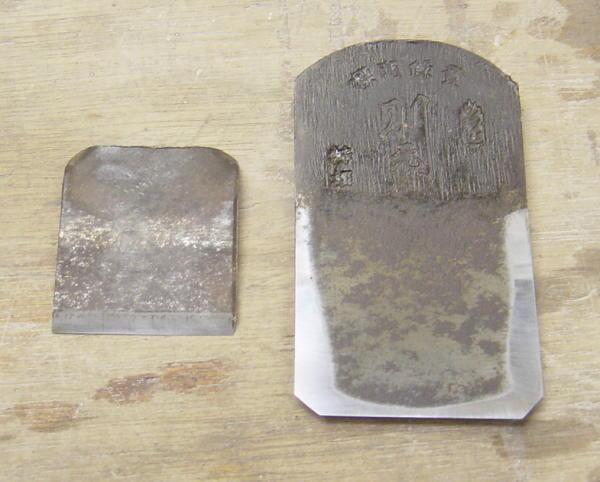
The blade also has a very bad groove in it
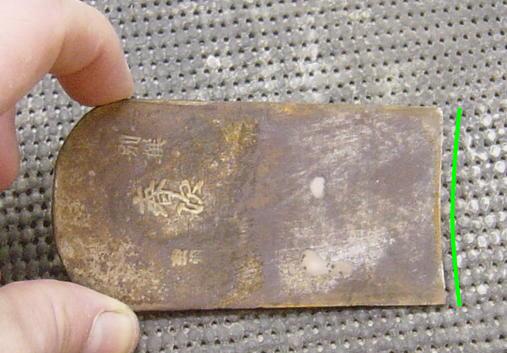
here you can see the back of the blade, there is no flat spot near the cutting
edge.
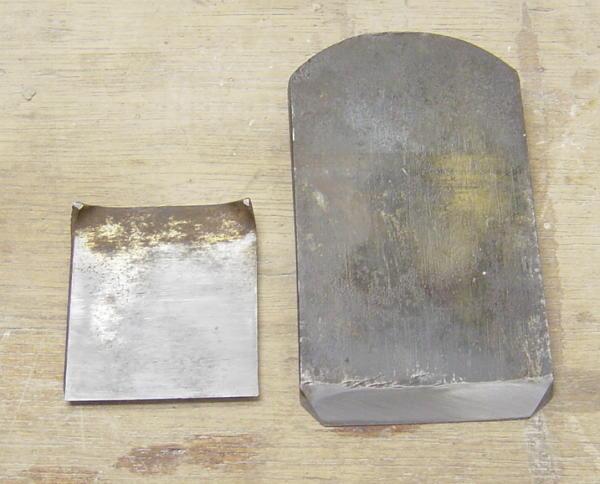
I tried my best, but the body of the Kanna, the Dai, was
beyond repair,
by the time I got it flat, it was so thin, it became useless.
The
blade I labored over for a few hours, grinding the curve away,
and working on getting it straight, square.
Then I had to tap-out the back to get the flat spot behind the cutting edge, at
this I failed,
I got close, but it was hopeless, the hard metal kept cracking and after
grinding and regrinding, I gave up.
On to Number 49
This plane looked better to start with, and it turned out to be in much better shape than #50
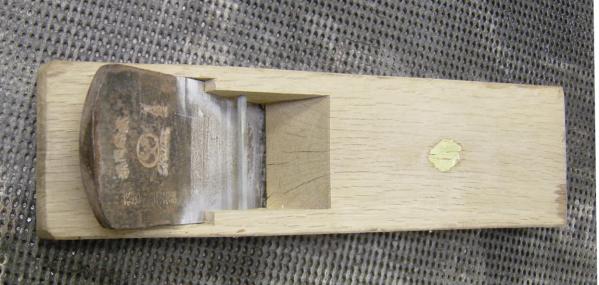
But there are some cracks in the body, and the bottom was slightly dished.
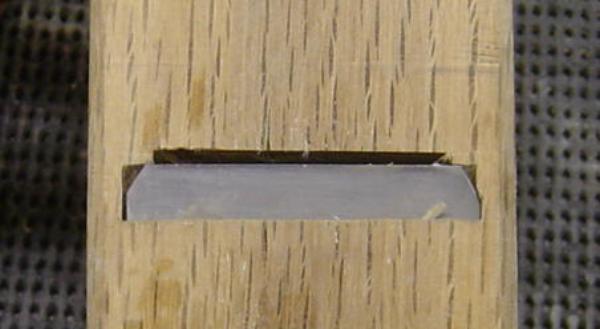
I flattened the bottom and then conditioned it, and the blade was just a bit
dull and rusty.
After sharpening and setting up, it looked good....
But then I noticed the ears needed grinding, so I did that too, and in the
end....
I was able to make nice full width shavings, that is birch, I did not have any
clear soft wood laying around.
So I did get one decent plane, and I learned some more things about Japanese planes, not bad.
I'd Buy that for a Dollar!!
I was on Yahoo Auctions the other night, I came across a well
used old plane,
no one had bid on it, and there were minutes to go, it was at 100 yen, which is
about $1
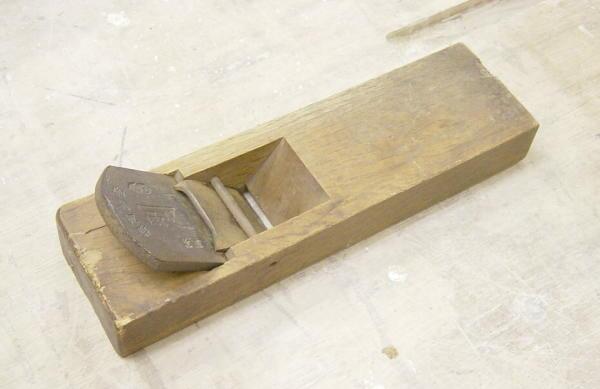
Fairly rough shape
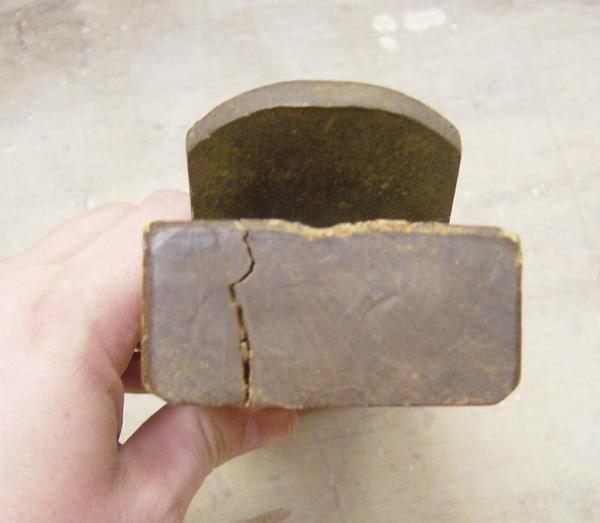
With a big crack in it
Not looking very good
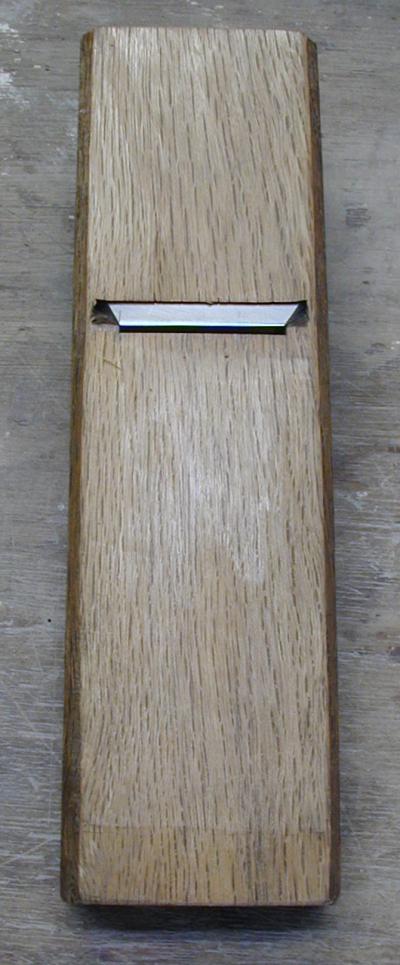
The blade and the sub-blade look like they could be of use
Might be some life in here yet
A little time on the water stones, and the blades look OK
I got it "Hair shaving" sharp
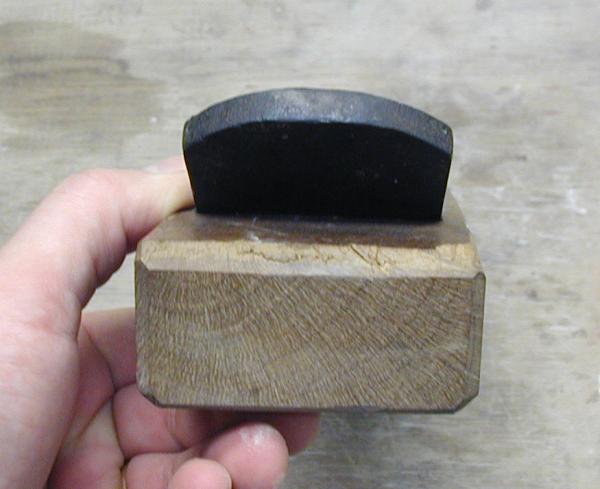
But what about the wooden body?
This may be against some sort of rules, but I
opened the crack just a little bit more,
and then worked some glue into the crack all the way along.
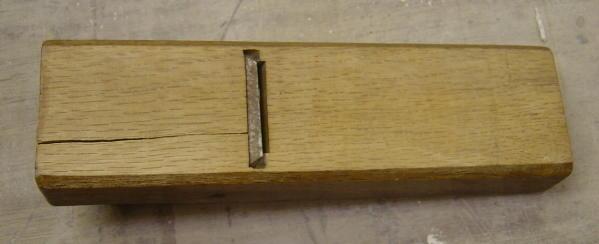
Finally I drilled and counter sunk a hole in the body, and put a big screw in
there....
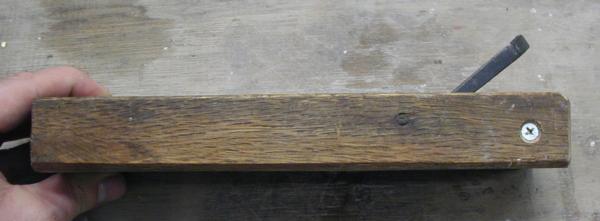
Looks odd, I know, but it worked.
No more crack
Seems to have just disappeared!!
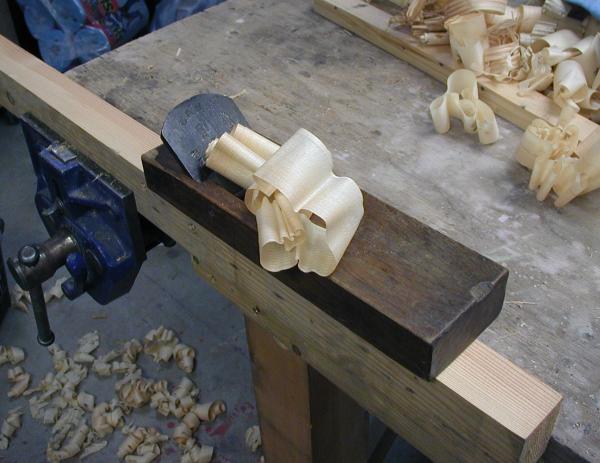
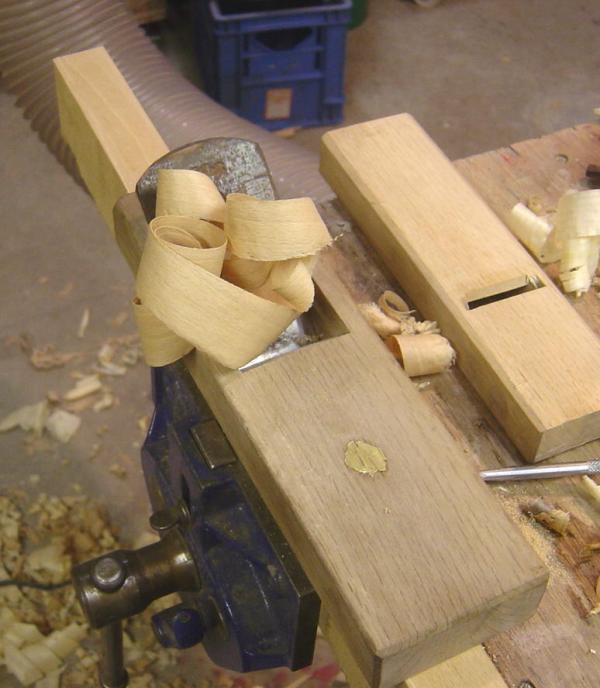
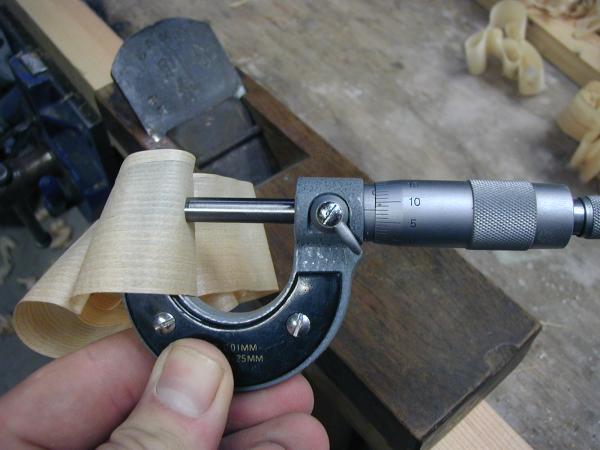
Some tuning of the body and these are the kinds of nice shavings I was able to
get
OK this is getting sort of geekish, but I just wanted to show you what you can
do with a little hard work and a dollar (OK the shipping was $5, so the total
was actually $6, but you know what I mean).
That is in mm, so that is 0.08mm, not bad, and the wood, which maybe fir..? is nice and smooth.
Cheers!