_____Stu's___Dungeon__
Joyful Honda
Treasure
Lesson Room Cabs
In the beginning
2
3 4 5
6 7 8
9
10 11
12 13 14
15
Jointer1
Jointer2
Router
Table1
Router Table 2
The Doors
Do
Pa
Give Me A Brake
Cyclone
Cyclone 2
Cyclone
3
Cyclone 4
Liquor
Shop Reno Tenjinsama Shrine Tree Tour
Beer Shelves
Wine Shelves
Five Cuts
Drill Press <NEW
DoPa 2007 <NEW
Turning
Jean Francious Escoulen
Eli Avisera Demo Day One
Eli Avisera Day Two
Lathe Stand!!
Turning
Roughing
It
Sharpening Station
Bowl Blank Processing
Captured Hollowing Rig
<NEW
Logging In Tokyo
Woodlot Woodlot
2006 Woodlot
3 Woodlot 4
Chainsaw Mill
Chainsaw
Mill Mk II
Jointer Page Two...
The Rebirth!!
I'm needing the jointer soon, so I'd better make a move on putting it back together and getting it to work. I've decided to NOT do the full restore, I need this tool for some work now, a paint job can wait. I will clean and lube everything and make it work right, but the cosmetics will have to wait.
When I was putting the in-feed table on the base, which I thought I had blocked enough, ran away from me! Once that table started to go, I just got out of the way and let it fall, no way I'm getting in the way!
I've named the new jointer "The Green Meanie" as it tried to
squash me like a bug
when I was putting it back together.
I was sliding one of the tables onto the base the base,
which I had the wheels chocked, rolled away from me,
the table started to go, and I just let it!
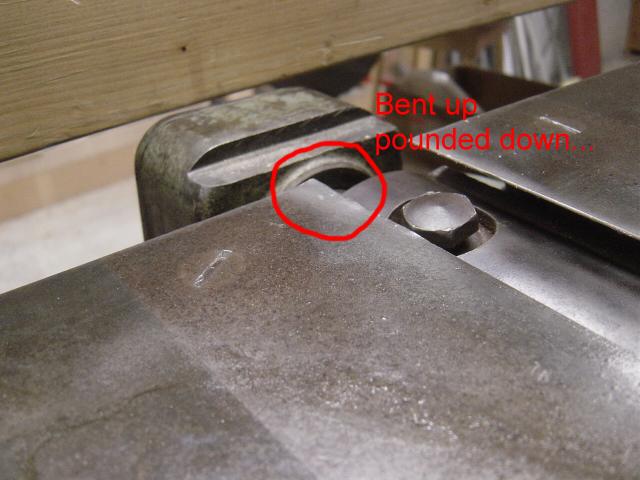
I bent the corner up, but I pounded it down with a hammer,
and then file and sanded it smooth...
That will have to do.
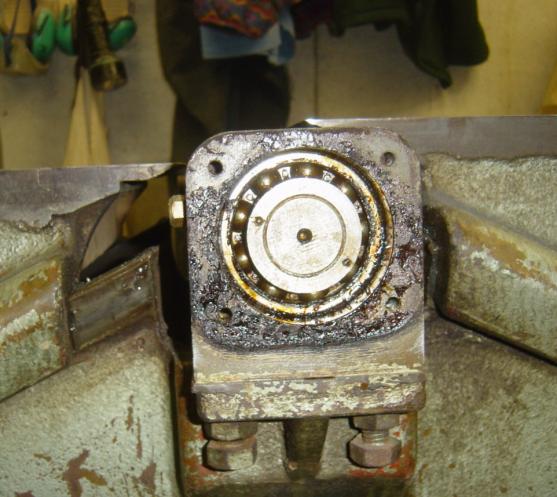
A pic of the bearings, they need repacking!
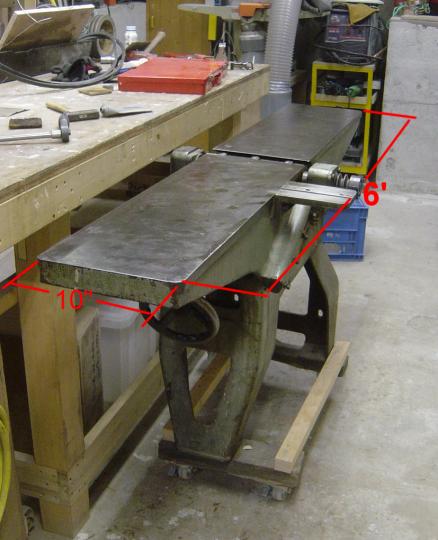
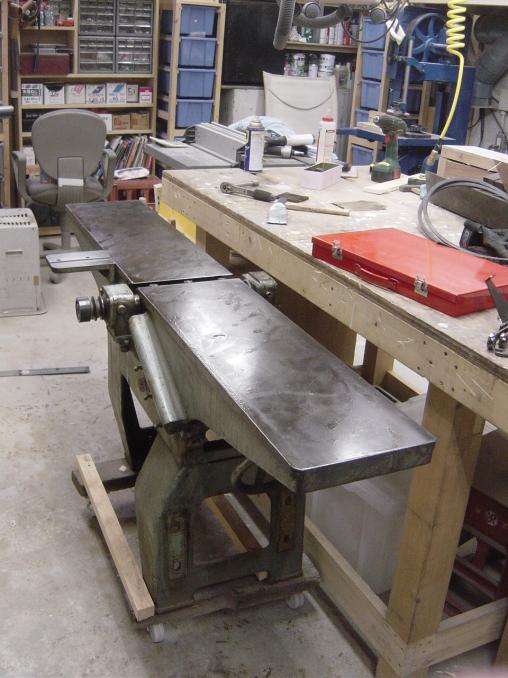
To give you an idea of size, see the bench beside it?
The Green Meanie will fit under there, it WILL!!

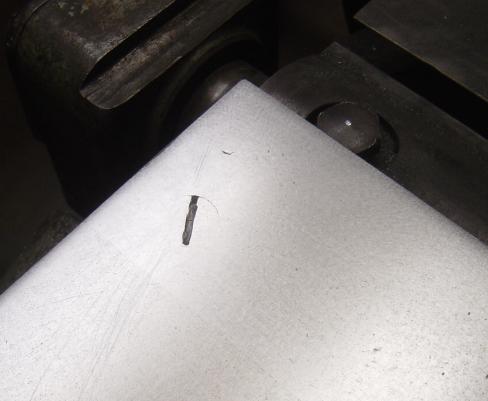
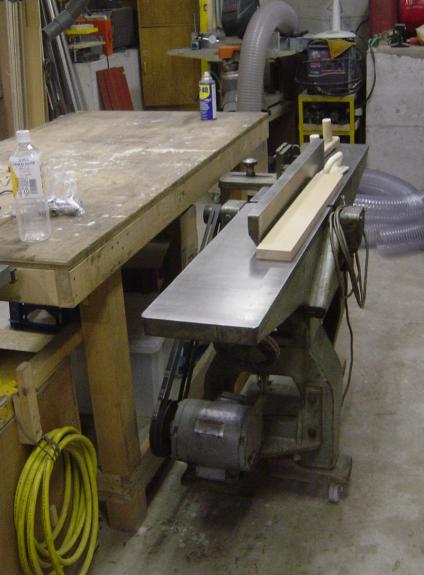
Here I've started the slow dirty process of cleaning and sanding the table tops
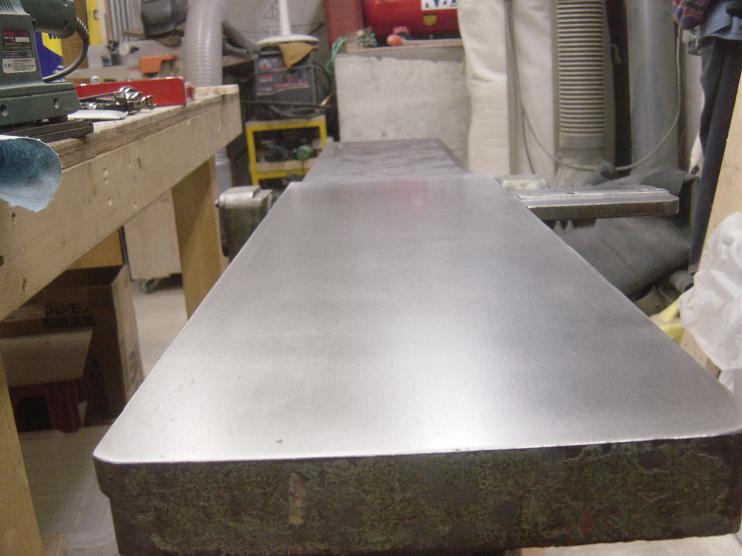
I used WD40 to loosen the crud and grease that was on there,
there was very little rust, but there was a lot of what I would call scale.
It is all dong now, and the table looks fairly good.
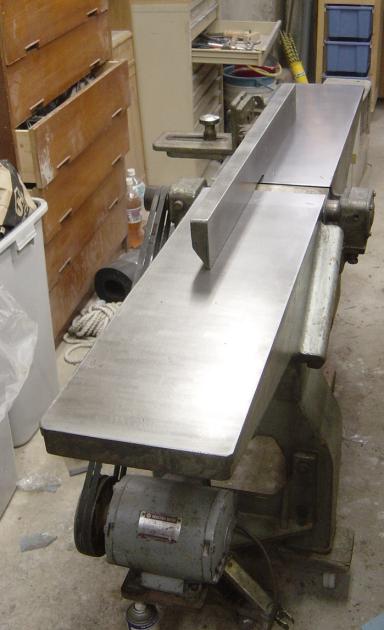
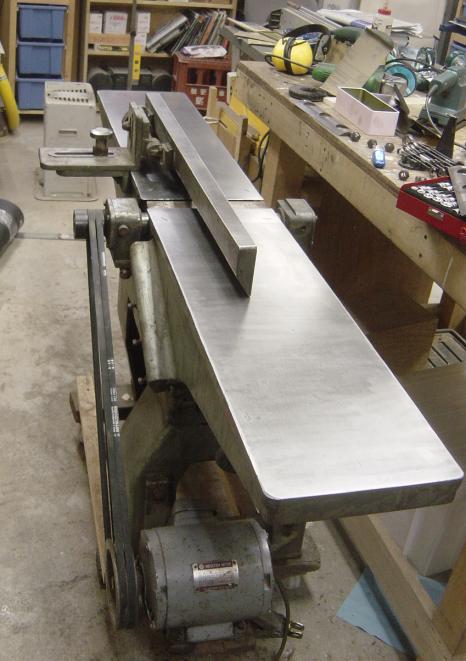
Here are both tables done for now.
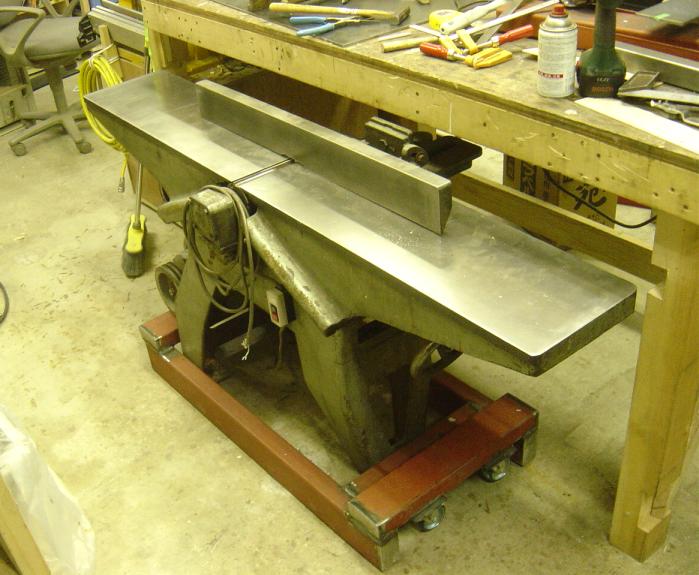
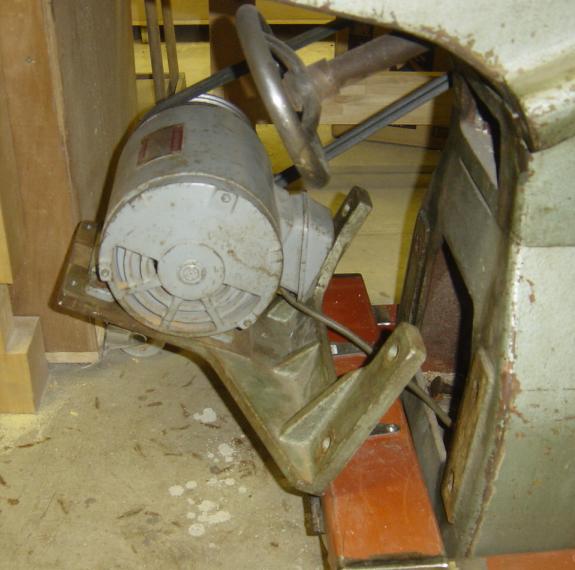
I have the motor on there too,
and I spun it up to speed only to find the 3-phase motor was going the wrong
way,
so I have to reverse two wires to make it spin the way I want it to.
More work to be done!
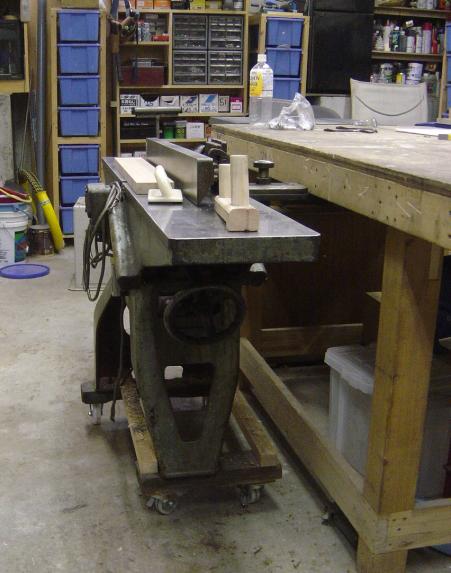
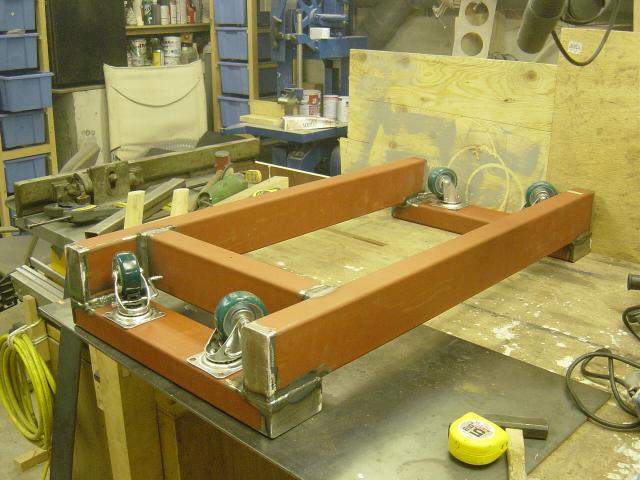
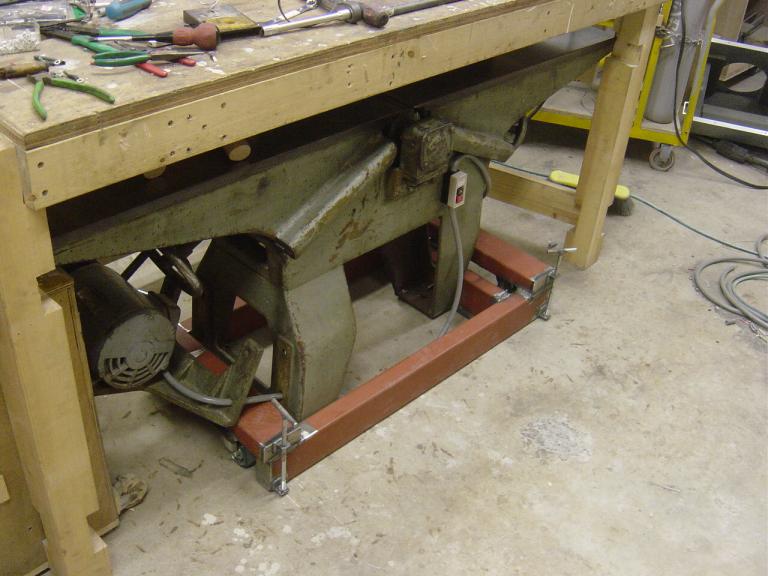
Well there it sits, as you can see it is about 6" off the floor, that is
too much,
I want the Green Meanie (GM) about 1/2" off the floor and I'm going to
build a super solid cart to do this.
I need the GM that close to the floor so I can slide the whole thing under the
workbench when it is not in use.
As it sits now it take up a lot of floor space, and I just don't have the space
to spare.
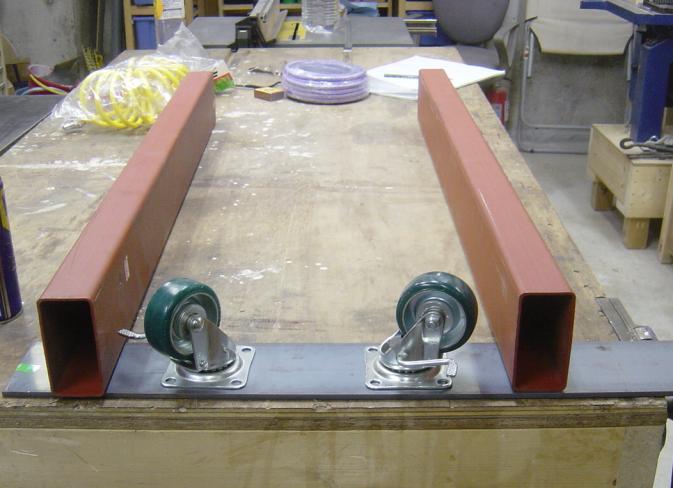
I have these wheels, they are full locking casters, they lock the wheels and the
swivel as well.
The wheels stick out about 1/2" past the bottoms of the steel tubing,
this will give me just enough clearance to go under the work bench.
I'll
have to move the legs of the work bench to do this, but I have it all figured
out and it should fit....
Last famous words...!
Going Mobile
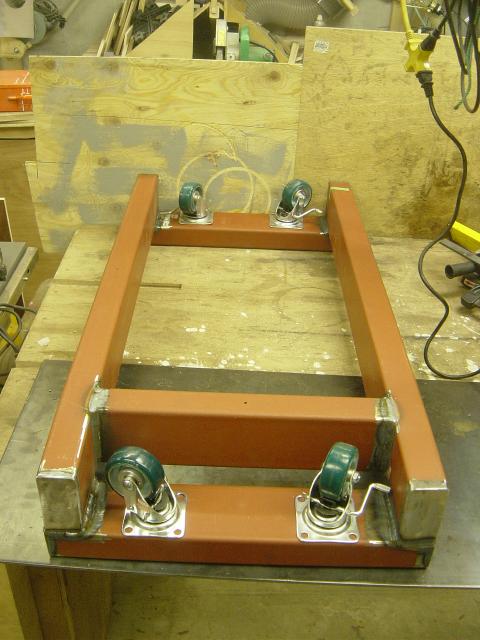
Getting it all welded up
Going to be super strong!
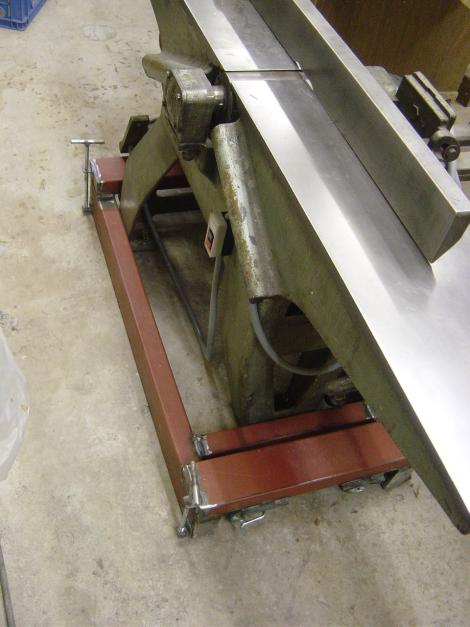
There is the new low-rider base...
It just fits under the workbench!!
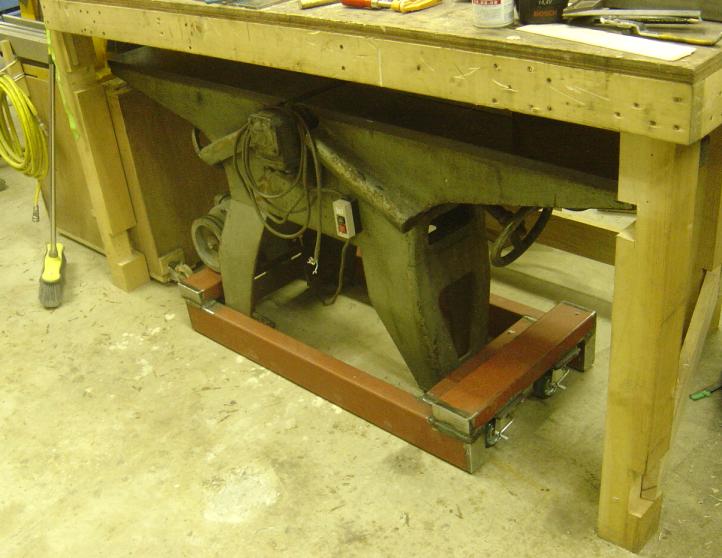
Look out there is a Green Meanie hiding under that bench!

It fits like it was made to go there!!
I had to change how the motor mount worked, now it is hinged and the weight of
the motor is all that keeps the belts tight.
I'm going to put a threaded rod in there so I can apply tension on the belts.
I also found that I need Jack screws in the corners of the base, this will make things much more stable.
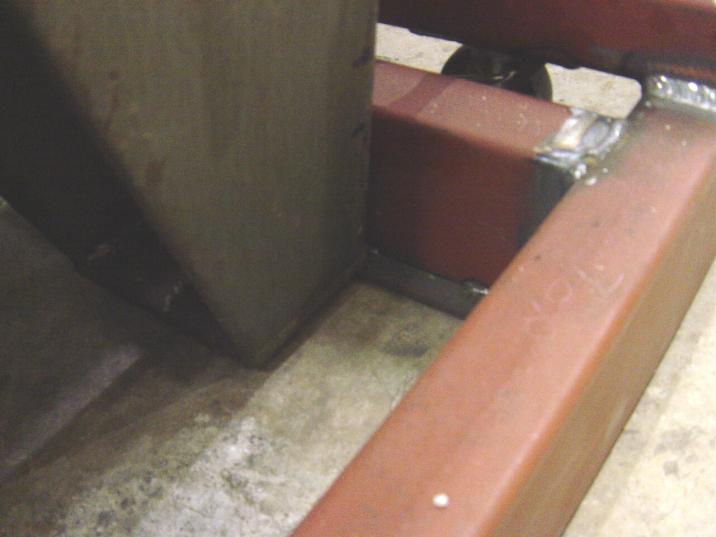
Jacking Around
I got the corner jacks done....
One on each corner, just a few turns and the Green Meanie is off it's wheels and
rock solid!
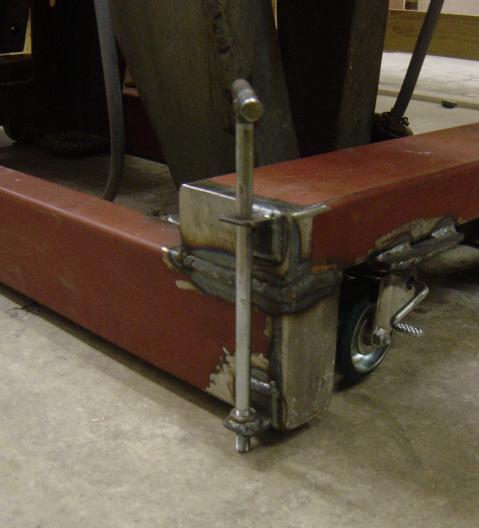
Nothing fancy, just two pieces of angel iron, both with holes in them, the
bottom one gets a nut welded to it.
Then a long bolt, welded to a short piece of rod and then a short T handle on
top
Just to show you how low this base is....
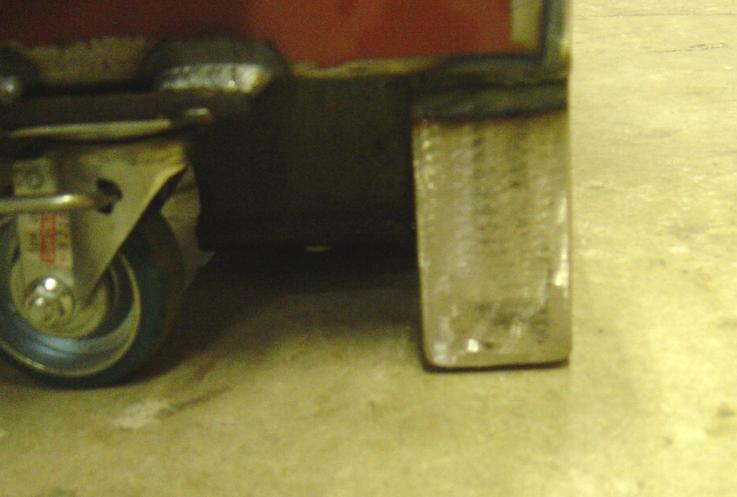

at 5mm that is about the biggest clearance I get.
Works like a charm!
I also welded my swivel casters in place, they don't swivel anymore.
Now it is dead easy to move the GM out or in, just pull it out,
and turn the jack screw, and you are in business!
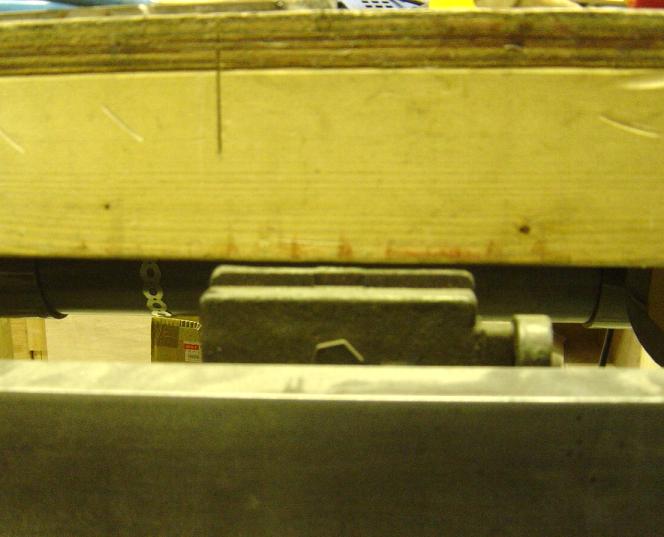
I said before that the whole jointer is held in place by it's own weight, and one bolt...
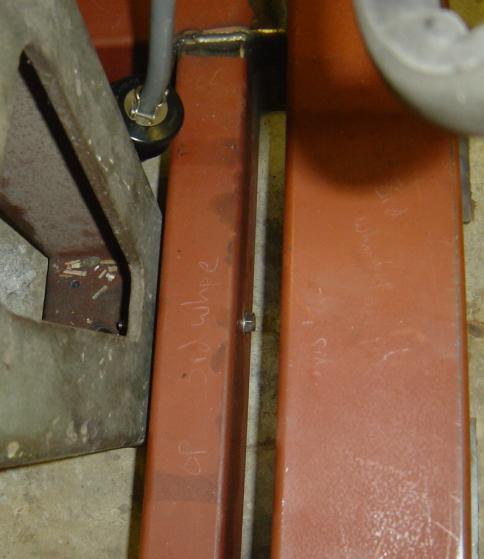
This one bolt goes through the front frame and through the front leg of the
jointer.
The one bolt pulls the jointer forward to the front frame, and this holds the
front leg in place....
You can just see the toe hold that the front leg rests on.
So far so good!
Guard
This is not a new jointer, in fact I would not be surprised to find out it is older than I am.
There is no guard on the Green Meanie,
and that cutter head spinning around at high speed scares the heck out of me, I
like my fingers!
I need to make a guard of some kind, below is what I came up with...
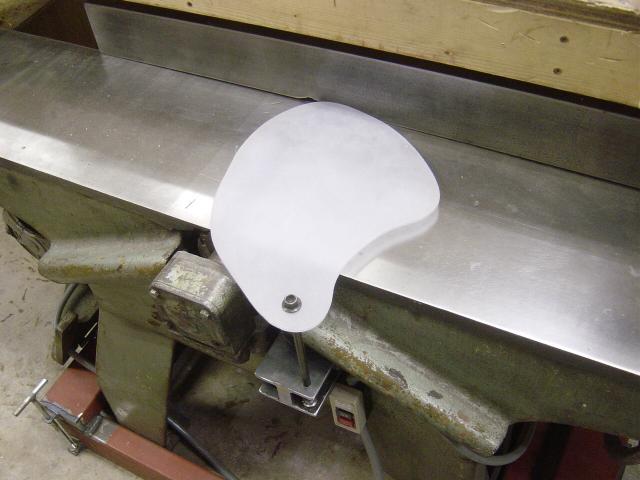
Nothing fancy, but it should work.
I'm fairly happy with this, but the shape may change some yet.
The guard is made from some thin plexiglass I had laying around, it is too thin,
but it will do for now,
things are still in the experimental stage!
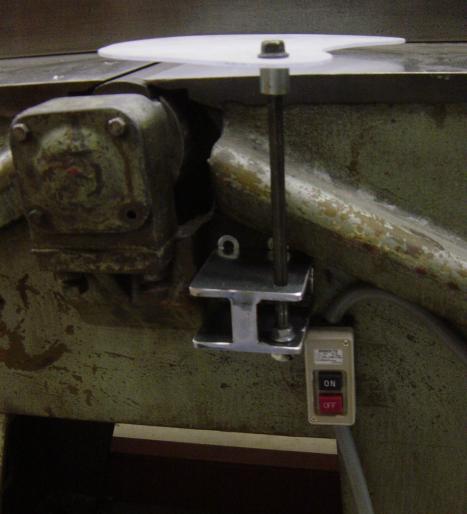
I welded the bracket up from some fairly thick steel and then drilled a
hole through it.
The bolt is a spare from my VTR, it is about 21 cm long!
There are two nuts on the end of the bolt, holding it in place, it seems to work
rather well,
all I need now is a spring, I'll have to find one.
I've added a
piece of threaded rod to make some tension on the belt,
may not be very elegant, but it works
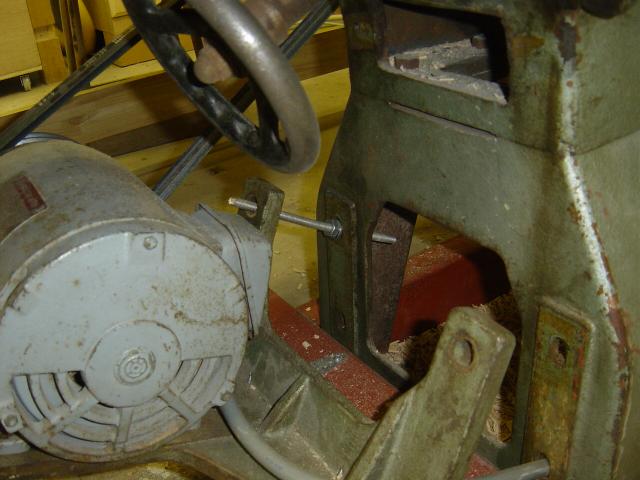
With just the weight of the motor the belts were just about coming off the top
pulley.
I think this will do for now.
I got the Green Meanie all wired up and hey, it works!!
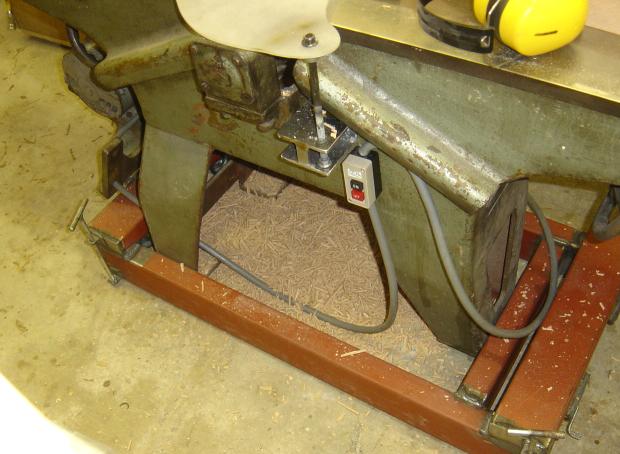
Now jus the DC to do, a blast gate, and a shroud around the bottom of the
machine
and I'll be ready to go!