_____Stu's___Dungeon__
Joyful Honda
Treasure
Lesson Room Cabs
In the beginning
2
3 4 5
6 7 8
9
10 11
12 13 14
15
Jointer1
Jointer2
Router
Table1
Router Table 2
The Doors
Do
Pa
Give Me A Brake
Cyclone
Cyclone 2
Cyclone
3
Cyclone 4
Liquor
Shop Reno Tenjinsama Shrine Tree Tour
Beer Shelves
Wine Shelves
Five Cuts
Drill Press <NEW
DoPa 2007 <NEW
Turning
Jean Francious Escoulen
Eli Avisera Demo Day One
Eli Avisera Day Two
Lathe Stand!!
Turning
Roughing
It
Sharpening Station
Bowl Blank Processing
Captured Hollowing Rig
<NEW
Logging In Tokyo
Woodlot Woodlot
2006 Woodlot
3 Woodlot 4
Chainsaw Mill
Chainsaw
Mill Mk II
Slicing up Sheet Goods
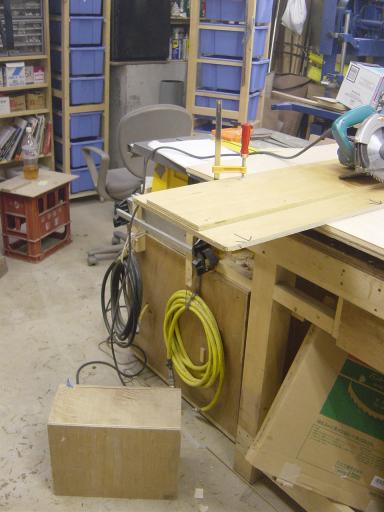
I've got to make the base, to do this I have to cut up some
plywood.
Remember the plywood I use here is smaller than in the US or Canada,
only 182 cm x 91 cm, (just a hair under 6' x 3').
I've got a cutting jig, it is about 12" wide, and
1/2" thick, with a second strip on top of it to guide the circular
saw.
I think this is a common jig to use, you put the top strip on so when you run
the base of the circular saw against it the first time it will cut off just a
bit of the main board, this will give you an edge exactly where the saw will
cut.
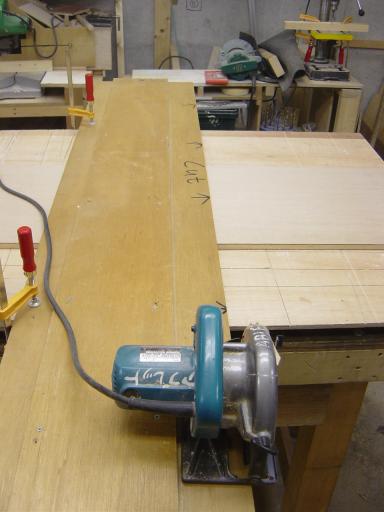
you can see the jig here clamed up and ready to go.
I put a piece of plywood on top of my bench, this plywood is the cutting table, it gets sliced up just a bit on each cut, so eventually it will have to be replaced, but so far I've got about 2 years out of this one sheet.
To make it easier to clamp things, I stand the sheet off the benchtop with some 2x4s
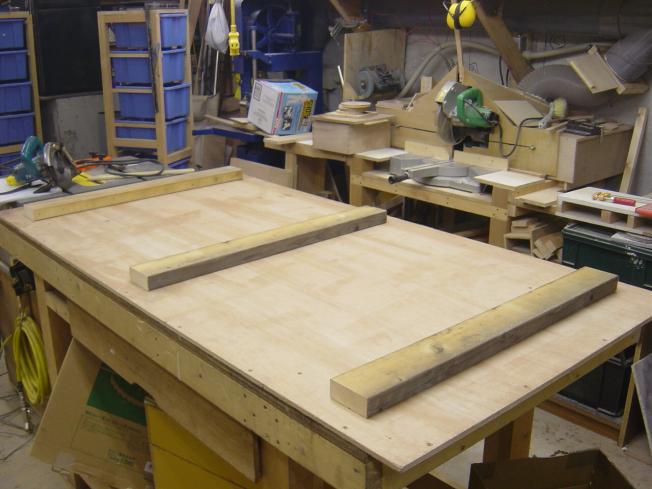
The 2x4s are held in place by two screws on each board, the screws are counter
sunk into the plywood so I cannot hit them easily with the saw.
A couple of things, before I start, I like to check my tape measure, it amazes me how off they can get in time.
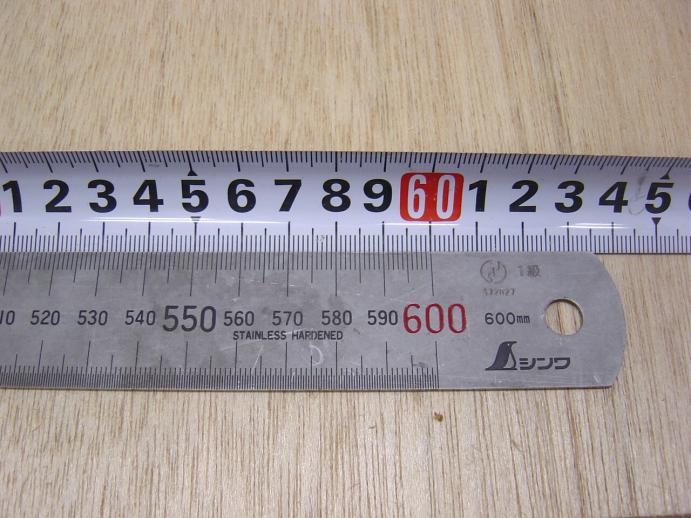
I have a good quality 60cm steel rule that I use, this tape is right on the
money on the pull measurement using the hook on the tape on the edge of a board,
but.....
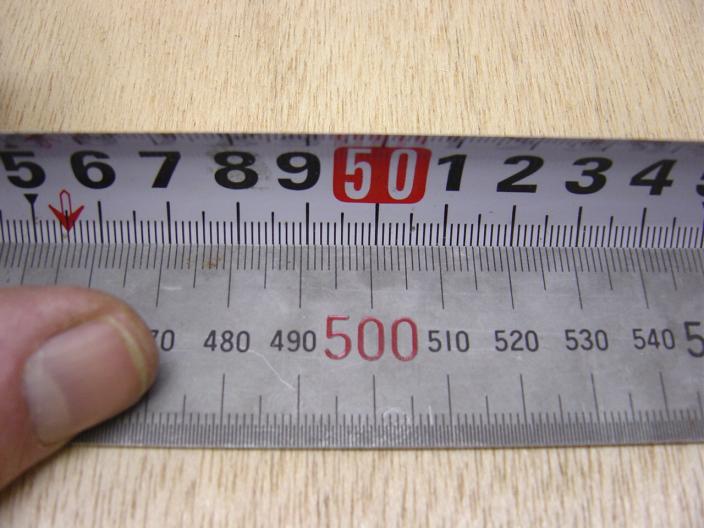
on the push check, where the hook would be pushed, like on an inside
measurement,
this tape is off (I need to get a new tape measure!!)
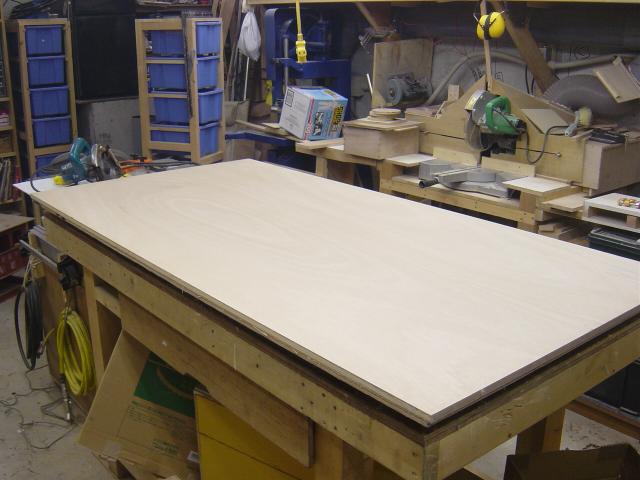
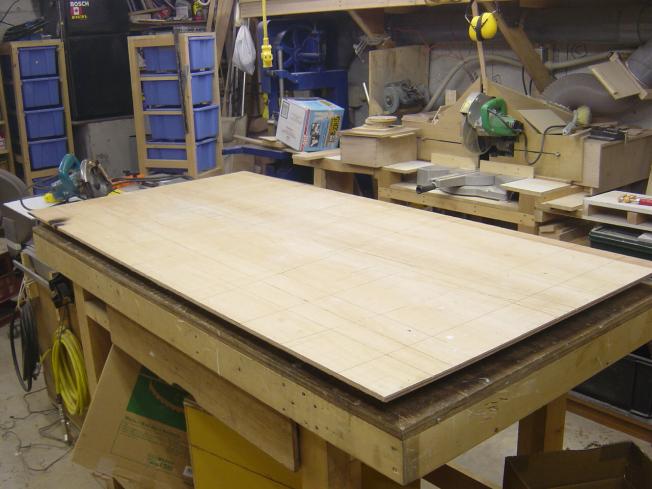
Here is a nice new sheet of plywood on the cutting table ready to cut, but
first...
I go around it and mark the factory edge with a pencil,
this helps later if I'm running pieces through the TS,
I can always run a factory edge against the TS fence to make sure it is all
straight
I don't think many will recommend doing this, so please do this at you own
risk,
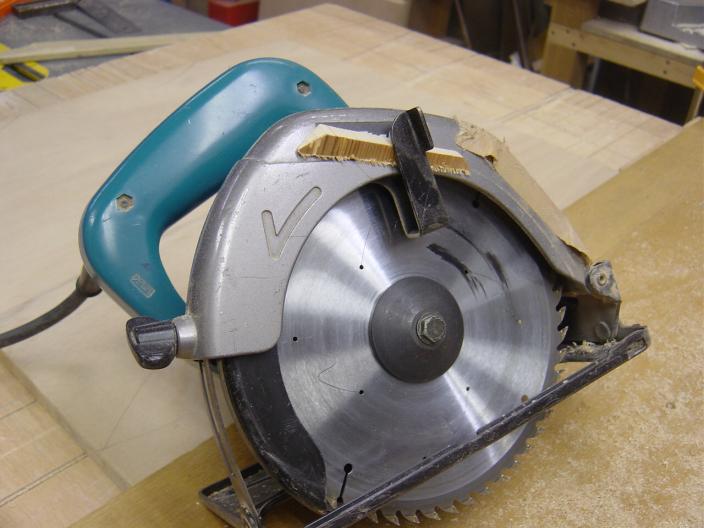
but I wedge the blade guard open when doing this kind of cutting.
I've had a number of cuts go crooked because the blade guard got hooked on the
edge of the plywood.
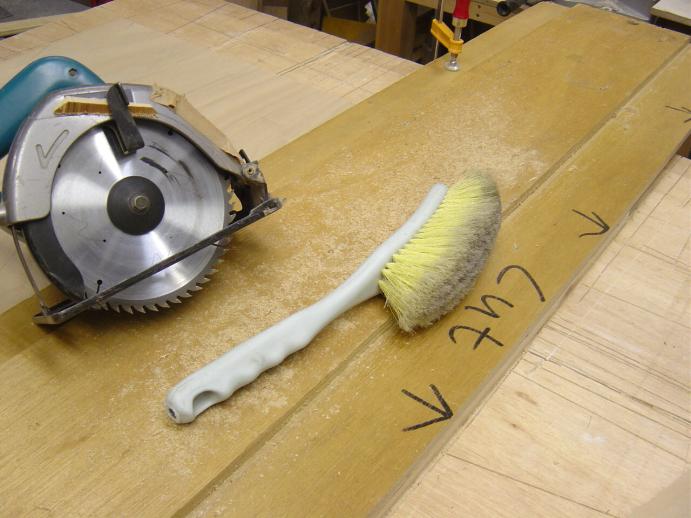
It also helps to have a good brush around,
especially if you don't have dust collection on your saw like me
(Something I plan to do in the future!)
This brush is a tire brush, it had a hose fitting on the handle, that I cut off,
so water could go from the hose through the handle of the brush and out the head
of the brush. It works great, and cost very little.
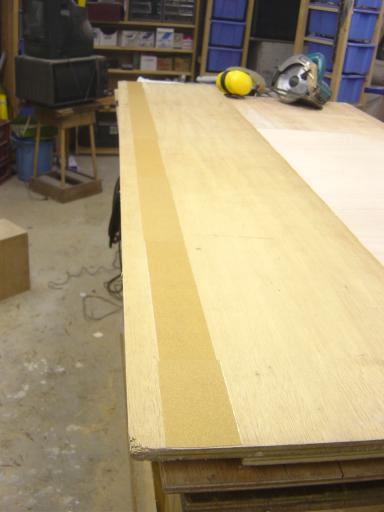
To make sure nothing moves around when clamped, I ran a strip of sandpaper on
the underside of the jig,
it is held in place by thin double sided tape.
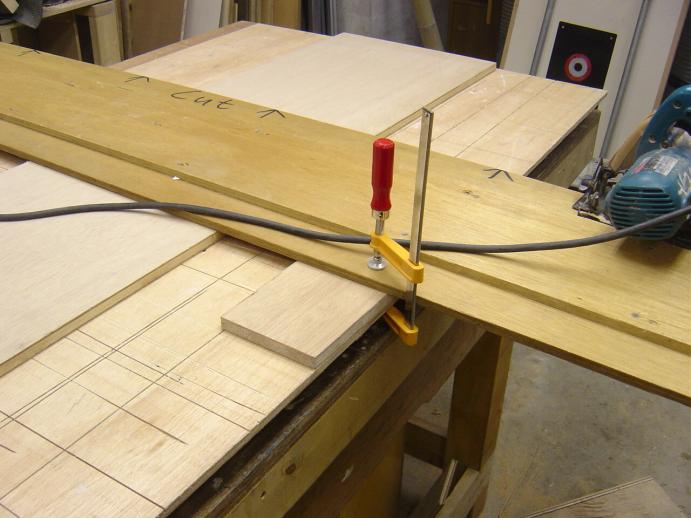
I make my measurements, and then carefully clamp the cutting jig in place.
On a thin board like this one, I use some scraps a spacers under the clamps to
make sure the jig stays flat.
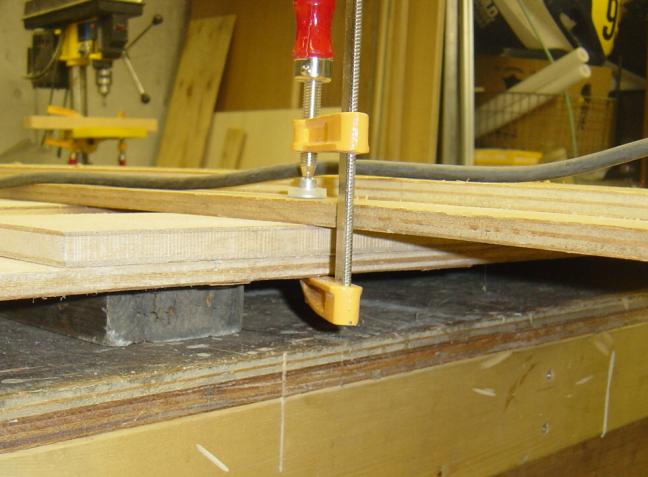
Here you can see the advantage of the cutting table being held off the bench by
the 2x4s,
this makes it easy to clamp anywhere around the circumference of the
cutting table.
As my workbench is a little tall for this kind of thing,
I make sure I have a good solid box to stand on, so I can do the cut in
one motion.
Make sure your cord does not get snagged on anything.

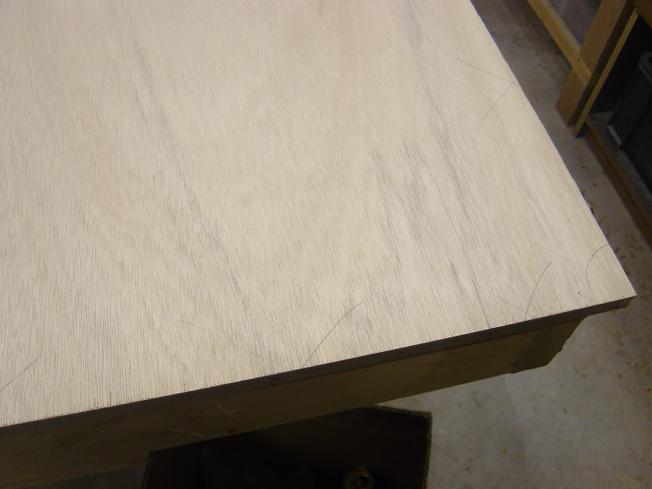
There, a finished cut.
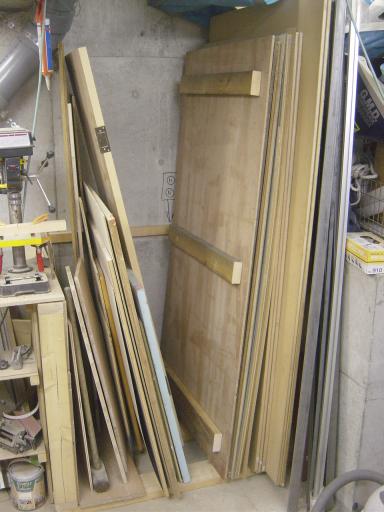
When I'm not using the cutting table I just store it in my sheet goods rack.
I finally found a place that will take my saw blades to be sharpened, so I built a box to keep the blades in one piece....
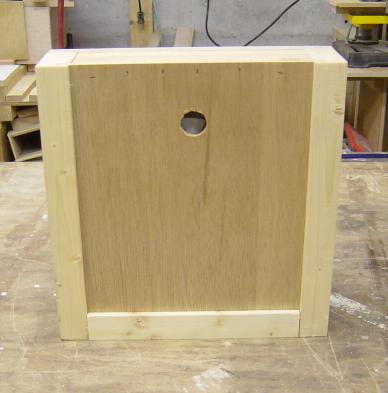
Here is is all closed up, the hole in the front is to help you slide the front
off to get at the blades.
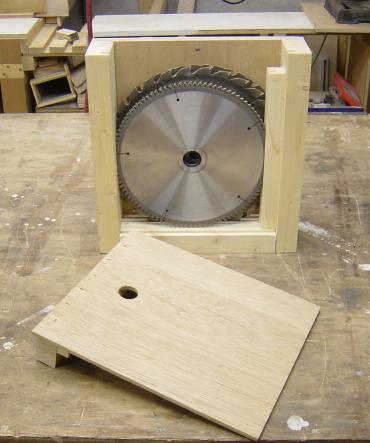
Here it is open, there are 4 blades in there, two @ 10" and 2 @ 8"
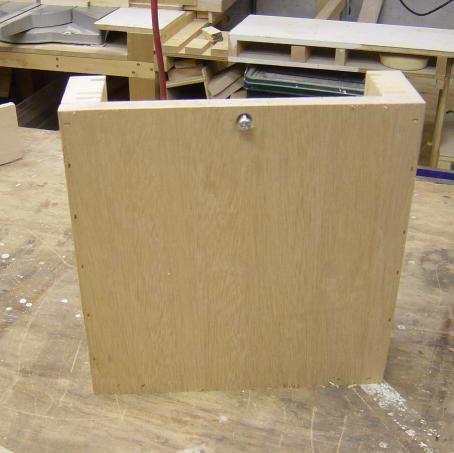
When it is closed, there is one machine screw that goes into an insert to hold
the lid in place.
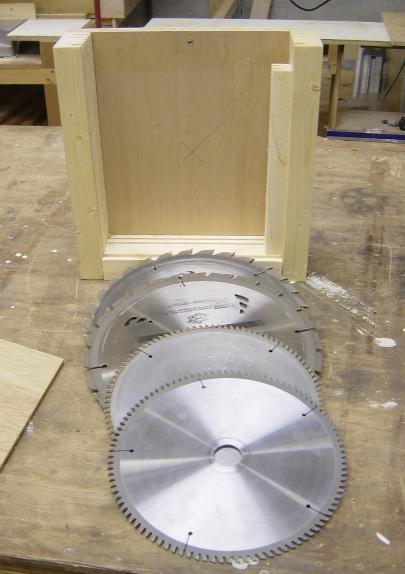
That is what it holds
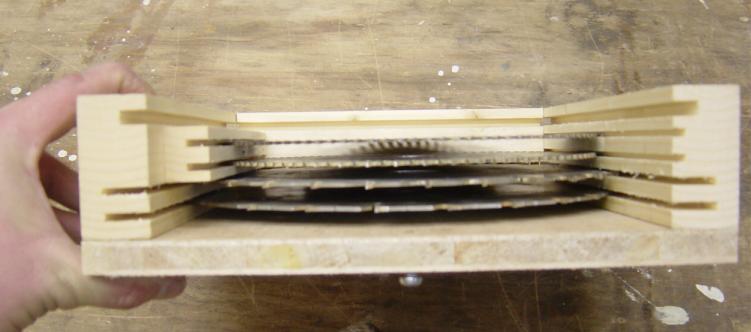
and this is how it holds them.
Scrap Bins
I have the usual problem of cut-offs and scraps laying around
everywhere.
Under my SCMS bench was the worst, and next to Big Blue was a mess as well.
To solve this I made up some scrap bins, they are on casters so I can roll them
in and out from under the bench.
I sure to think twice about tossing anything into these bins,
after all, when they get too full I'll just have to sort through them and toss
the un-needed stuff anyways...
Seem to work well so far!
Silence in Golden
I
have and air intake and exhaust vents into the Dungeon, they are 8" steel
pipes,
they go straight out of the dungeon, make a 90 degree turn up and come out of
the ground between our building and the next door building, and then go about 3'
and then do a 180 back towards the ground, so they point straight at the
ground.
Inside the Dungeon they used to have this kind of hood on them, but the hoods were huge and in the way so I got rid of them. In doing so I've made a bit of a noisy situation. Once my lovely wife said she could hear the sound of a saw running when she had the window open in the 6th floor bathroom, this is directly above the place where the to vents exit the building.
I often work down in the Dungeon late at night, and I
don't want to piss the neighbors off, so I've got to come up with some kind of a
noise damper for the pipes.
I've always been taught that the way to dampen sound is to make it change
direction, so I thought to make a square box with some baffles in it, and line
everything with some soft rubber like stuff to hopefully absorb the sound before
it gets out the pipe, but I've still got to have airflow.
Below is what I've come up with, I've not tested it yet, but here is hoping!
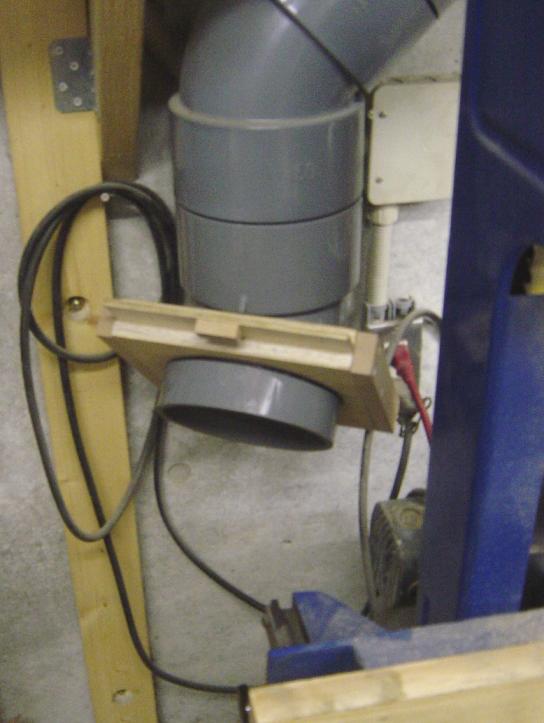
Here are the pieces cut up, I'm using 11.5mm plywood
Kind of a mock up if you will to see how many baffels I think I need etc.
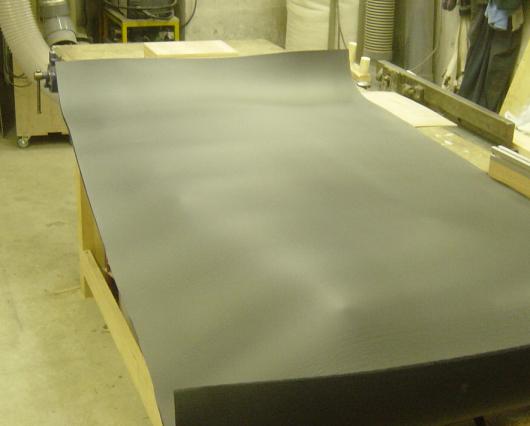
I bought this sheet of soft rubbery stuff, it is about 3' x 6' and about
1/2" thick, cost about $10
I'm using double sided tape for flooring, it sticks good and I had a bunch left
over from another project
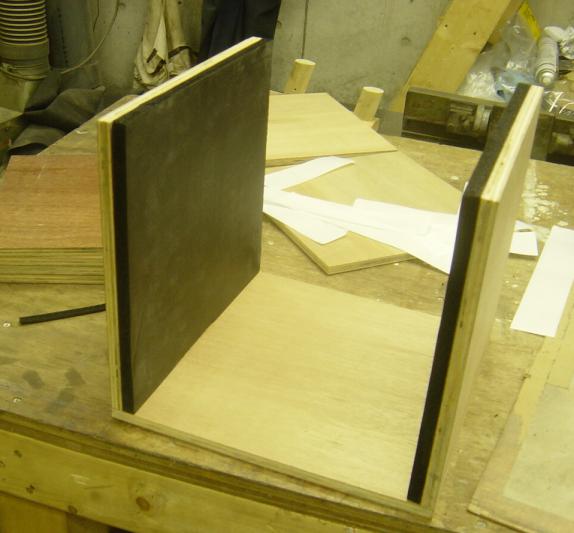
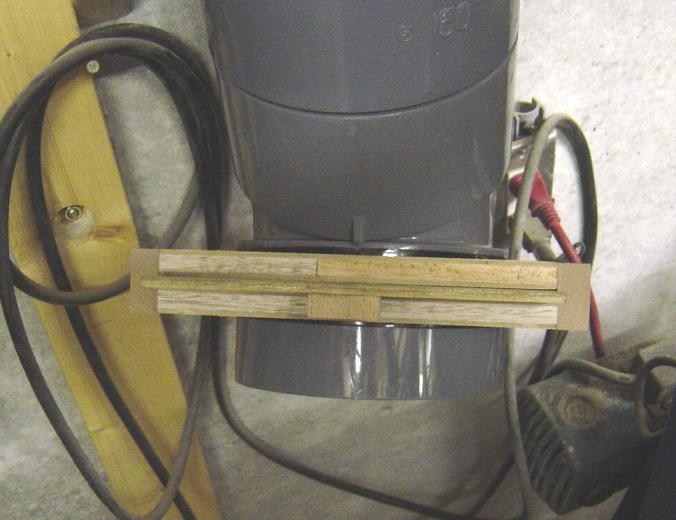
The sides and the top in place
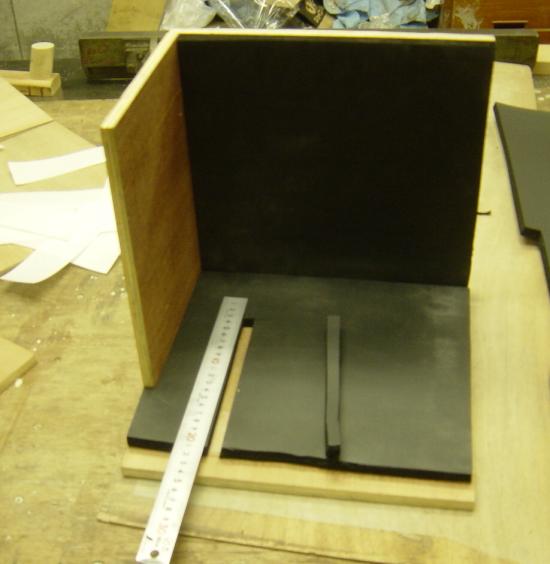
Making a cut out for one of the baffles
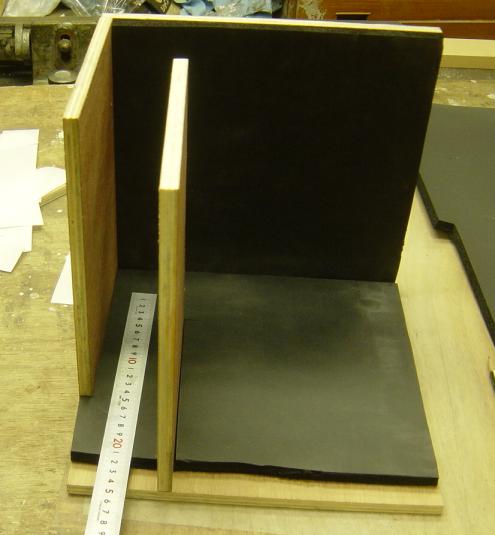
Here is one baffle in place
Now I need to do the back and the bottom (this is a view from the bottom) I'll
make the bottom removable so I can clean it out if I need to.
We shall see how this works!
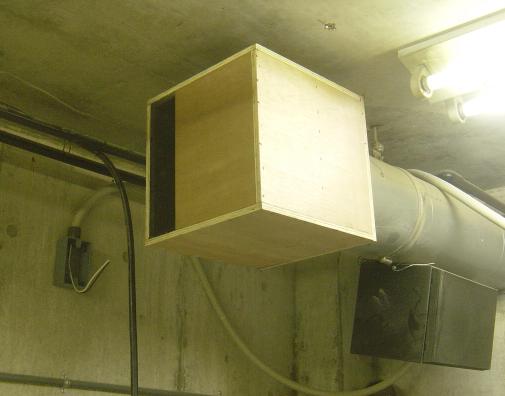
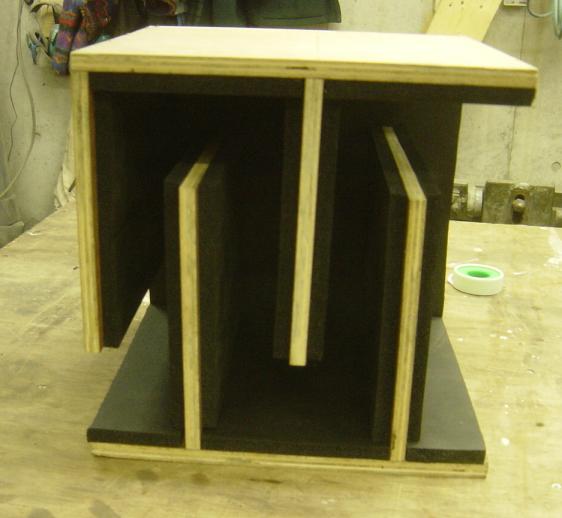
Well here is the end result, it seems to flow a lot of air, but I might just
make the opening a bit bigger.
When I want to clear the air, I often just open the hatch about 6" or so,
and that does the air flow good as well.
I hope this quiets any noise down.
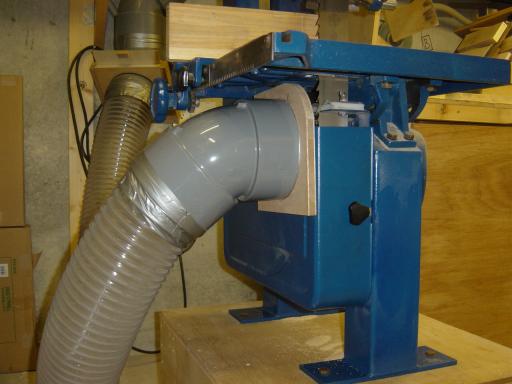
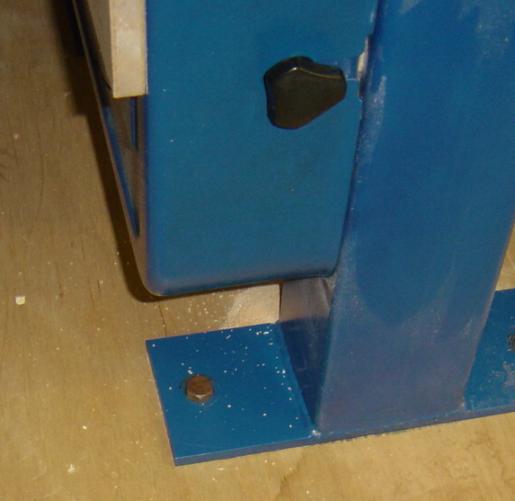
Big Blue gets DC!!
I finally got around to hooking up the DC for Big Blue
Here is the blast gate that I build into a 45 elbow
Another look at it.
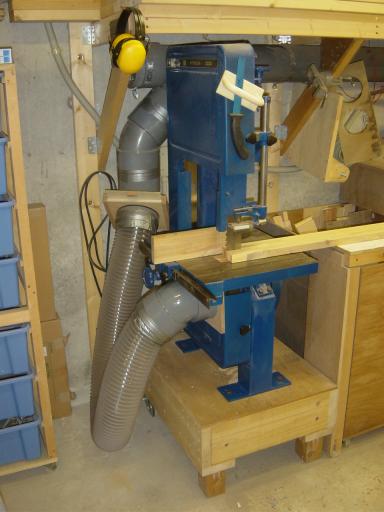
All done, here is BB parked, I can use it to cut smaller stuff here, but for
longer stuff...
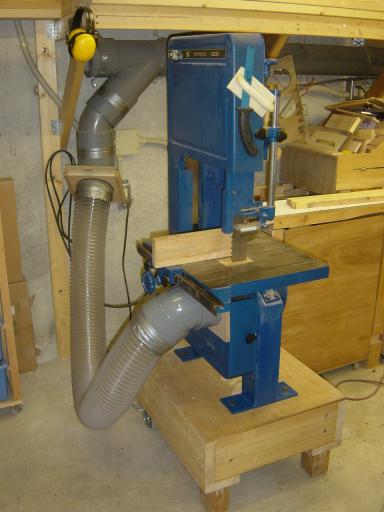
I just slide BB out from the wall a bit.
This really works well, I thought I might have to make a cover for the backside
of the wheel,
but it seems to work well enough as is.
The small pile of dust behind the leg was there to start with,
The few specks on top of the leg are all that got by the DC when I did a test
cut.
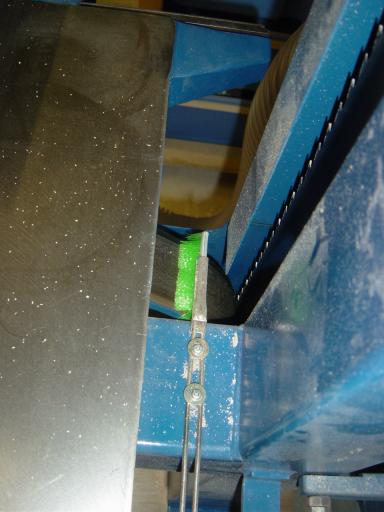
I installed these wheel brushes too, one on each wheel.
Before & After
I wanted to put up some Before & After pics....
Yes, it has been a bit of work....
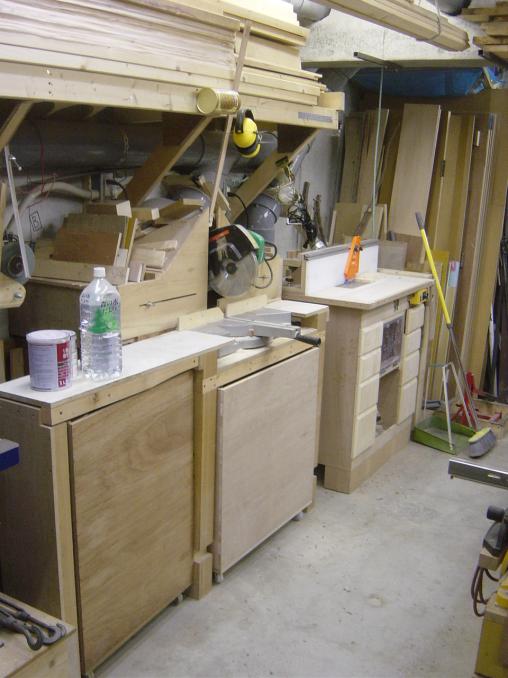
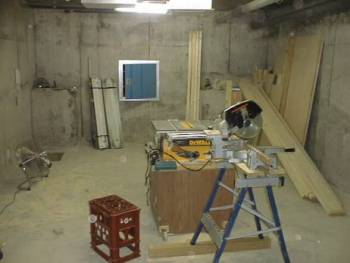
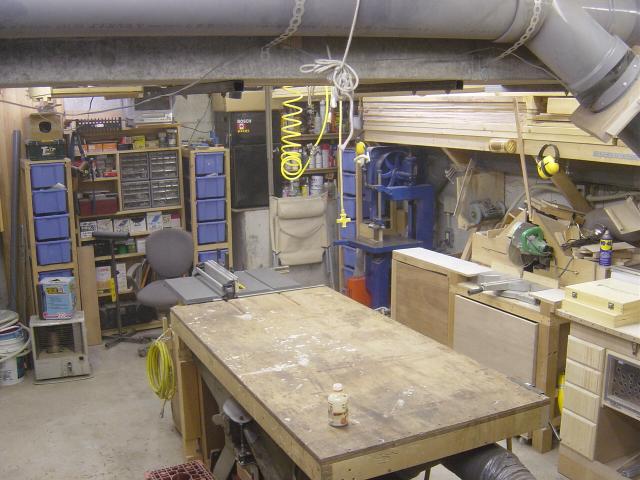
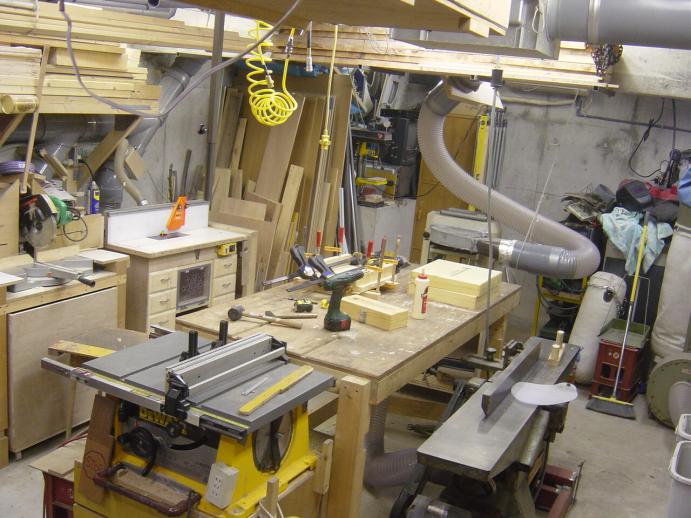
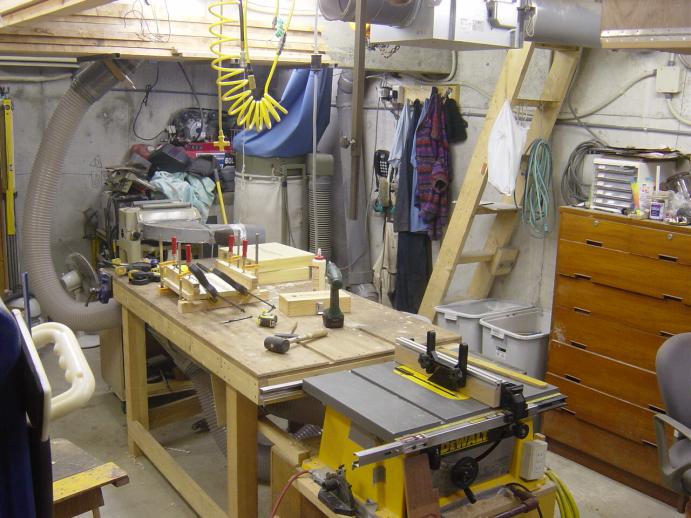
Work In Progress
I just thought I would put up some pics of my shop in the work mode, with all my new toys!
This is from the South East corner of the shop, my back is to the sink
area.
You can see the SCMS on the far left, in the foreground is the DeWalt Table
Saw,
and off behind that in the North West corner is the router table.
Here close by is the Green Meanie, out from under the table.
I the back, behind the workbench is the planer set up and ready to go.
Big Blue is not in the picture.
Another view, this one from the South West corner, you can just see a corner of
Big Blue on the left. The DC is in the background and the compressor is behind
the DC. The stairs are there by the garbage cans.
Thanks for looking!
I got tired of the crappy blade guard on my TS, so I changed it to a splitter with kickback pawls....
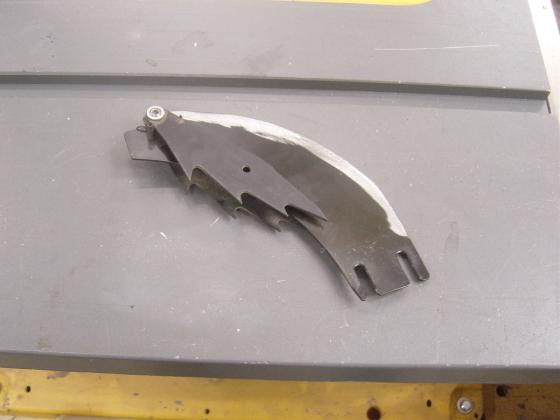
Some cutting and grinding...
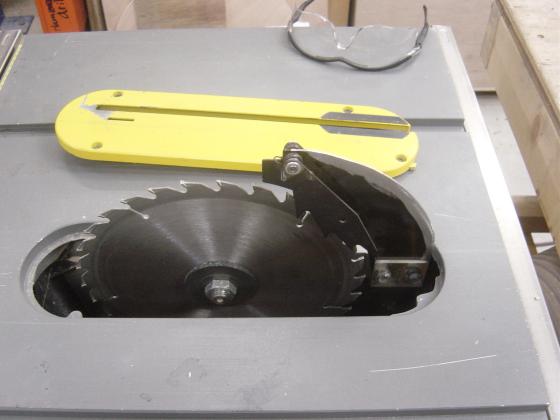
Put it in place....
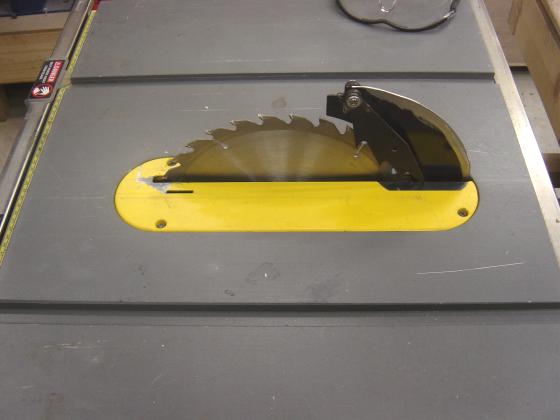
Button it up and.......
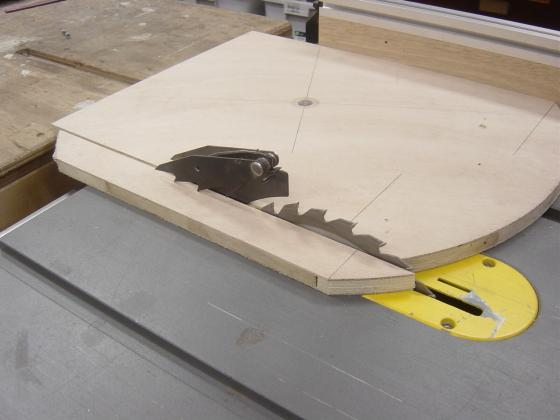
Hey it works!
I'm going to build an overhead guard for the saw as well.