_____Stu's___Dungeon__
Joyful Honda
Treasure
Lesson Room Cabs
In the beginning
2
3 4 5
6 7 8
9
10 11
12 13 14
15
Jointer1
Jointer2
Router
Table1
Router Table 2
The Doors
Do
Pa
Give Me A Brake
Cyclone
Cyclone 2
Cyclone
3
Cyclone 4
Liquor
Shop Reno Tenjinsama Shrine Tree Tour
Beer Shelves
Wine Shelves
Five Cuts
Drill Press <NEW
DoPa 2007 <NEW
Turning
Jean Francious Escoulen
Eli Avisera Demo Day One
Eli Avisera Day Two
Lathe Stand!!
Turning
Roughing
It
Sharpening Station
Bowl Blank Processing
Captured Hollowing Rig
<NEW
Logging In Tokyo
Woodlot Woodlot
2006 Woodlot
3 Woodlot 4
Chainsaw Mill
Chainsaw
Mill Mk II
One page was not enough, so welcome to the Second Cyclone page.....
Just to show you why I'm so intent on building this cyclone, watch this video....
Puff the Dirty DC!! <- right click, save ask
OK you can see
on the right side the piece of tape over the whole is off again,
but other wise,
you can see the fine dust that gets airborne every time I start up the DC
Puff the Dirty DC's Imminent Demise
Time to hang the Cyclone
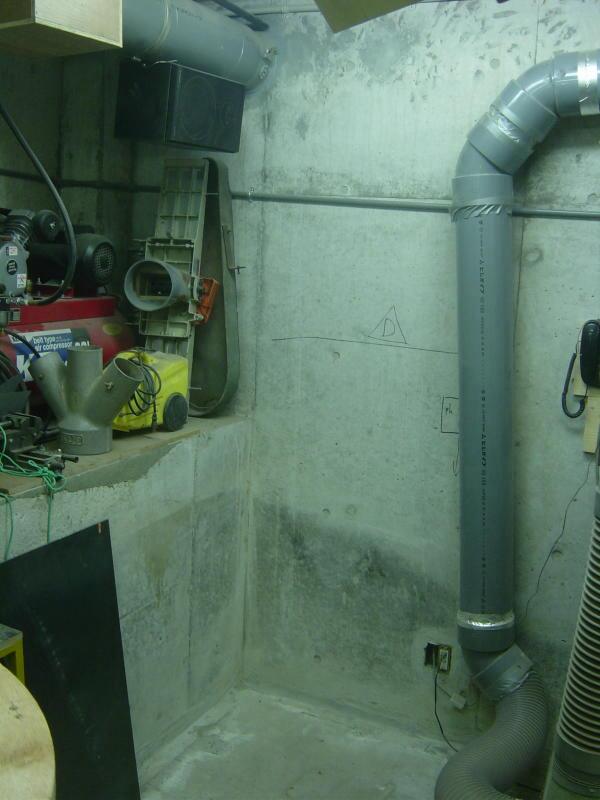
Puff the Dirty DC's former parking space, soon to be occupied by the Cyclone
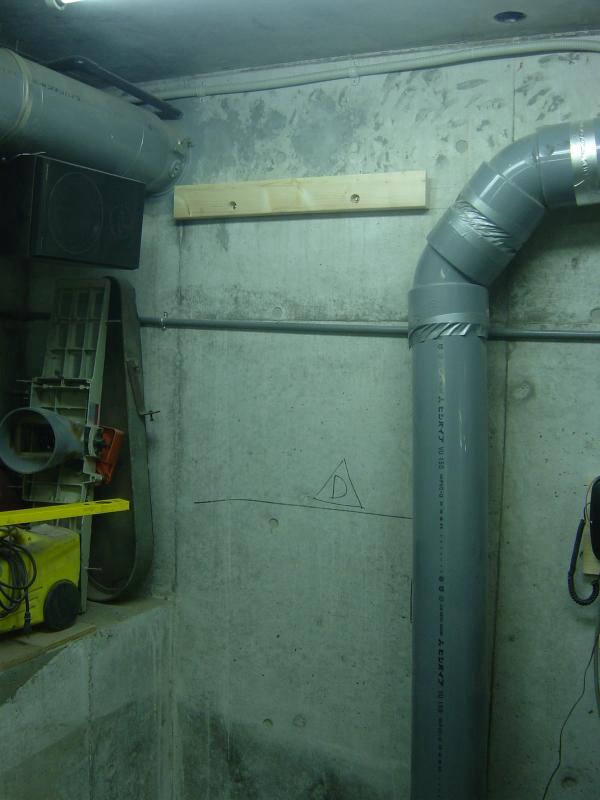
Here is the top Freedom Cleat on the wall
Freedom Cleats on the Cyclone (it is upside down in this pic)
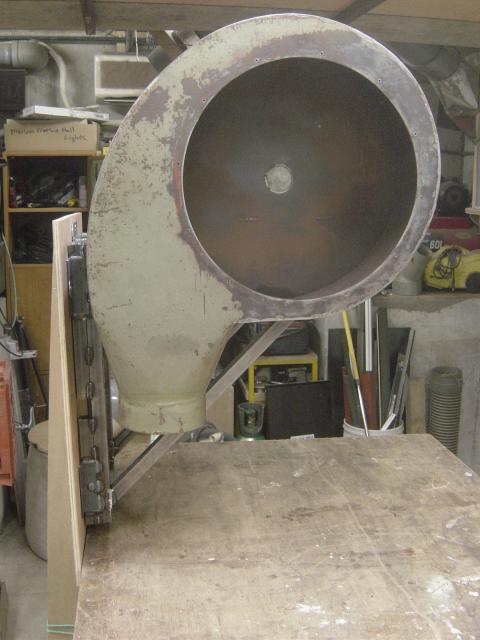
Standing on the floor waiting to be hung on the wall.
There it is, hang-em high!
Looks like that light is going to have to find a new home...
There, the light is out of the way, next the extra ducting...........
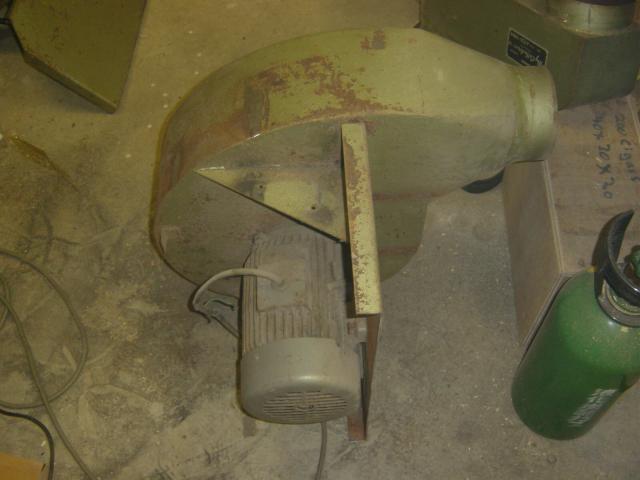
The ducting is removed, but I've got to rotate the cyclone so the inlet points
out a bit more.
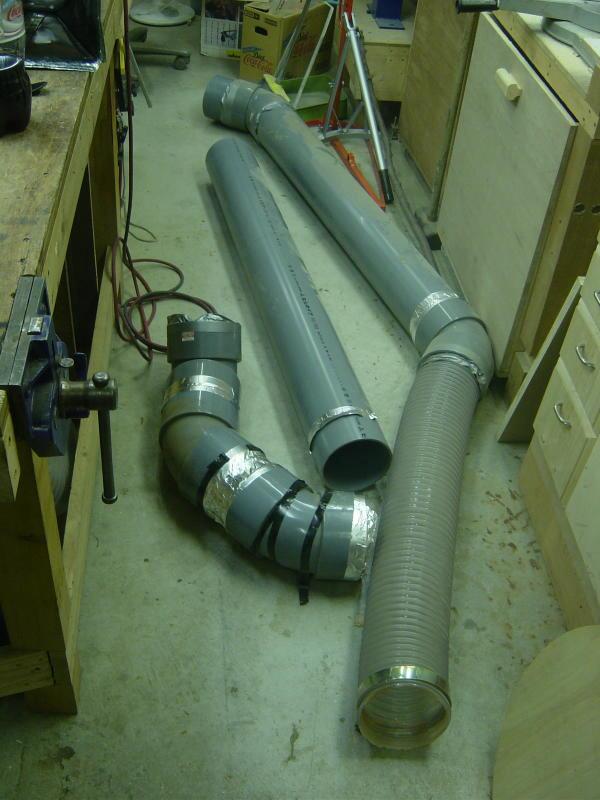
Changing to the Cyclone, I've removed just over 13 feet of ducting,
and about 4 feet of flex hose, not to mention six 45 elbows.
I'm sure that 2 of those elbows will go back, and maybe half of the flex hose.
All in all I've removed about 1/3 of the total ductwork,
so this should increase the suction for each machine as well.
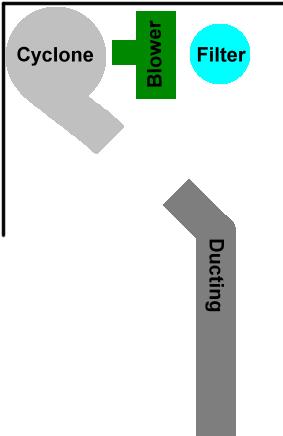
A top down view
I've got to turn the inlet on an angle, so it will easily line up with the existing ducting.
The blower will be mounted on the side, and the filter will be below the blower.
OK I had good evening....
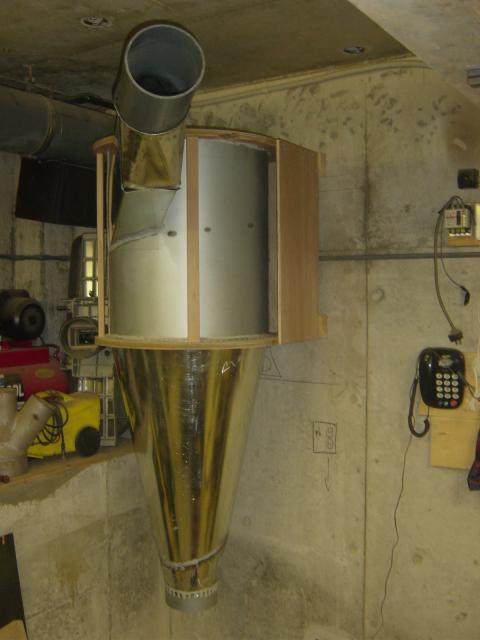
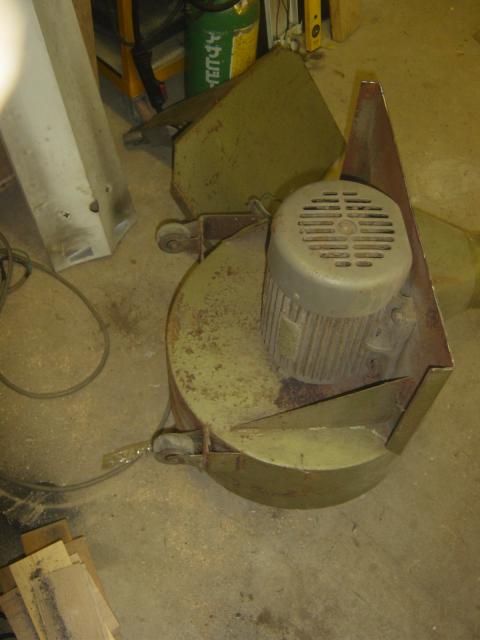
I got the inlet rotated, and the side panel on as well
Another view
The inlet and the ductwork just about lines up, some "persuasion"
might be needed...
OK Puff is officially gone, RIP....
I need to lose some steel here, sure wish I had a plasma arc torch!!
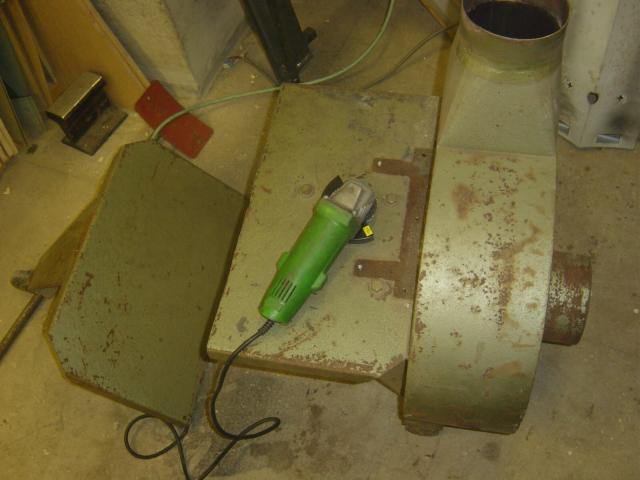
4" angle grinder, and a little time plus a lot of mess.......
That is looking better!
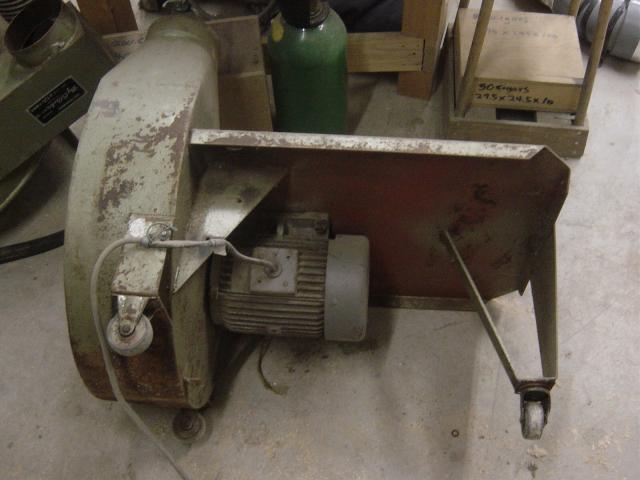
Going airborne, so we don't need no stinking wheels!
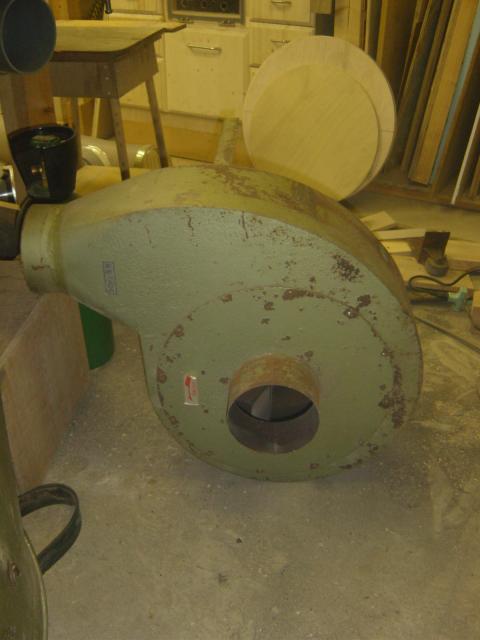
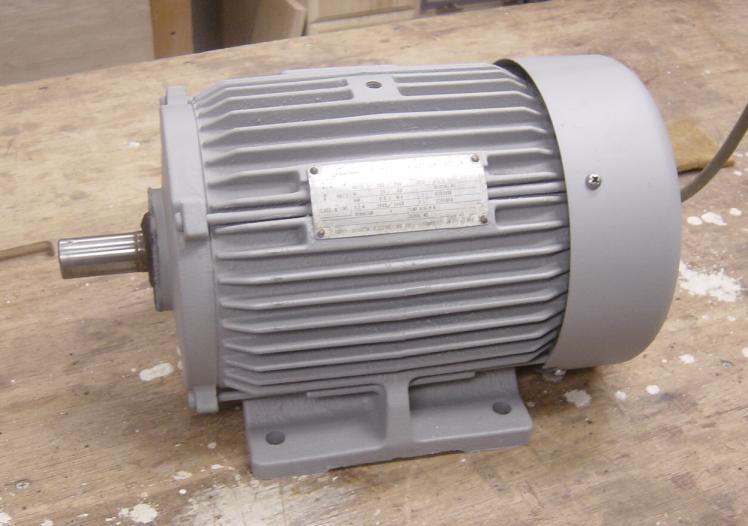
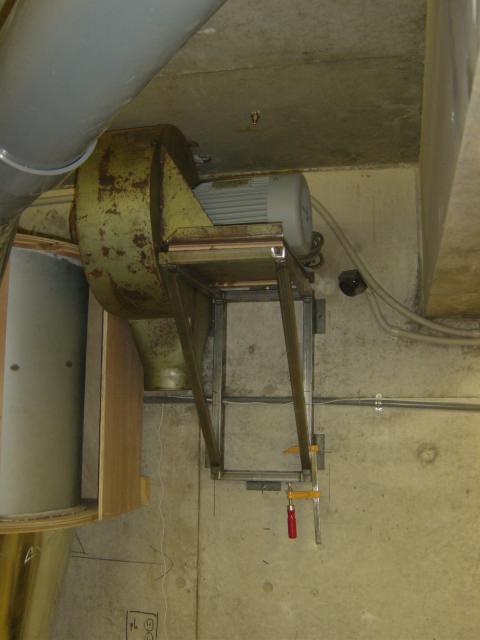
The new and lightened blower!
It still weighs a ton, that 3 phase motor is not easy lifting!
going to have to break down and paint it I guess...
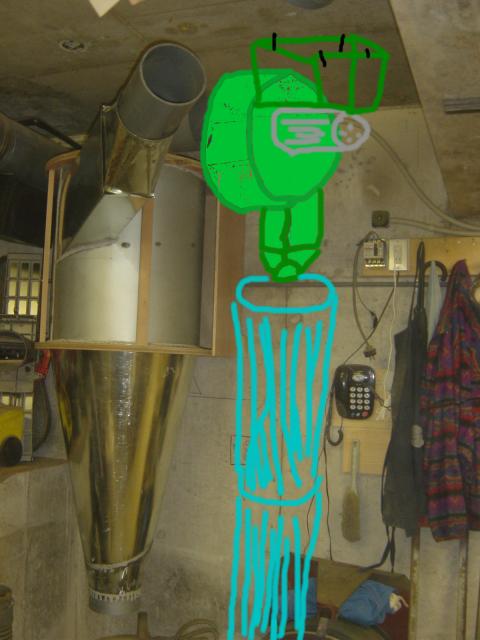
An artists rendition of what will come (Ok I'm a lousy artist)
Cleaned up, floor swept, time for bed....
I needed to clean the blower up to paint it, but I had to
remove the impeller from the motor, so I could remove the motor.
I had to make a puller to do this, so I did....
Cleaned up, motor removed, and ready for paint

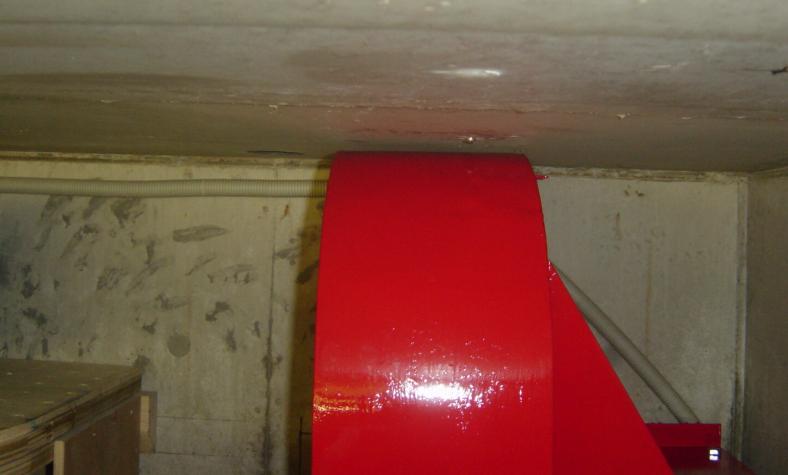
Painted, but no shroud yet.
There, almost as good as new!!
![]()
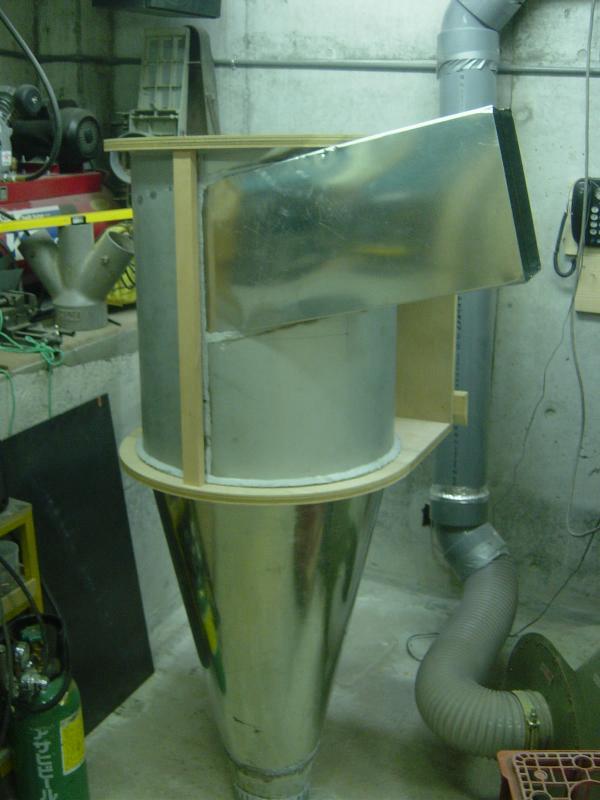
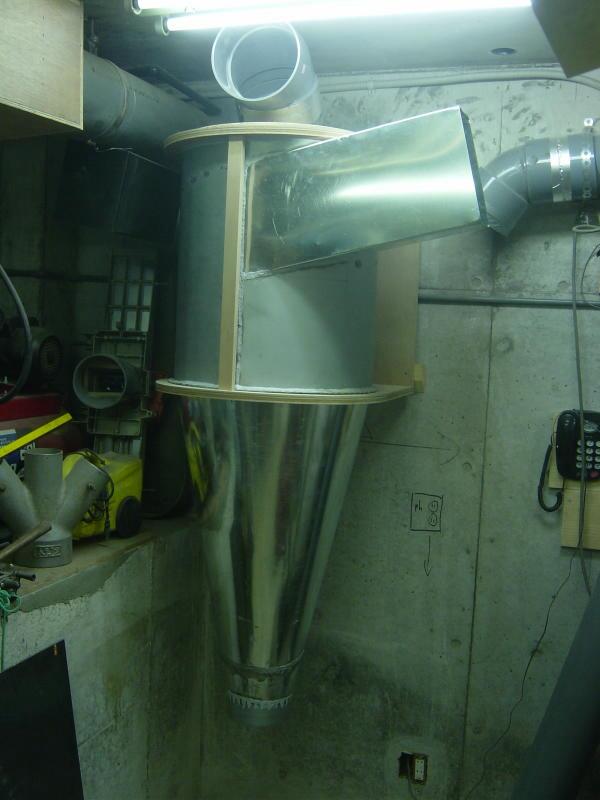
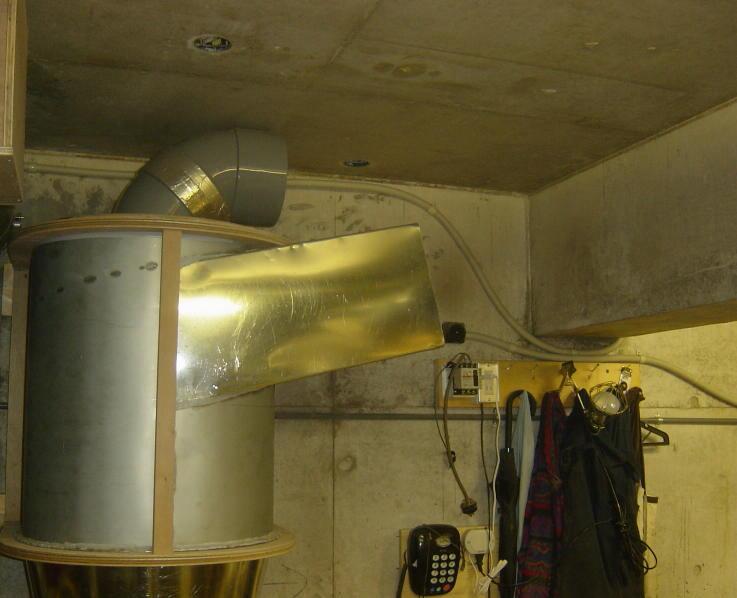
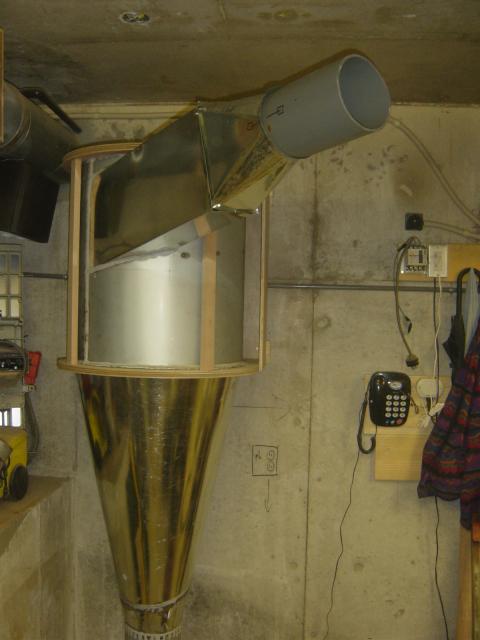
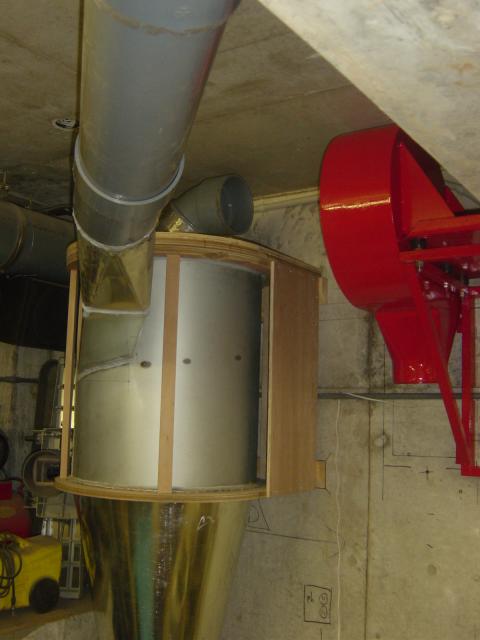
I finished the ducts as well, this is the main duct going into the cyclone
inlet.
Needs caulking and tape.
![]()
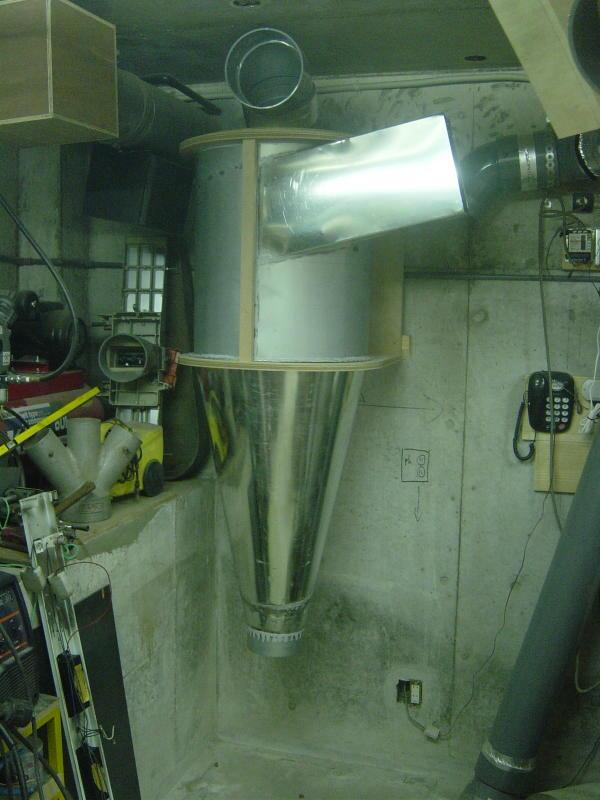
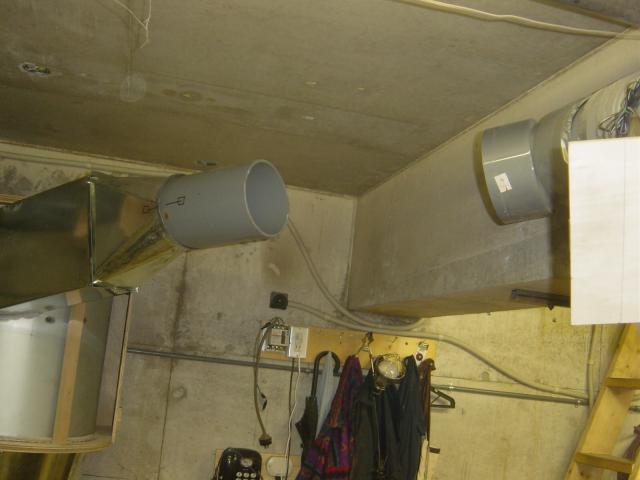
From the other side, this gives me a fairly straight shot right into the
cyclone.
Bill's pages say the transition should be 5' long, well I could not do that, but at least the duct is nearly that long.
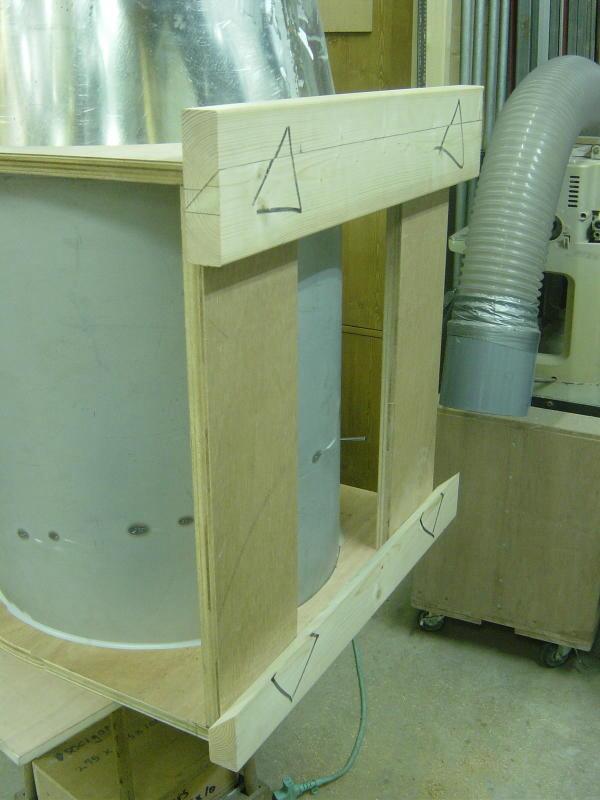
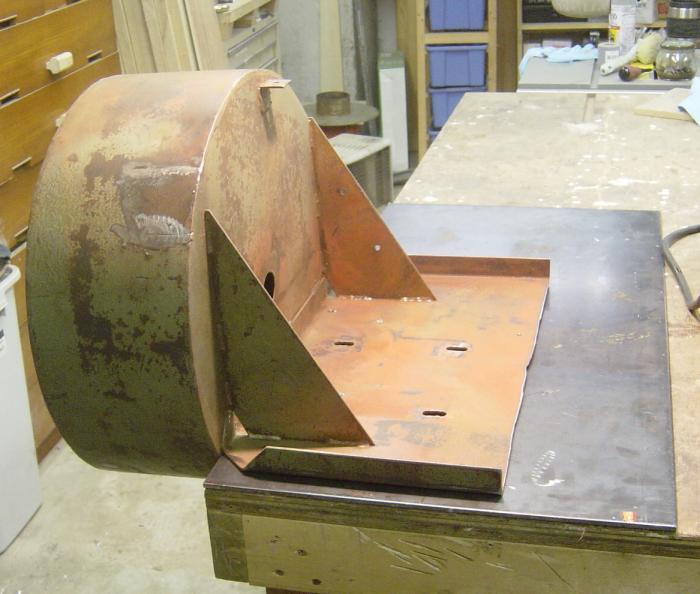
On to the mounting Blower Housing Bracket
I've decided to mount the blower housing on the side of the
cyclone, as the 3-phase motor I'm using is really long,
I'd have to make the dust bin on the very bottom of the cyclone really
short.
The blower housing and motor are HEAVY, so I've got to make a
good bracket to make sure that nothing comes crashing down.
I've decided to use tubing instead of angle iron, as I think it looks better,
and it will be stronger.
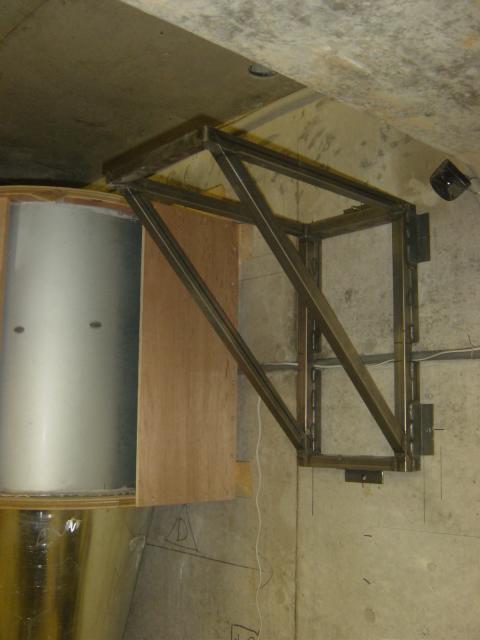
Here is the bracket all welded up...

OK, here is the frame all welded up, all 1" tubing, 45 corners and welded
all to heck!
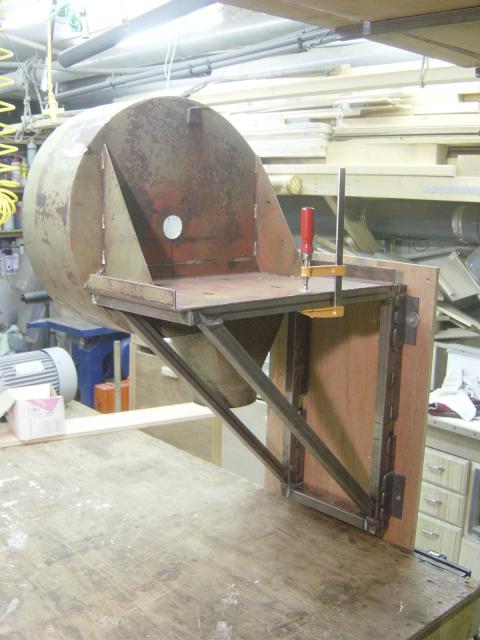
Here is the view from the motor area.
I mocked this up to make sure everything fits.
This is the view that you will have when you stand in front of the cyclone.
The impeller view
OK I put the bracket up on the wall, just one anchor,
as I want to just see how it would all fit.
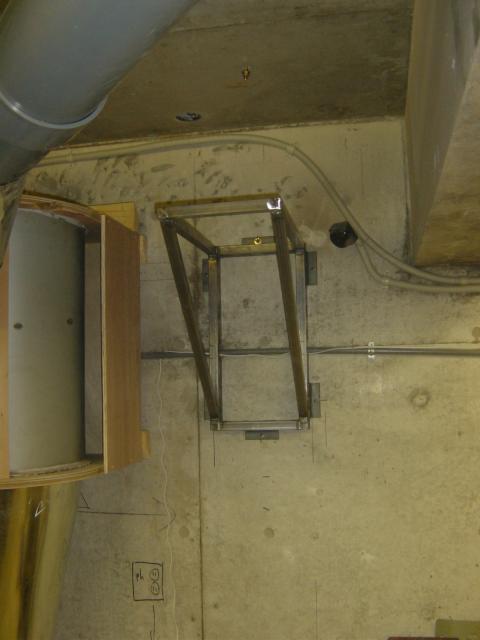
A front view

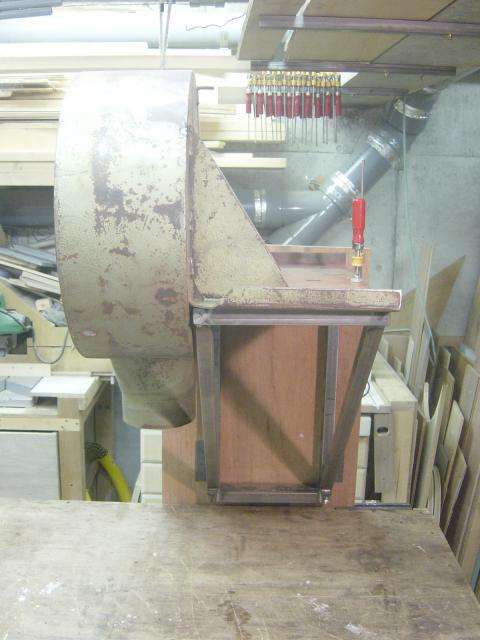
Now I put the blower housing up on the bracket, to see if it fits.
Well it does not fit, there is not enough space between the ceiling and the
cyclone, just, about 3/4".
I could lower the cyclone, but
there is no need, I'll just move the bracket to the right about 6 or 8 inches,
as I'll be using some flex hose to join the cyclone outlet and the blower
inlet,
the 3/4" difference will be taken up by the flex hose with ease.
There you go, I put the motor up there just to see if I could do it.
Heavy...?
You bet, but I guess all the lifting of cases of beer did some good.
Don't worry, with only one anchor in the wall, the motor was soon taken down....
Ok now that the paint has dried............mostly.......
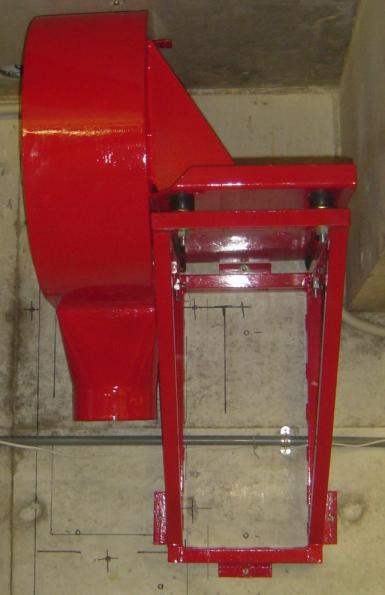
You can see the rubber bumper/cushions I put between the bracket and the blower
housing.
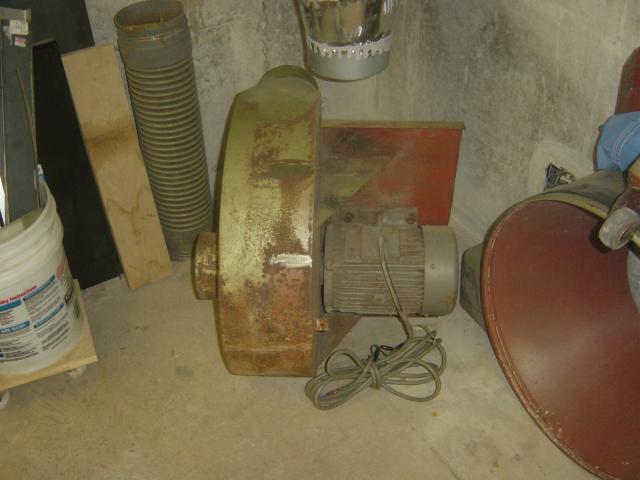
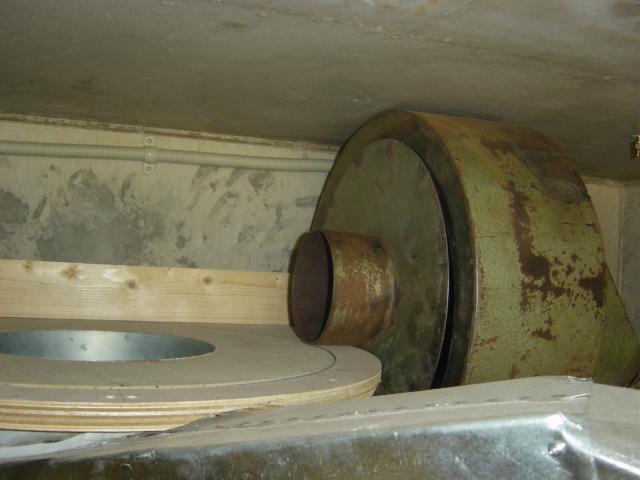
Here you can see the blower in relation to the cyclone
The blower just fits, there is about 1 cm of space there...

With the flex hose on, yes a straight shot would have been better, but so would
12' ceilings!!
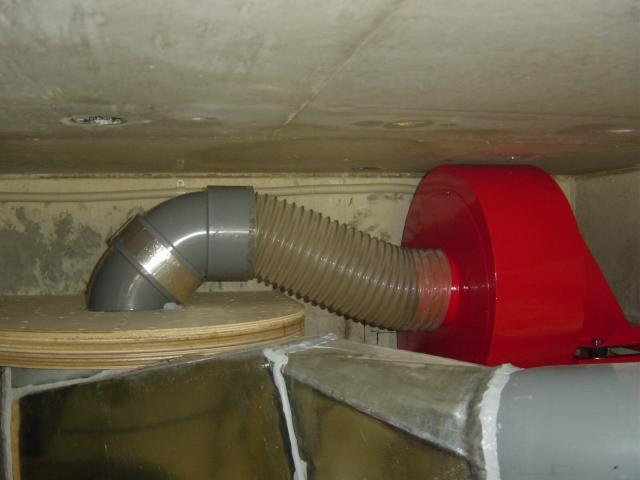
Another view of the cyclone to blower flex hose route

As a safety feature I'm going to put this turnbuckle in here to take up some of
the weight
yes it is duct taped to the ceiling at the moment,
I'm just getting the placement of the anchor right.
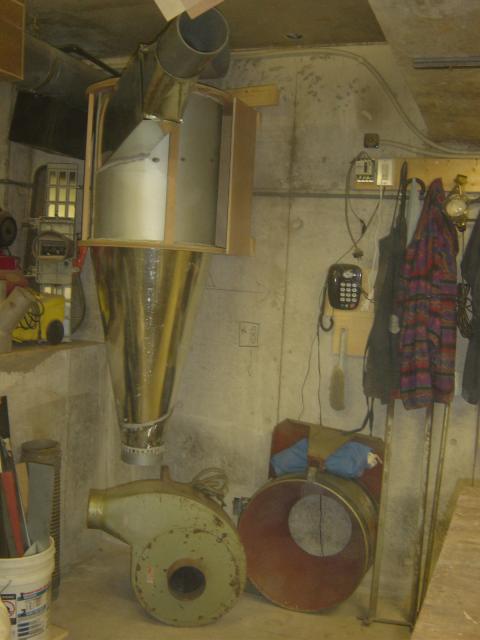
IT LIVES!!!
I got things well in hand, and I'm getting really close...
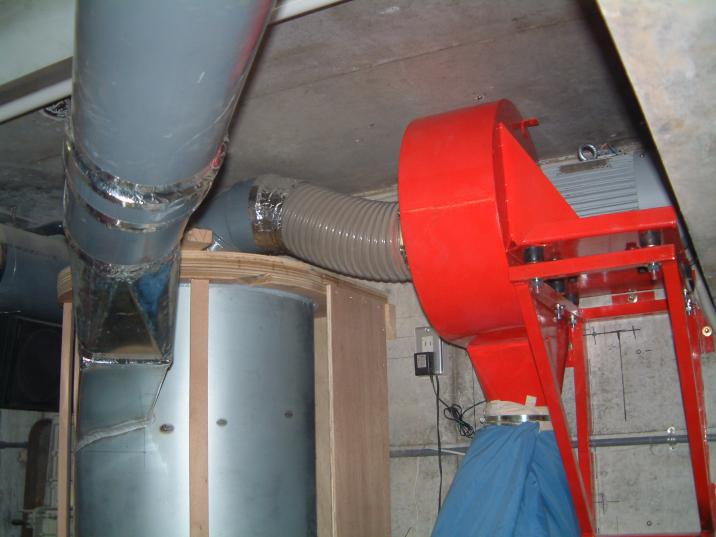
Everything is all caulked and taped up, all the connections are tight, the
wiring is finished as well
I don't have the filters yet, but I did not want to run the cyclone with out any bags, might burn up the motor.
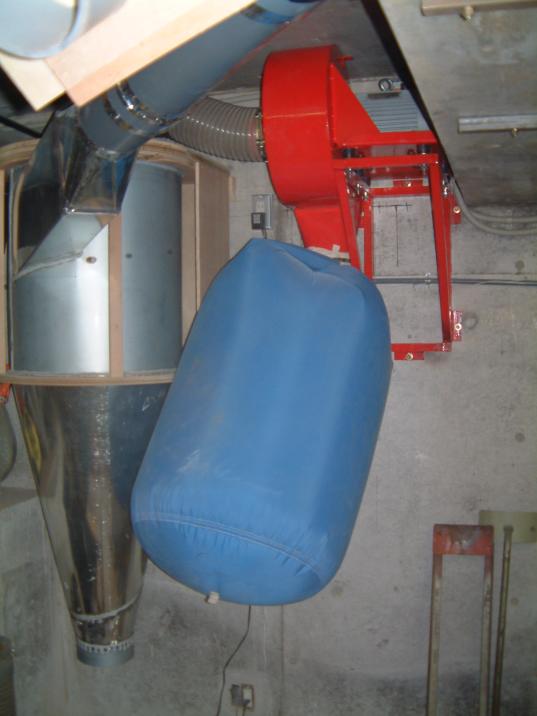
So I put the puffster back into action!
Now I need to build the dust bin for the bottom of the cyclone, and then the top and bottom pieces for the filter stack.
Cheers!
On to page Three, and the final stage!!!