_____Stu's___Dungeon__
Joyful Honda
Treasure
Lesson Room Cabs
In the beginning
2
3 4 5
6 7 8
9
10 11
12 13 14
15
Jointer1
Jointer2
Router
Table1
Router Table 2
The Doors
Do
Pa
Give Me A Brake
Cyclone
Cyclone 2
Cyclone
3
Cyclone 4
Liquor
Shop Reno Tenjinsama Shrine Tree Tour
Beer Shelves
Wine Shelves
Five Cuts
Drill Press <NEW
DoPa 2007 <NEW
Turning
Jean Francious Escoulen
Eli Avisera Demo Day One
Eli Avisera Day Two
Lathe Stand!!
Turning
Roughing
It
Sharpening Station
Bowl Blank Processing
Captured Hollowing Rig
<NEW
Logging In Tokyo
Woodlot Woodlot
2006 Woodlot
3 Woodlot 4
Chainsaw Mill
Chainsaw
Mill Mk II
My Sharpening Station and Jig
I build a sharpening station around the older cheapo grinder I
have, I'd love to get a Baldor slow speed grinder,
but, I've not convinced myself that I really need one...... yet...
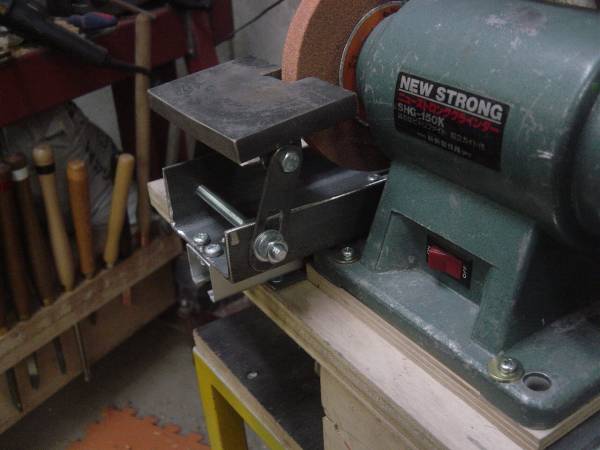
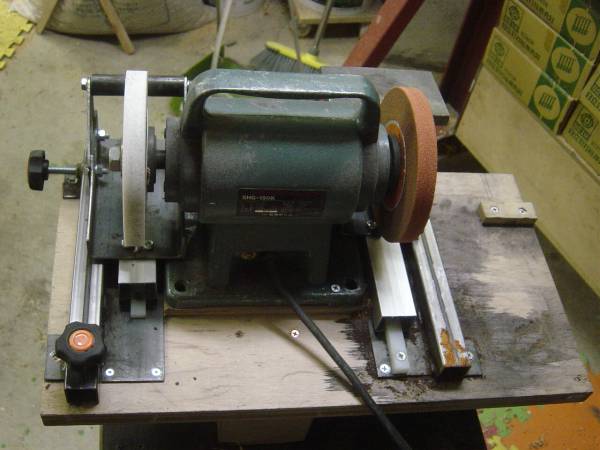
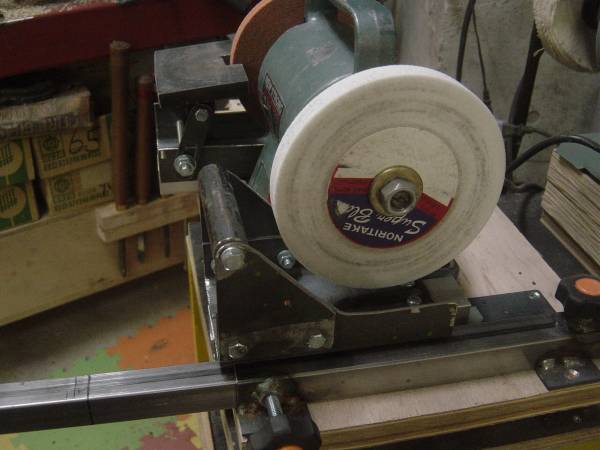
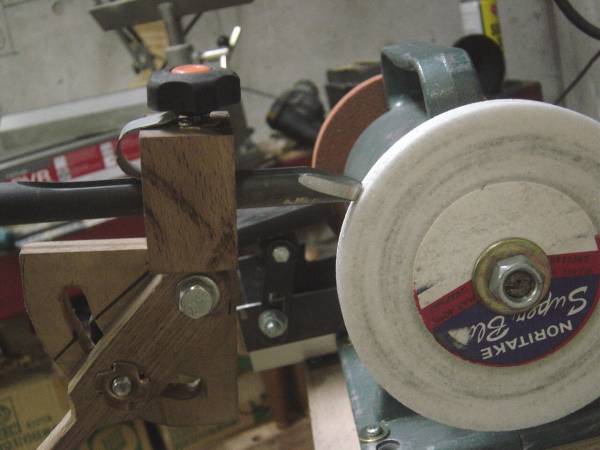
The Grinder and Rests
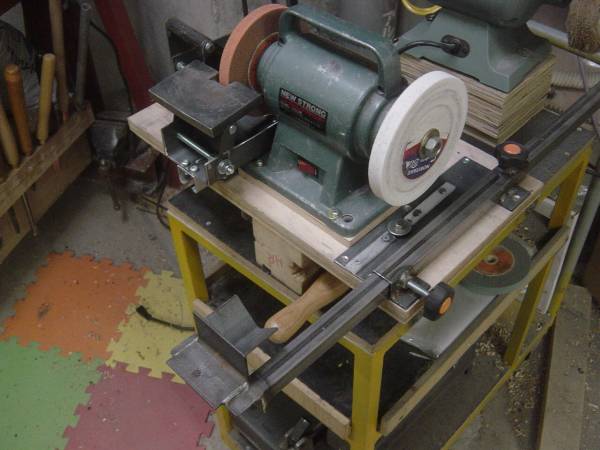
This is my basic set up. On the left, there is a table type of rest, I use this
for sharpening scrapers
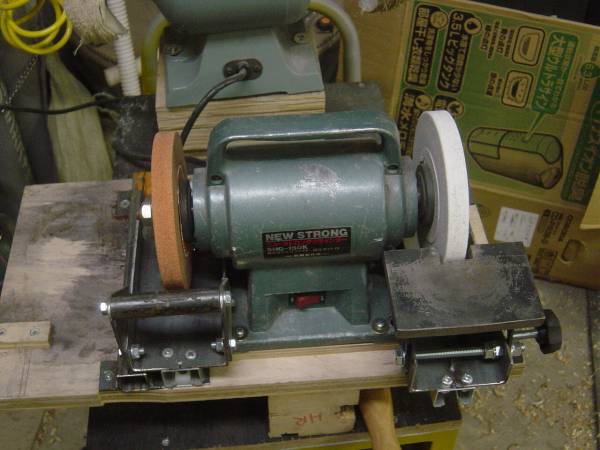
There are two rests, one a table type, and the other a bar type.
They can go on either side of the grinder.
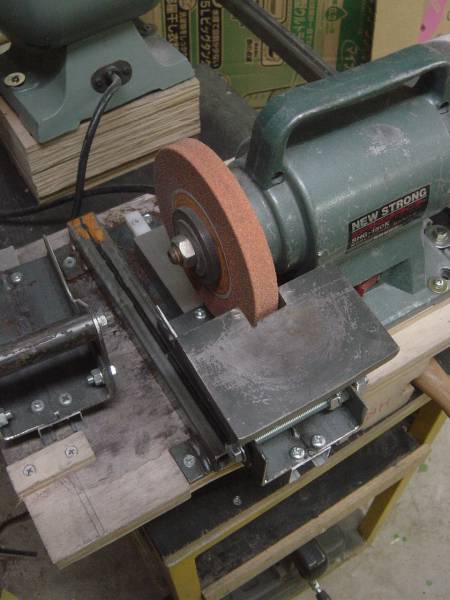
A pic of the table type rest from the top
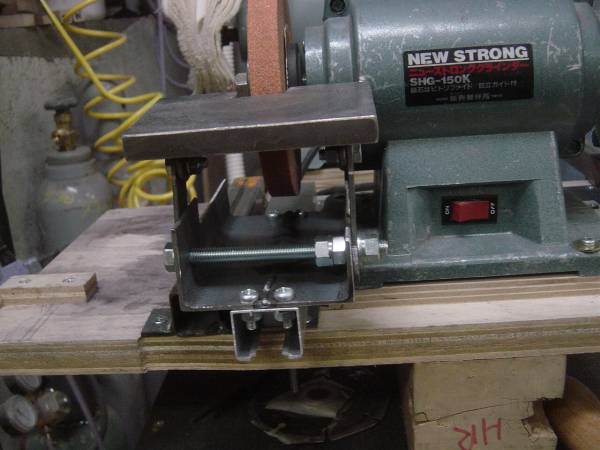
Looks a bit crooked here, but it is level.
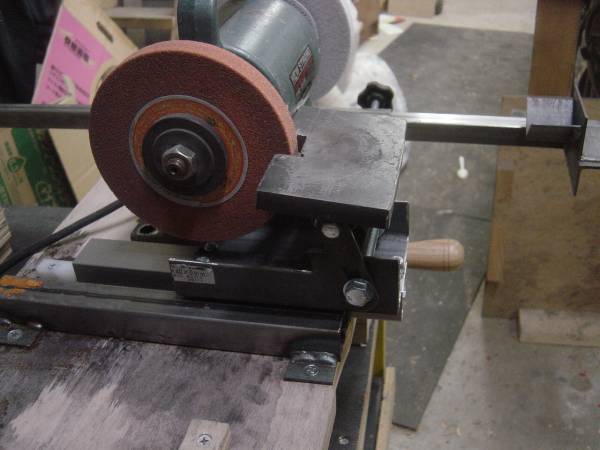
The Bar Rest

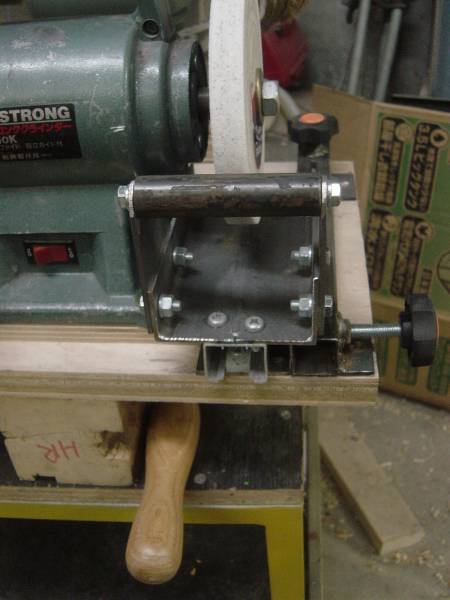
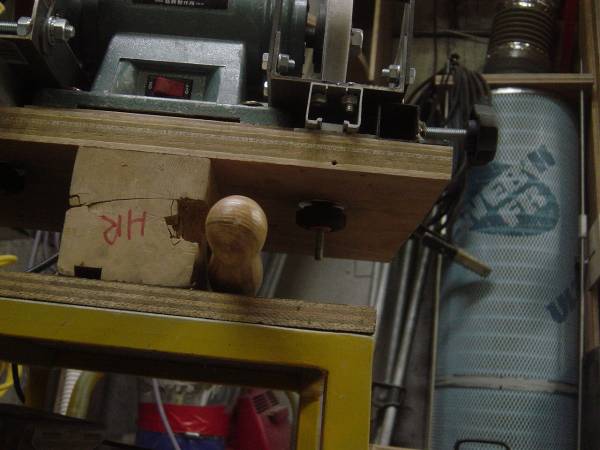
I use a bolt and handle to lock the rests in place from under the stand.
The Jig
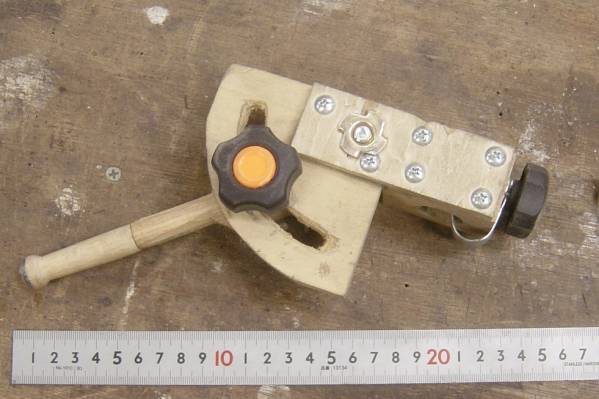
Obviously handmade, but it works well
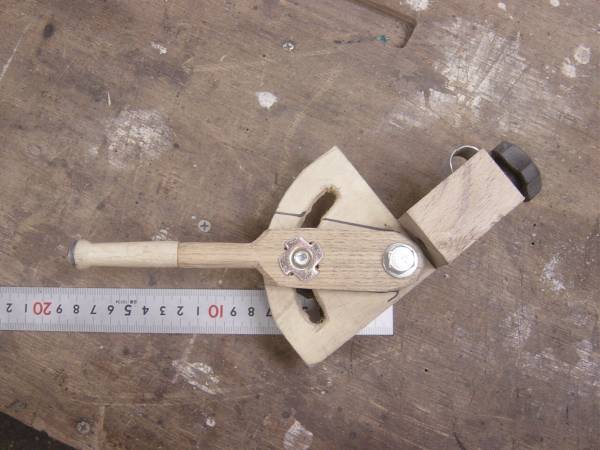
The front

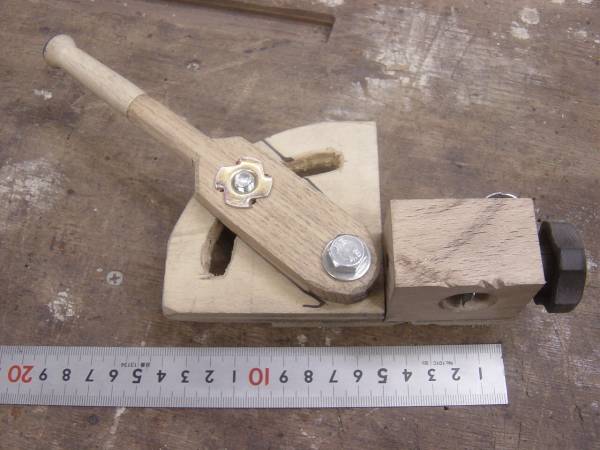
The backside
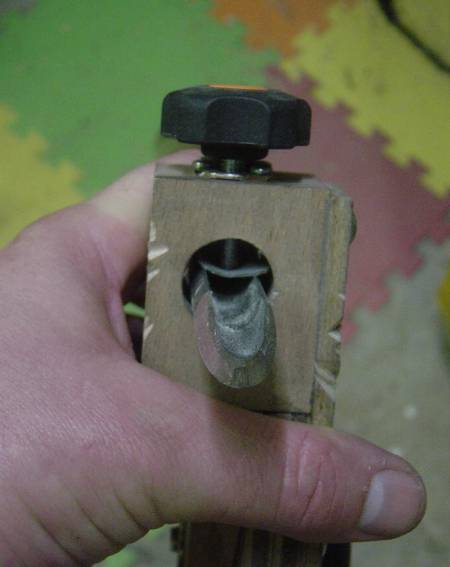
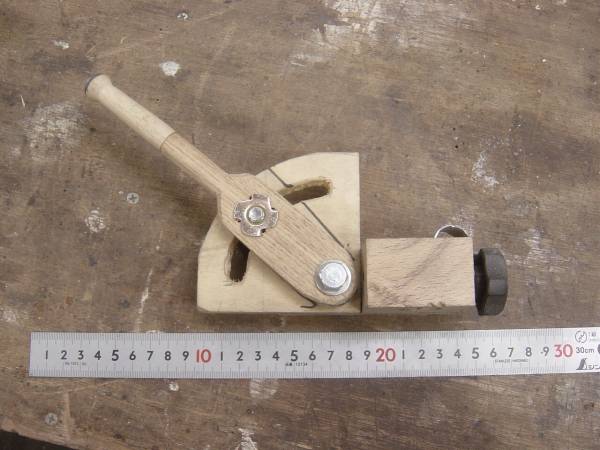
The front with a bowl gouge inserted
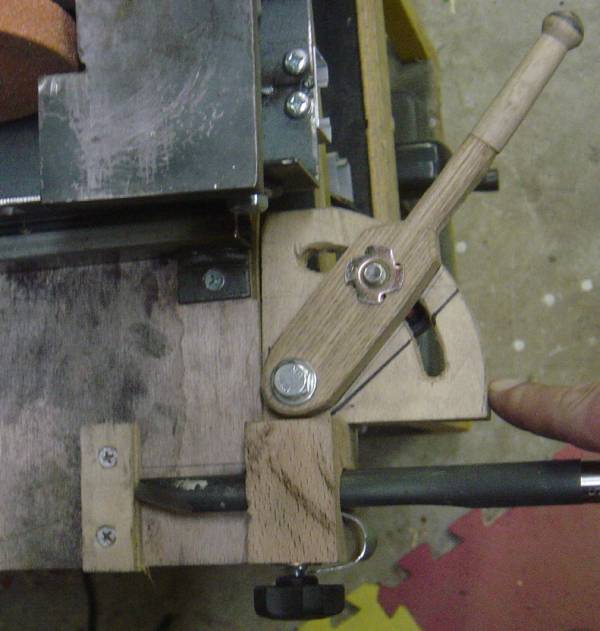
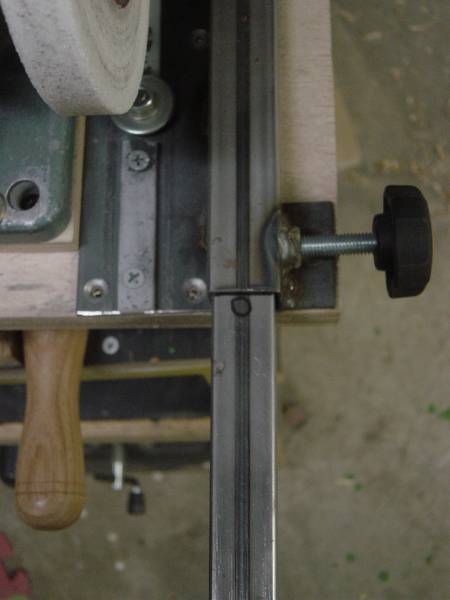
I just screwed a piece of wood onto the stand to set my stick out on the jig,
the stick out is about 1 3/4" but it is not that critical, what is
important, is that it is the same each time.
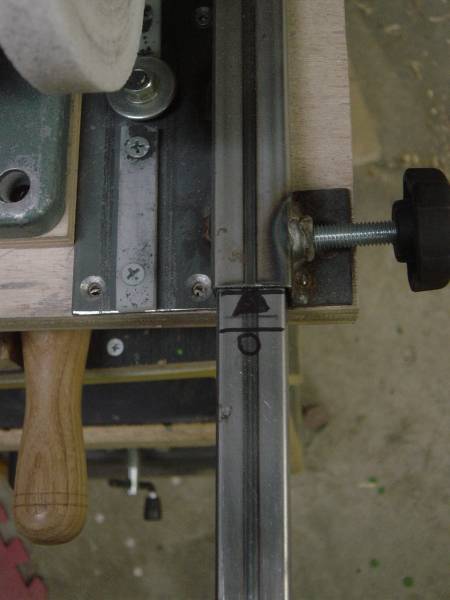
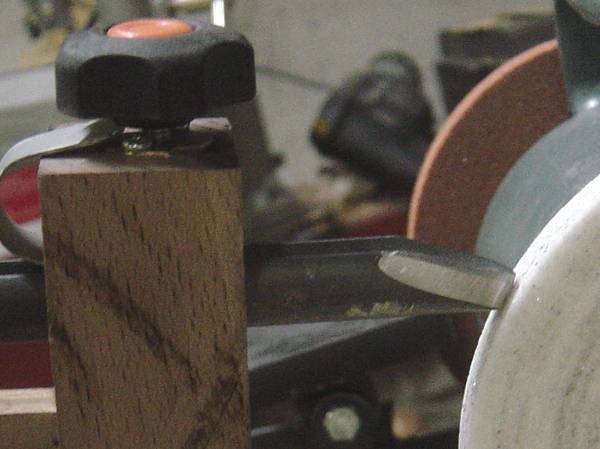
I do the top bevel first, I have the extension rest marked
You can see the gap at the bottom, this is because I'm only grinding the top
bevel
A close up
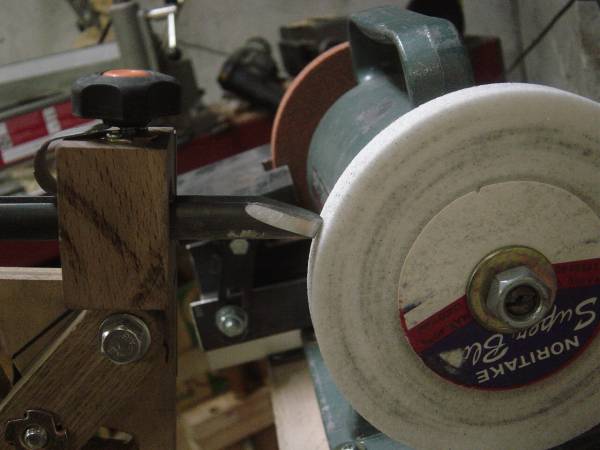
Once I've ground the 1st bevel, I move the extension rest inward to the second
mark
Here I'm grinding the second bevel
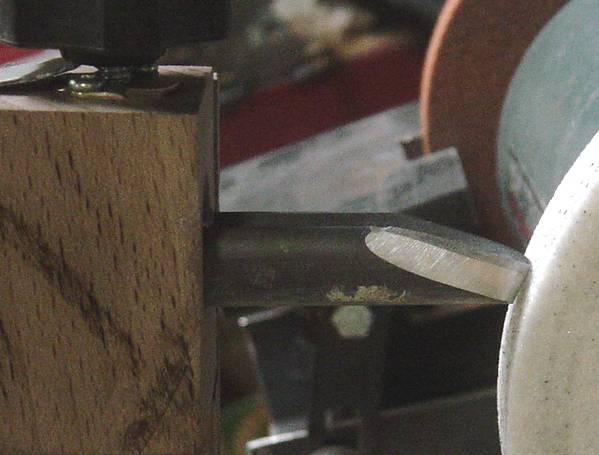
in the close up you can see that the 1st bevel is not being ground.
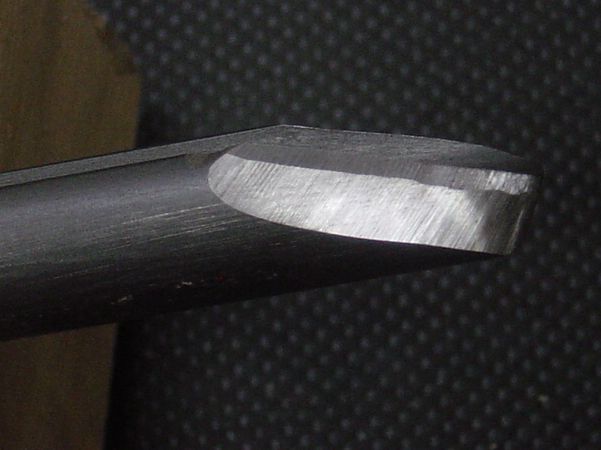
This is the result, with this, you can present the tool to the work, in such a
way that the tool cuts very smoothly.