_____Stu's___Dungeon__
Joyful Honda
Treasure
Lesson Room Cabs
In the beginning
2
3 4 5
6 7 8
9
10 11
12 13 14
15
Jointer1
Jointer2
Router
Table1
Router Table 2
The Doors
Do
Pa
Give Me A Brake
Cyclone
Cyclone 2
Cyclone
3
Cyclone 4
Liquor
Shop Reno Tenjinsama Shrine Tree Tour
Beer Shelves
Wine Shelves
Five Cuts
Drill Press <NEW
DoPa 2007 <NEW
Turning
Jean Francious Escoulen
Eli Avisera Demo Day One
Eli Avisera Day Two
Lathe Stand!!
Turning
Roughing
It
Sharpening Station
Bowl Blank Processing
Captured Hollowing Rig
<NEW
Logging In Tokyo
Woodlot Woodlot
2006 Woodlot
3 Woodlot 4
Chainsaw Mill
Chainsaw
Mill Mk II
Lucky Page 13!!
Page 12 was just getting too long...
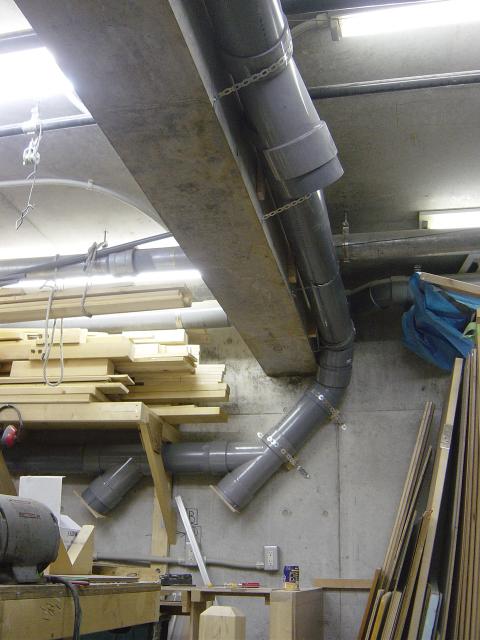
OK I'm putting my DC ducting in, all 6" PVC pipe, I'm not
gluing any of it,
as I'm finding the friction fit works really well, too well in fact.
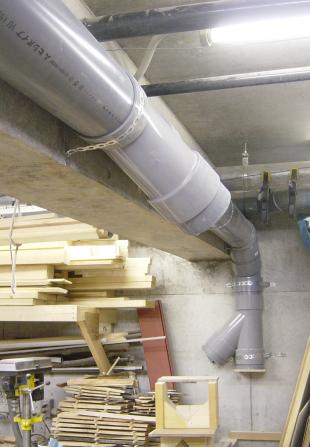
This is the drop from in the ducting from the center of the shop, where the
"Y" for the workbench area is. On the far wall you can see the next
"Y", which will go to the router table, and then on to the SCMS and
Big Blue. The problem is that the duct is kind of in the way of the sheet goods
storage, and I will need at least another 45 to go under the lumber storage.
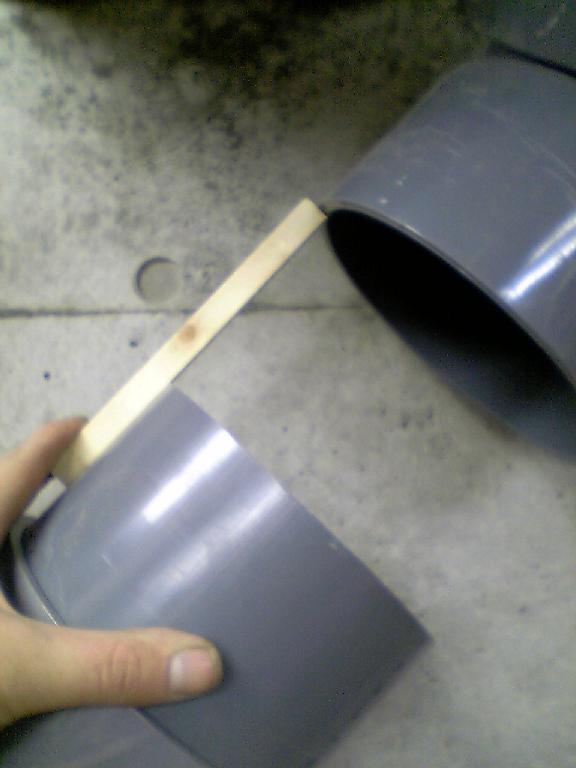
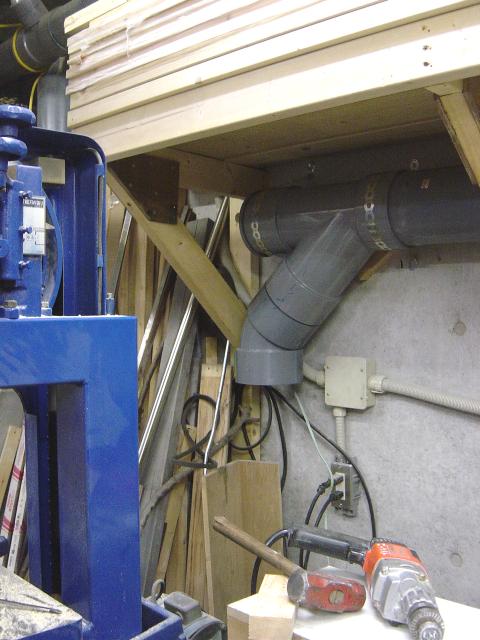
I decided to try and twist the 2 45 fittings I have up there near the ceiling, and the "Y" as well.
With the ducts fitting together with just friction, I hoped I could twist them, well by hand, there was now way they were going to budge. As I was standing there thinking about what I could use to twist the pipe, I thought about the band wrench that I use to take oil filters off my motorbikes (Being a Motorcycle guy).
I made one up...
Sorry the pics suck, cell phone camera again..
I took some of the steel plumbers strapping and a fairly long stiff board,
screwed it all together, and there you go, a pipe twister!!
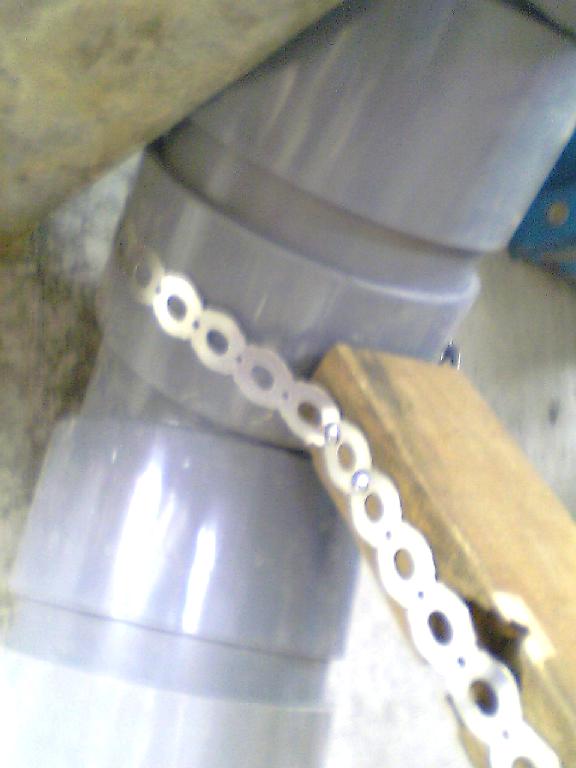
A close up of the pipe twister...
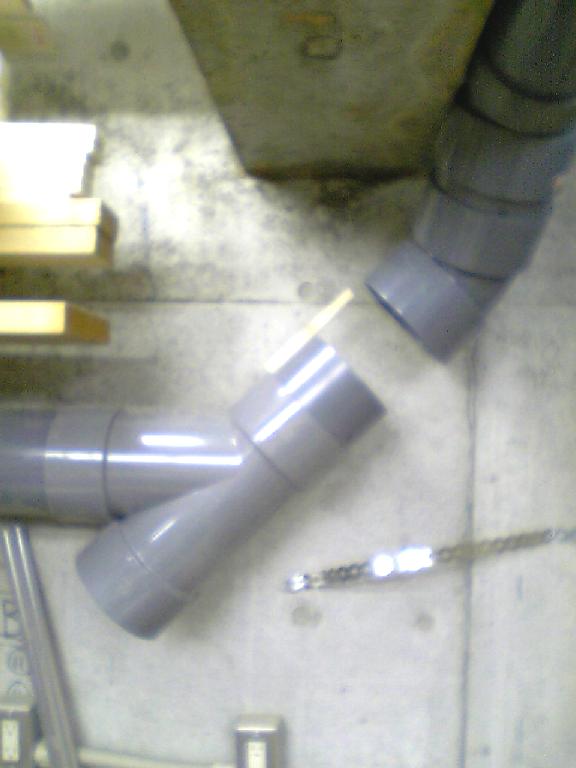
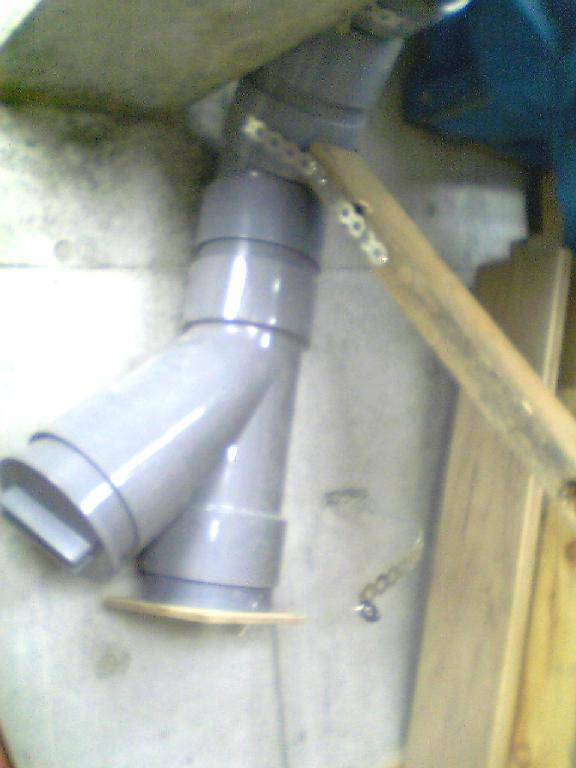
I think I got close enough..
Looks good, now I have to replace that short piece of pipe with a longer one...
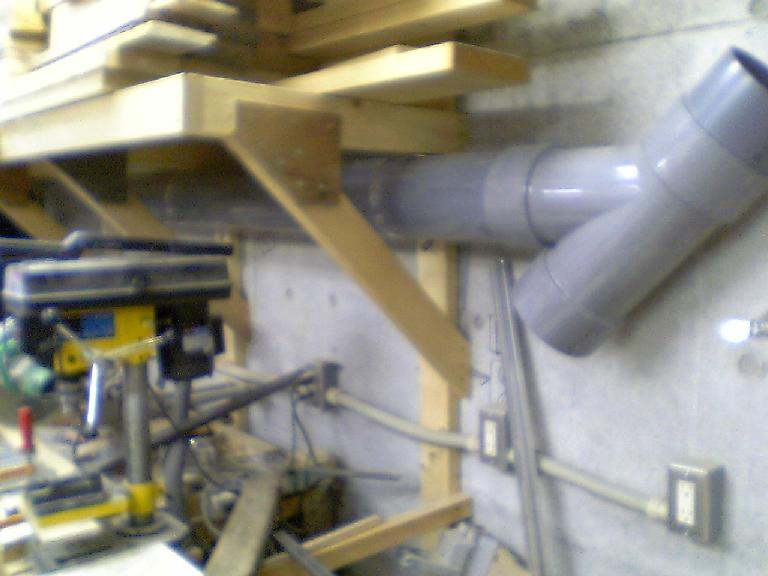
Here you can see where that "Y" ended up, and the
run under the lumber storage.
I'll be putting another "Y" in there for the SCMS and then a
"Y" at the end for Big Blue,
I'll just block off the unused part of the last "Y" incase at
some time in the future I need to expand, or as a clean out.
A Stand of Beech
I bought some more beech, this is really nice stuff, all the boards are nice and straight, and look good

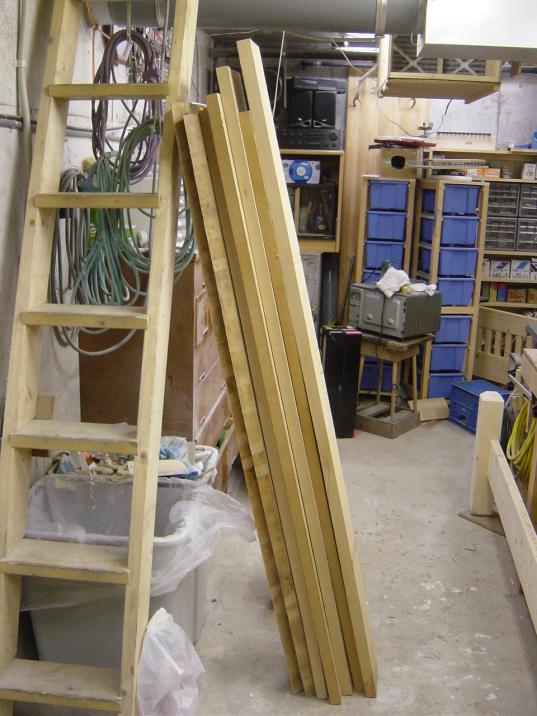
You are looking at about $280 US in beech, I got a better deal this time around, only about $4 a board foot.
Call 911!!
The other night someone tried to break into my bike garage.
The cut the sides of the garage and tried to get the locking
bar unbolted, they did not get in,
but still, in about 4 or 5 years this is the first time anyone has tried.
It freaked me out and pissed me off to say the least, so I went to work on
making my Garage a lot more solid.
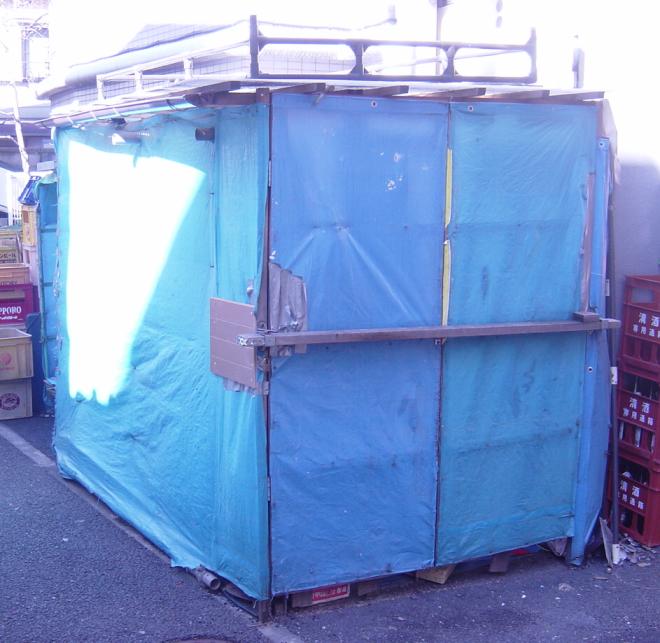
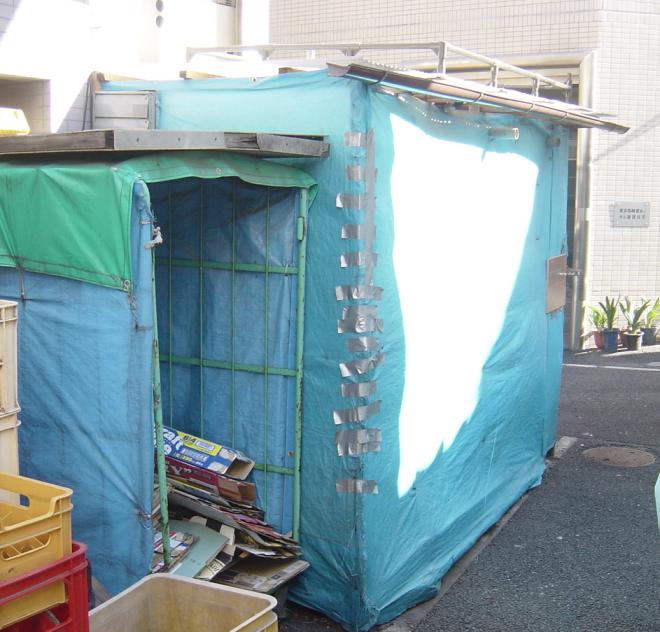
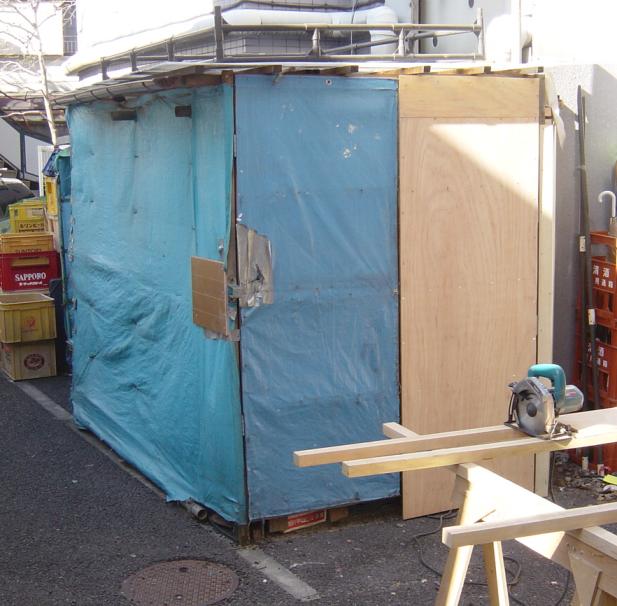
I know it does not look very good, but you have to understand a few things, this
is a "Temporary" building, has to be by law, and it was originally
built by me as a way of keeping me dry when I worked on my bikes.
Since then it has seen some changes, and now is more of a garage.
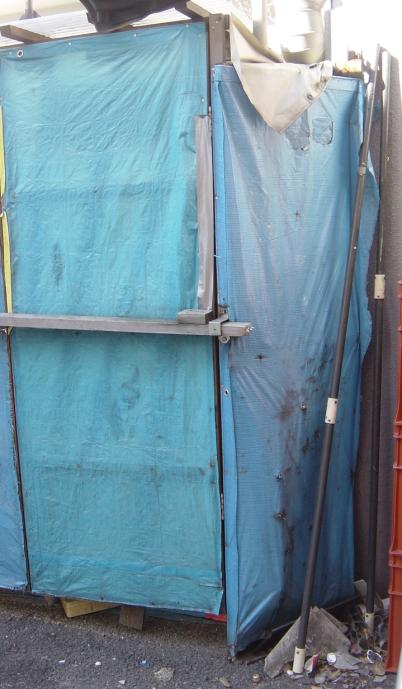
Here is a view of the small area on the right side of the door.
This is the shot from the rear, you can see where I taped up the corner, the thief
tired to get in here and ripped it wide open.
I've got a lot of tools locked in there, and I would be really pissed off if someone decided to walk away with them. I have to fix a few weak areas. The worst was the locking bar, it is a 2x4 and has two metal hoops it slides through, one has a hole for a "T" shaped locking pin that the small lock went through. This was not very good, you could saw through the 2x4 (it would make a bit of noise) or with a small sized set of bolt cutters, you could just lop off the lock (the real weakness in the system).
Although the walls look thin, they are actually just a cover for the inner walls, which are 12mm plywood, but they "LOOK" easy to break into, so that had to be addressed too.
I got some heavy pipe, and I made up a locking pin type thing, but with a better lock and a better design.
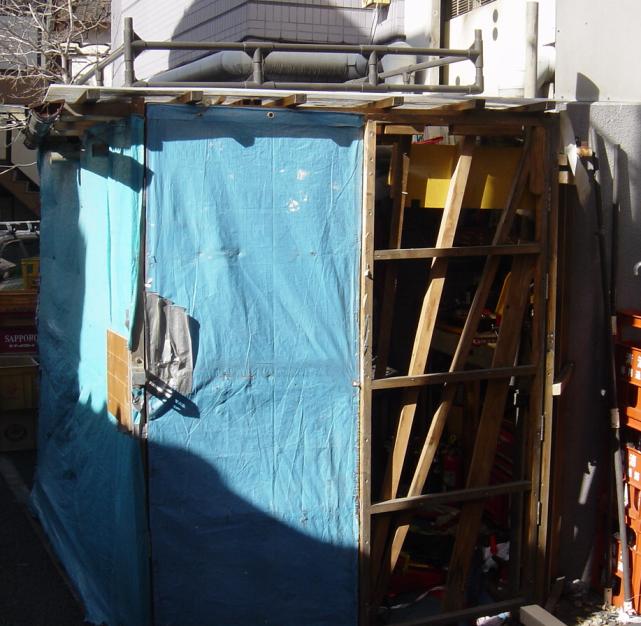
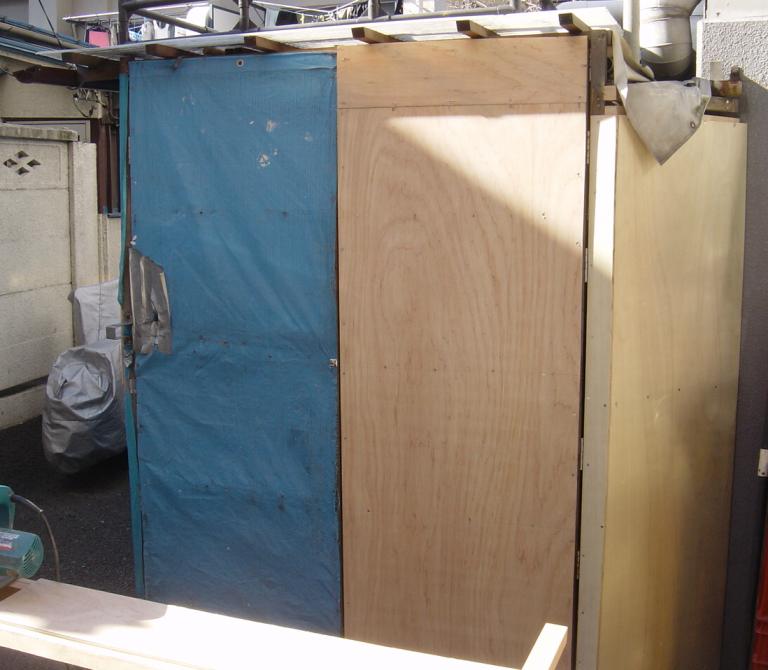
This is the right door with it's cover of blue sheet off, you can see on the
inside how I put pieces of wood to stop anyone from just cutting the sheet and
walking through, I guess it worked the other night, as they did not get in.
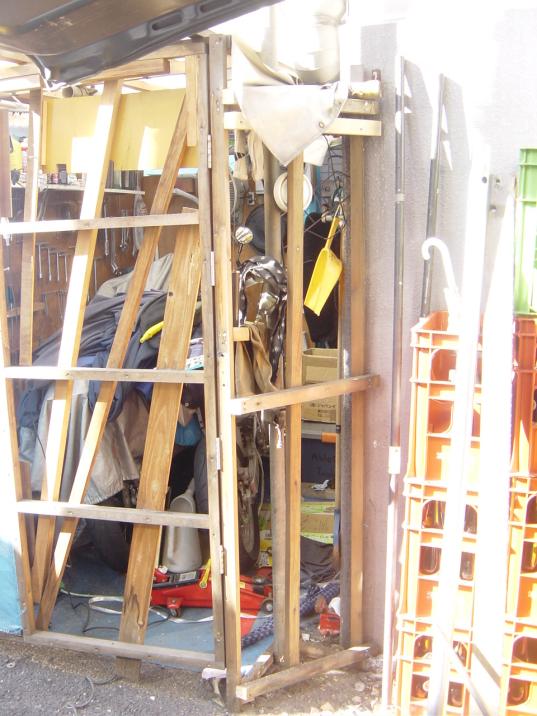
Here is the right side and right door with the skins removed,
you can see that it would not be easy to get in.
The right door done
The right door and the right side area done
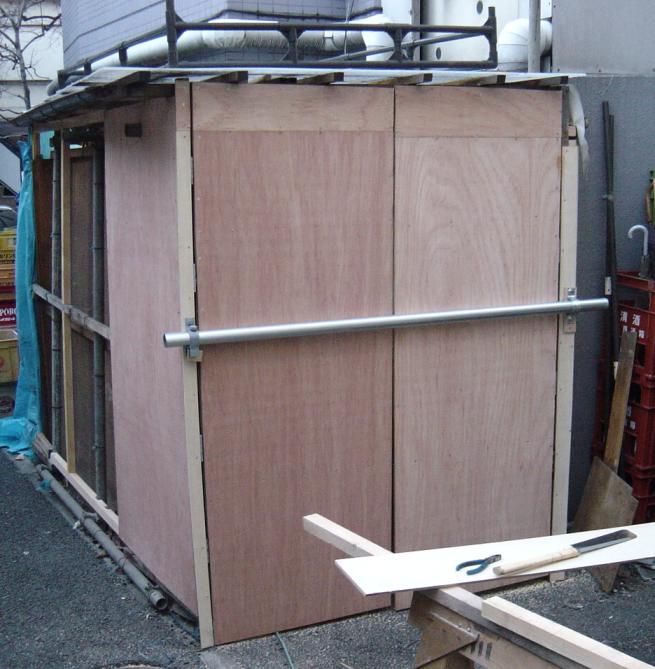
There is the doors done with the new locking bar in place.

A veiw from the left of the new lock and locking pin set-up, I made this myself
with my MIG welder, I think this is a big improvement.
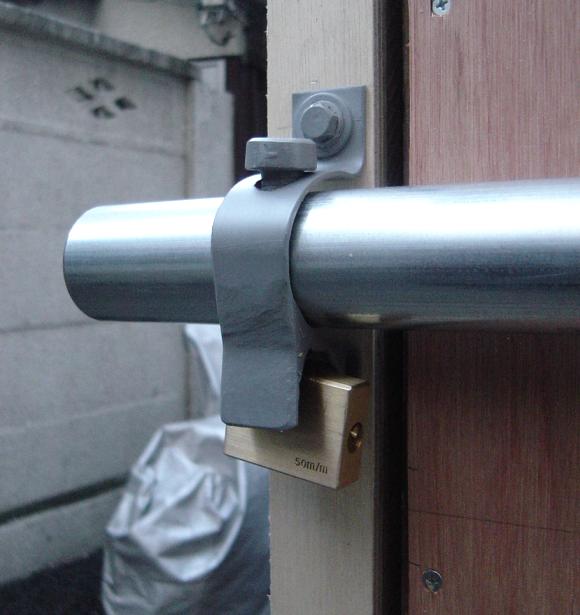
Another view of the lock and lock pin, this should stop bolt cutters...
I'll finish the side and back tomorrow and hopefully get it painted with the help of my daughters.
Cheers!
OK we got the painting almost done before it started to SNOW!!!

Erika on the left and Mizuki on the right, they did a good job, and had fun
too.
Mama dressed them al up in the plastic, and some of my old t-shirts,
but they got little paint on themselves!!
OK here is it is all finished!!
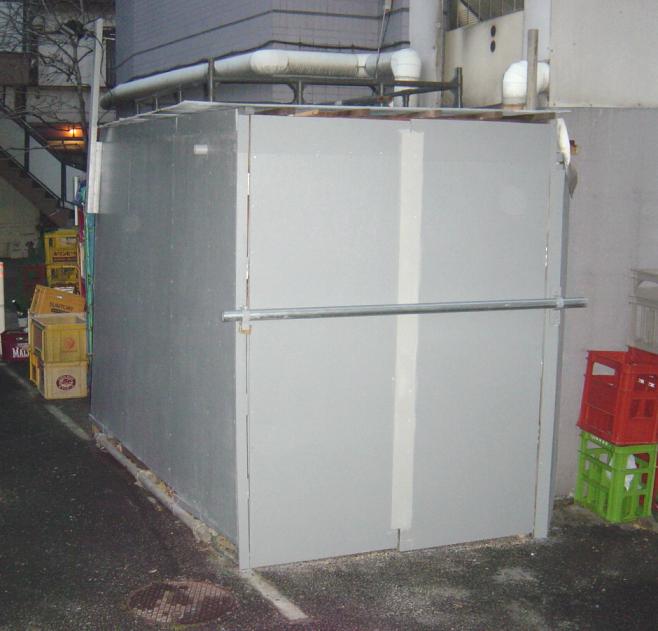
Looks a bit better I would say.
OK back to the DC
I've got the main part of the ducts done, it was a bear of a job, but somebody had to do it!
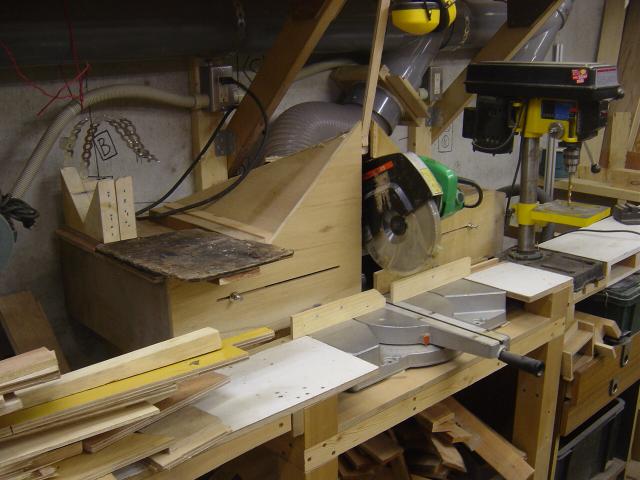
Here is the first section, the drop in the middle of the ceiling is for the TS
and the Jointer/Planer. The next drop is for the router table I've yet to build,
and then the SCMS beside that.
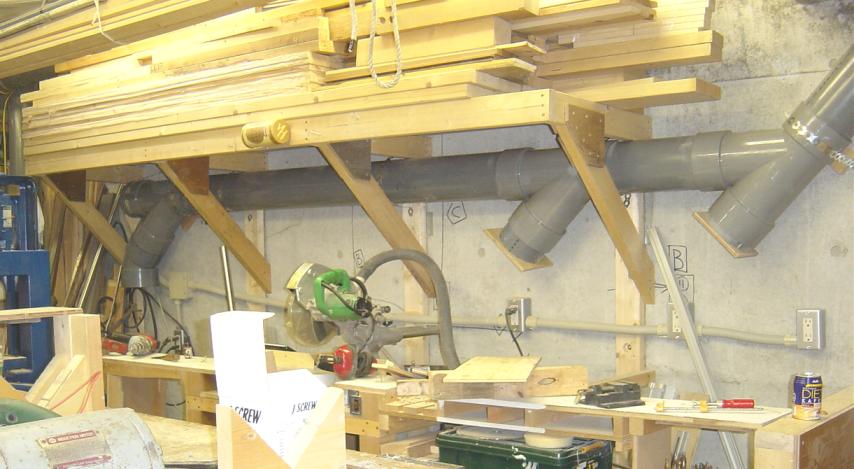
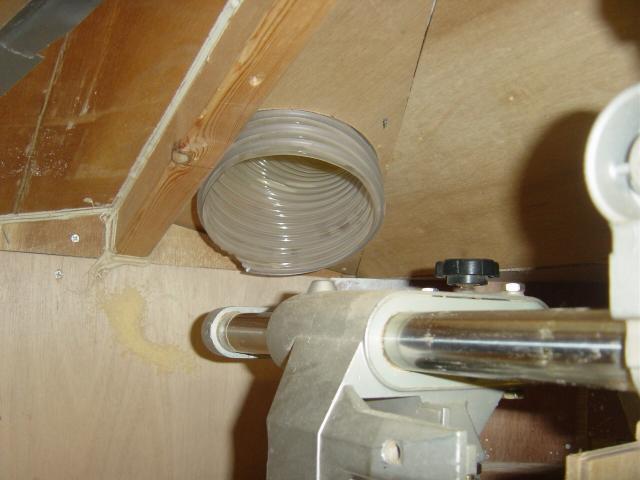
Here you can see where it goes under the lumber rack, the last drop is for Big
Blue
A close up look of Big Blue's drop
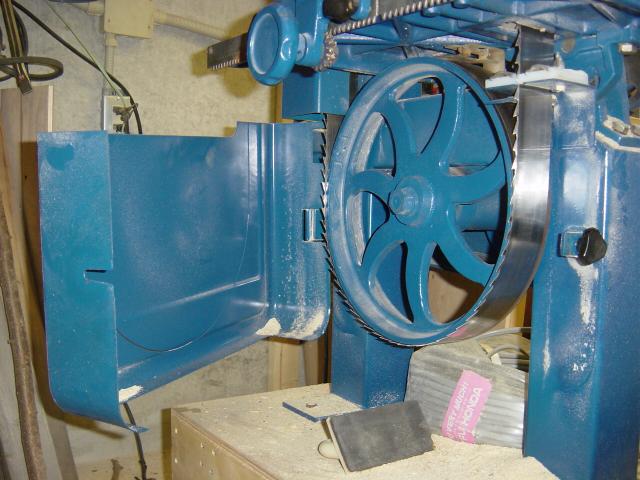
This is the bottom wheel area of Big Blue. To make the DC work correctly I'm
thinking of putting at fitting right through the cover on the left, right in the
area that would be under the blade. Also right under the saw guides I will put a
brush, and I think I'll need to put a sheet of steel behind the wheel to help
with the DC, I think the area is too wide open.
This was sure a lot more work than I thought, but all in all it has worked well!
Back at it.........
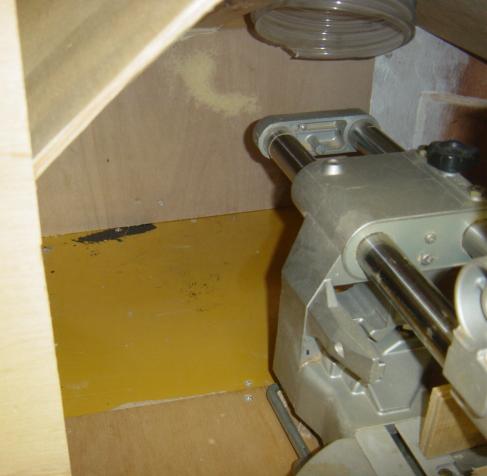
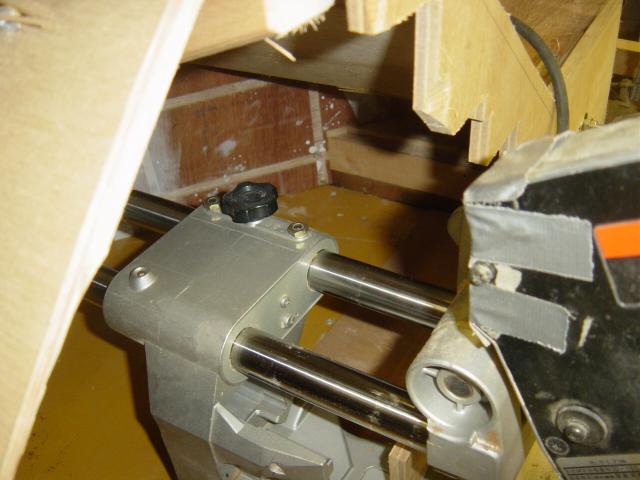
I wanted to make an enclosure for the SCMS, as it is one of the worst dust makers in the shop.
Here you can see how it was......
I know what I did was kind of slapped together, so lets call it a prototype!

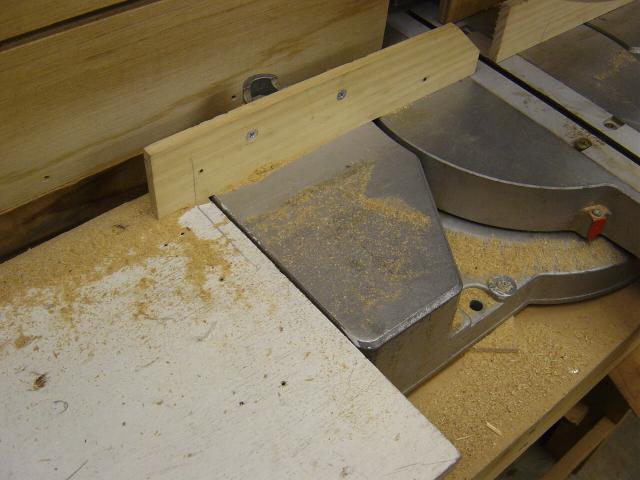
The wings on either side slide open to let the saw do miter or compound miter
cuts,
but for most of the time they will stay closed to catch the most dust.
I had a bunch of scraps to cut up to throw in the trash, so I figured this was a good test.
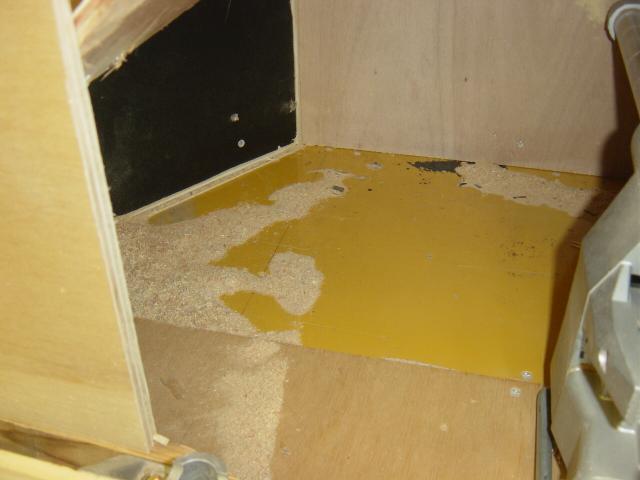
I cleaned up around the SCMS so I could see how much dust I was missing
All nice and clean.
I cut up a bunch of stuff, really a lot, and this is all I got for dust...

Most of that came at first, when I had the left wing close really tight,
I then realized that if I opened it a bit wider more dust would be captured.
Not much left here either...
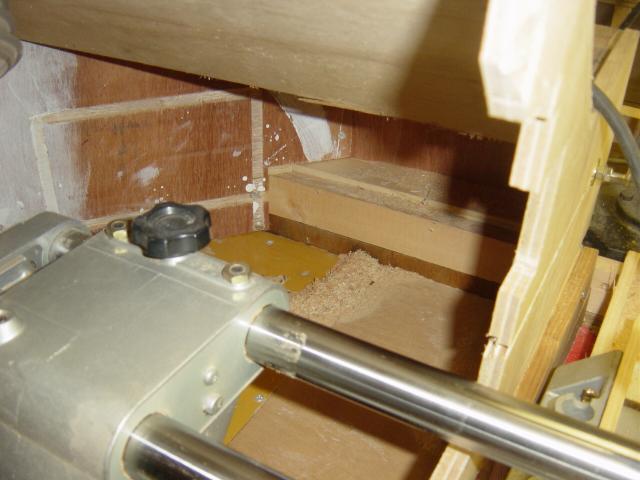
Just a bit of dust...
If you want to see a video of the dust being sucked up right click and save...
---> SCMS DC Enclosure Vid <---
The vid is 4.4 Mb
Cheers!