_____Stu's___Dungeon__
Joyful Honda
Treasure
Lesson Room Cabs
In the beginning
2
3 4 5
6 7 8
9
10 11
12 13 14
15
Jointer1
Jointer2
Router
Table1
Router Table 2
The Doors
Do
Pa
Give Me A Brake
Cyclone
Cyclone 2
Cyclone
3
Cyclone 4
Liquor
Shop Reno Tenjinsama Shrine Tree Tour
Beer Shelves
Wine Shelves
Five Cuts
Drill Press <NEW
DoPa 2007 <NEW
Turning
Jean Francious Escoulen
Eli Avisera Demo Day One
Eli Avisera Day Two
Lathe Stand!!
Turning
Roughing
It
Sharpening Station
Bowl Blank Processing
Captured Hollowing Rig
<NEW
Logging In Tokyo
Woodlot Woodlot
2006 Woodlot
3 Woodlot 4
Chainsaw Mill
Chainsaw
Mill Mk II
The Doors...
Sorry not Jim Morison and those guys, but the doors I'm making on the router table...finally!!
I used some scraps I had laying around, as the hardwood is rather dear to me here in Japan....
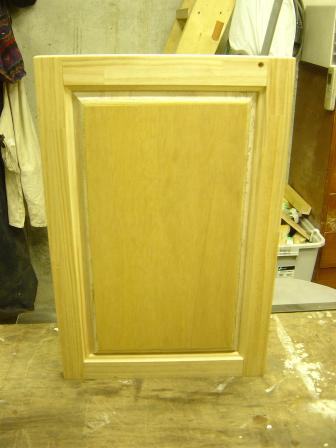
The front
Nothing special, but I figures out how to use the rail and stile raised panel bit set I got from Rockler.com
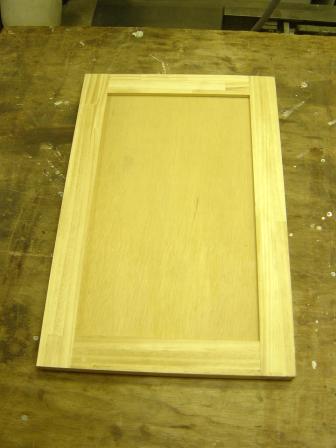
The back
I think this is going to be nice, I need to work out the sizes that I want to work with, and then dress all the beech I need to do a set of doors.
The panel on this practice door is that core laminated plywood stuff.
Well that is a 1st try out of the way!!
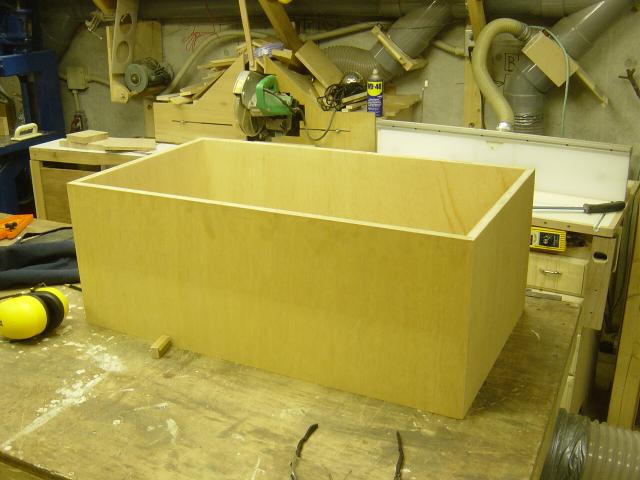
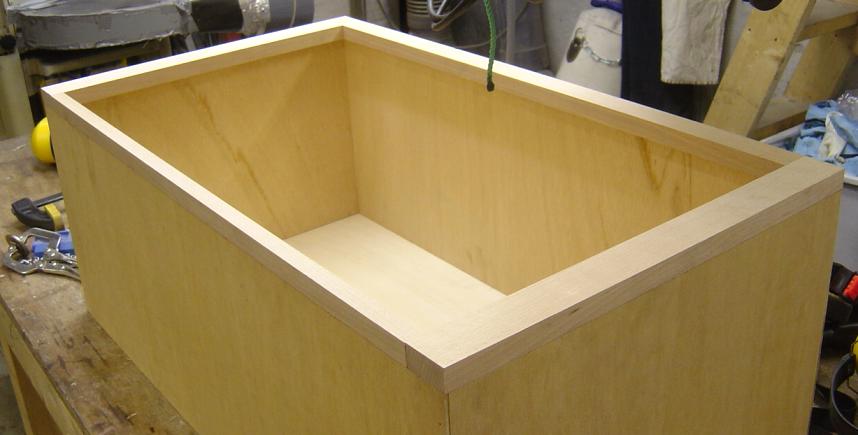
On to a simple Cabinet
I figure I should try to crawl before I walk or run,
so I'm building a very simple cabinet to go in the bathroom above the toilet.
As I'm using the lam-core plywood, I wanted to hide the edges of the plywood.
I used the drawer lock bit to make this joint...
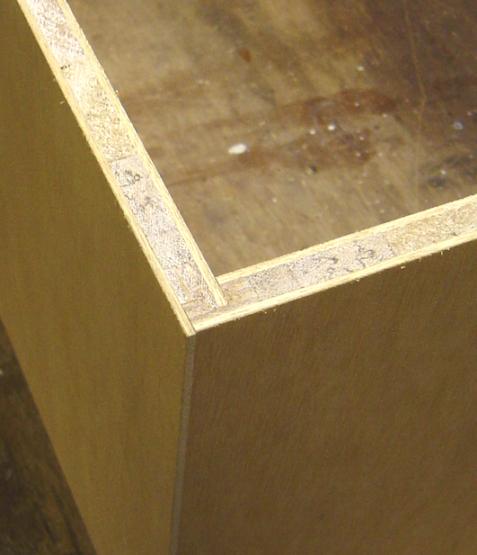
Not so easy to see, but it is this joint...

The lip that is left is all solid wood, the edge of the
veneer,
so I should sand well and look OK, I hope!
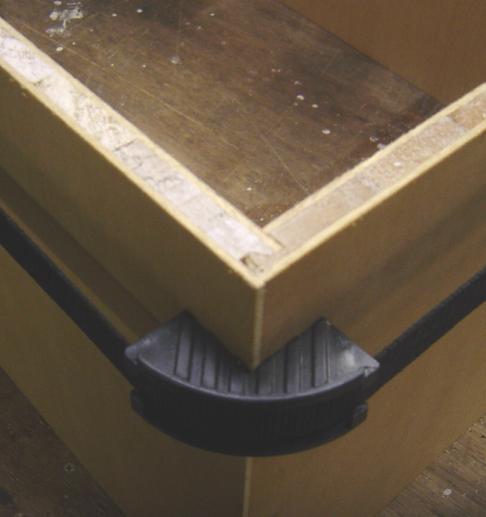
I'm making up a face frame for the cabinet.
There will be a piece in the middle as well.
I was thinking that it is a real waste to plane down about 1
cm of wood to get the thickness I want,
so instead I've sliced off the unused wood with Big Blue
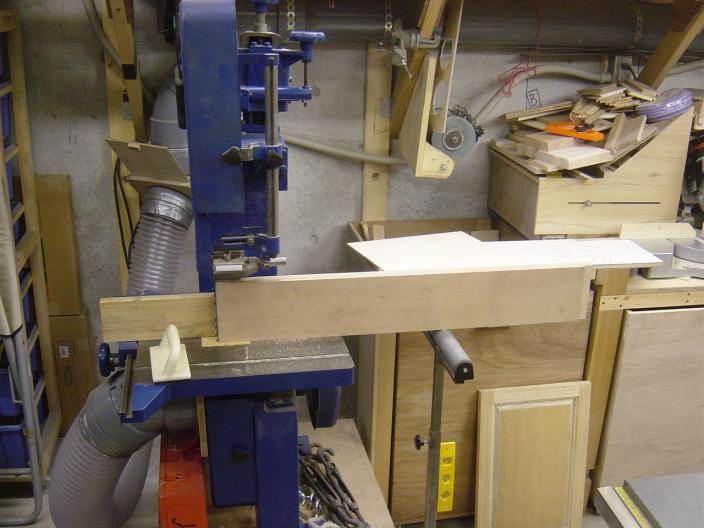
BB sliced through this stuff with ease!!
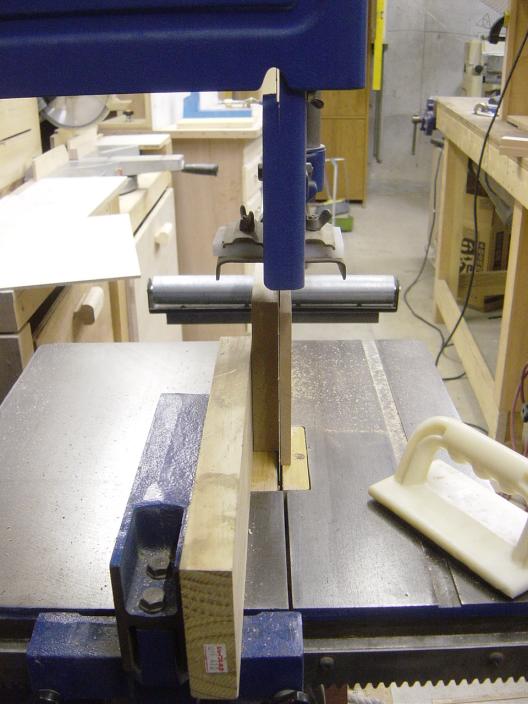
Cuts real nice!!
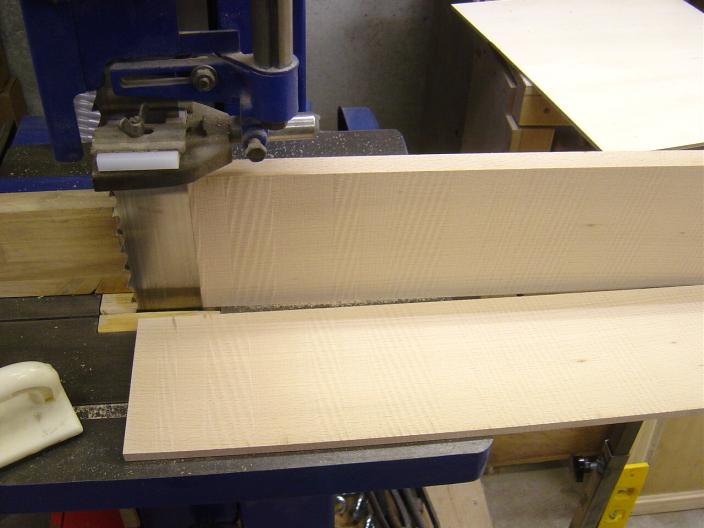
Must be the digital camera, as these funny lines barely are visible on the wood,
but show up well here in the pics
Now on to the doors!
I don't know why I thought I could make the doors out of
3/4" stock (19mm) but I did,
the problem is the rail and stile bit set I have is for 7/8" to 1"
stock,
so I wasted some time and effort cutting and dressing stock up in
3/4"!!
Once I got the new correctly sized stock done it was fairly
simple to get everything cut
and done on the router table, with one little problem....
The speed control box thing I bought from Rockler.com stopped
working on the variable speed setting,
it would only work on full speed, so on the panels for the doors, I got a fair
bit of burning,
which I'm going to have to sand out.
To say I'm not impressed by the variable speed controller is an
understatement,
but I'm not going to let it extinguish my enthusiasm for the doors I made up
tonight!!
Here are the rails and stiles,
the stiles have been left a bit long on purpose, so I can trim them later.
This is just a dry test, I think they will fit better with some clamping.

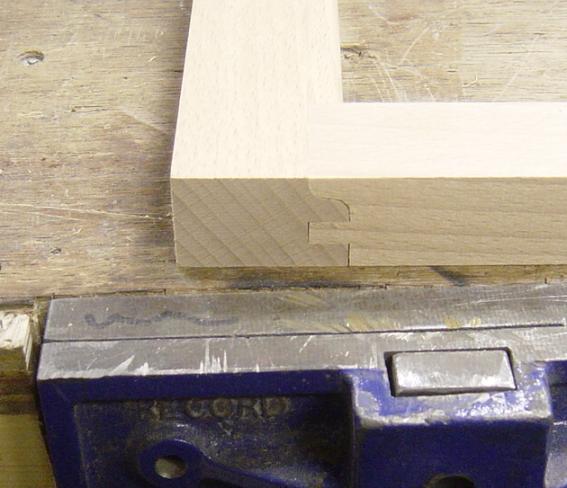
This fit here in the corner looks good!
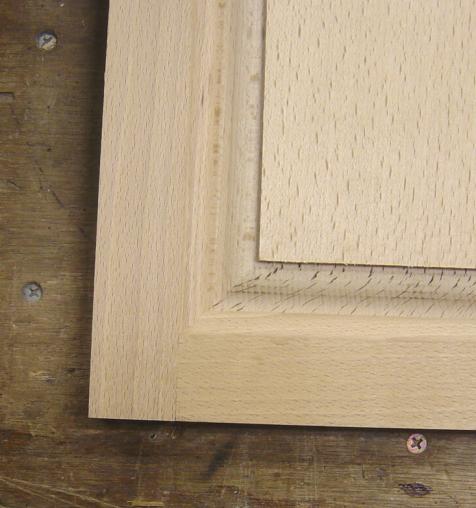
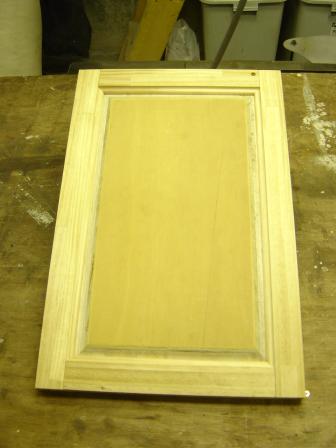
Here is the corner with the panel in place, I'm pleased!
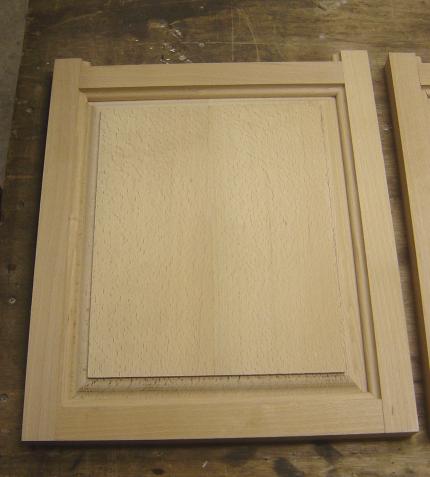
That is what a door looks like ready to sand and then pre-stain

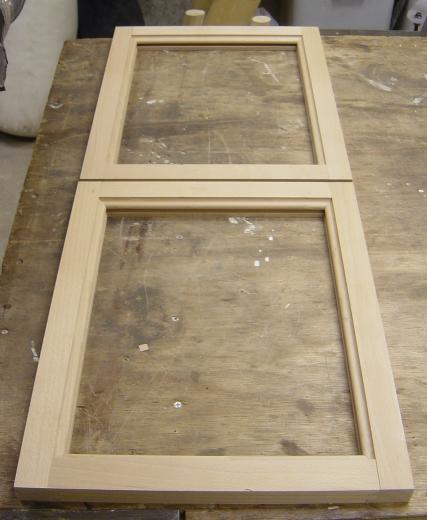
Two doors in a dry test fit
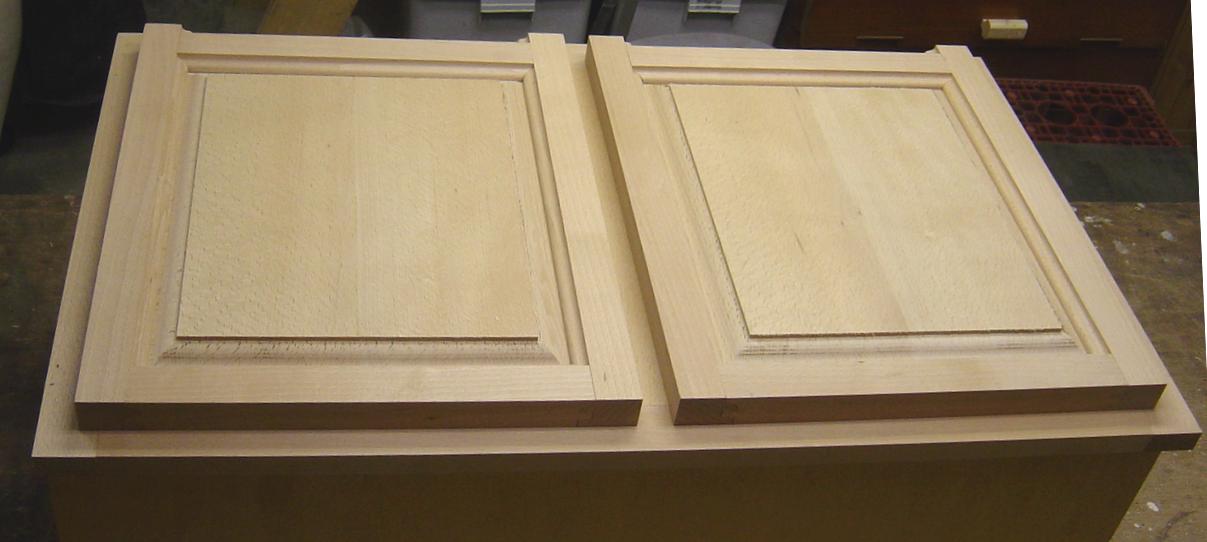
Here they are sitting on the cabinet
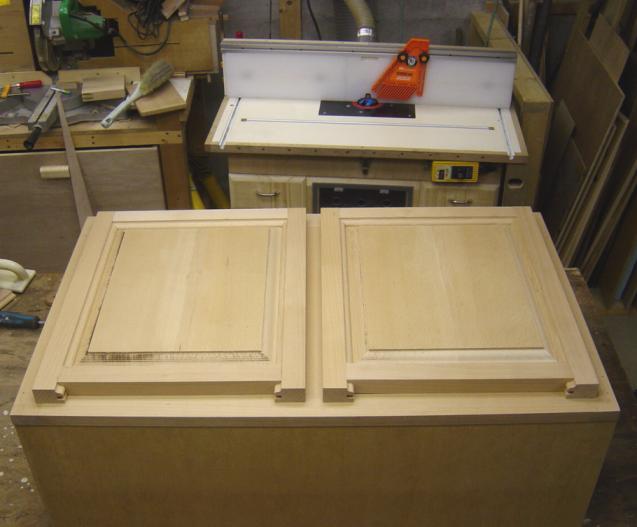
More of an over view shot.
You can see the burning on the left hand panel is bad,
the right panel I got mostly done before the speed controller crapped out
So here is what the inside of the controller looks like...
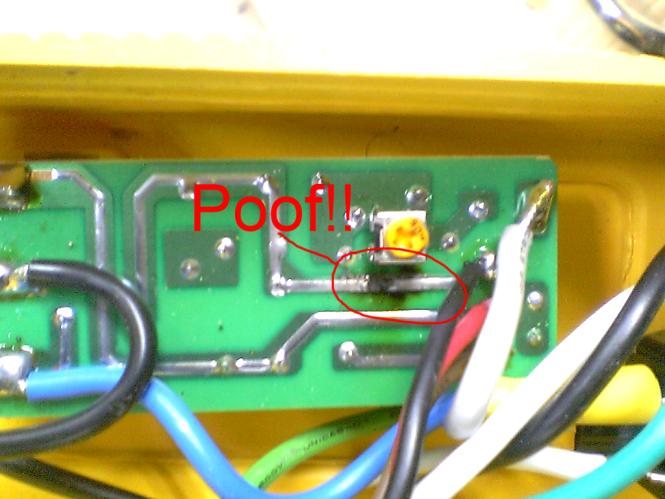
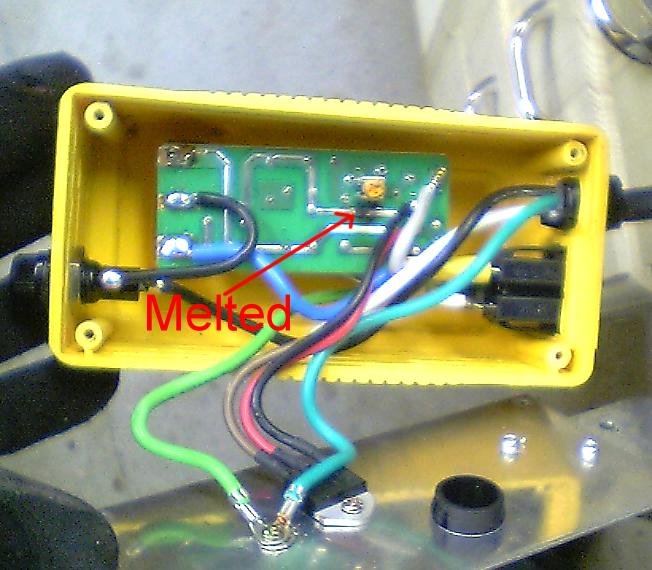
That piece of printed circuit melted, so I guess this unit is toast...
I got this done, finally....

I'm not overly happy with the finish, the beech is not the best stuff to stain.
The crappy plywood stuff is worse, but it is done!