_____Stu's___Dungeon__
Joyful Honda
Treasure
Lesson Room Cabs
In the beginning
2
3 4 5
6 7 8
9
10 11
12 13 14
15
Jointer1
Jointer2
Router
Table1
Router Table 2
The Doors
Do
Pa
Give Me A Brake
Cyclone
Cyclone 2
Cyclone
3
Cyclone 4
Liquor
Shop Reno Tenjinsama Shrine Tree Tour
Beer Shelves
Wine Shelves
Five Cuts
Drill Press <NEW
DoPa 2007 <NEW
Turning
Jean Francious Escoulen
Eli Avisera Demo Day One
Eli Avisera Day Two
Lathe Stand!!
Turning
Roughing
It
Sharpening Station
Bowl Blank Processing
Captured Hollowing Rig
<NEW
Logging In Tokyo
Woodlot Woodlot
2006 Woodlot
3 Woodlot 4
Chainsaw Mill
Chainsaw
Mill Mk II
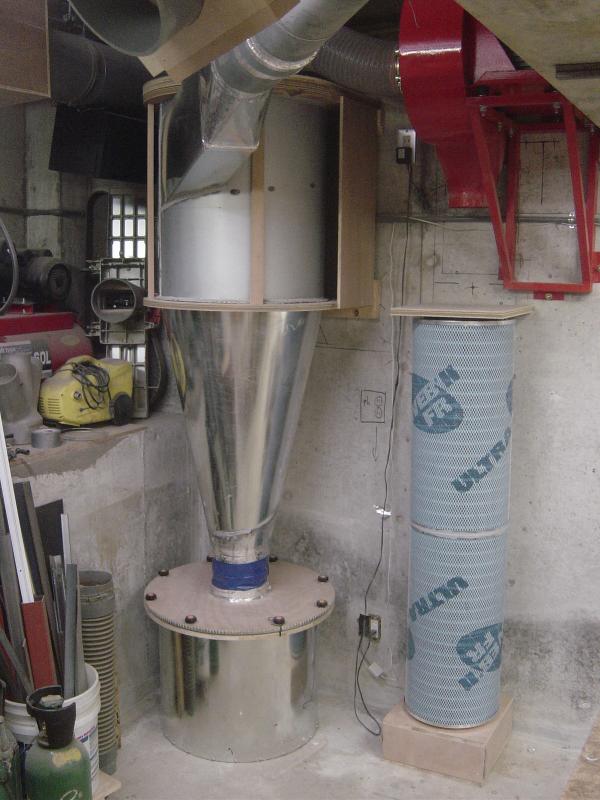
Page Three of the Cyclone Saga!!
The final stages of the Cyclone project are at hand!!
I need to make the Dust Bin that goes on the very bottom to
catch the sawdust the system sucks up from each tool.
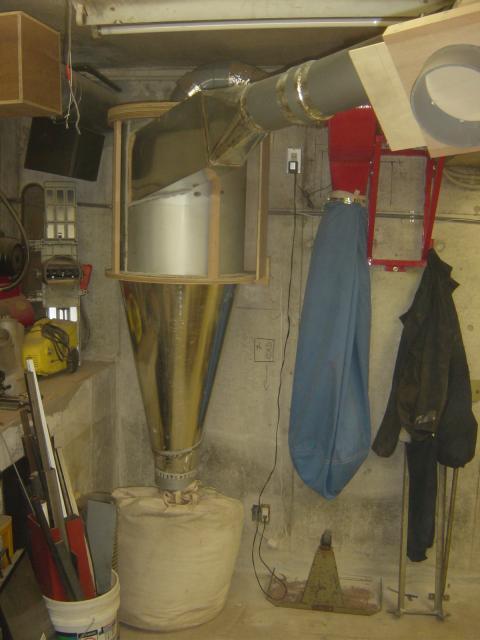
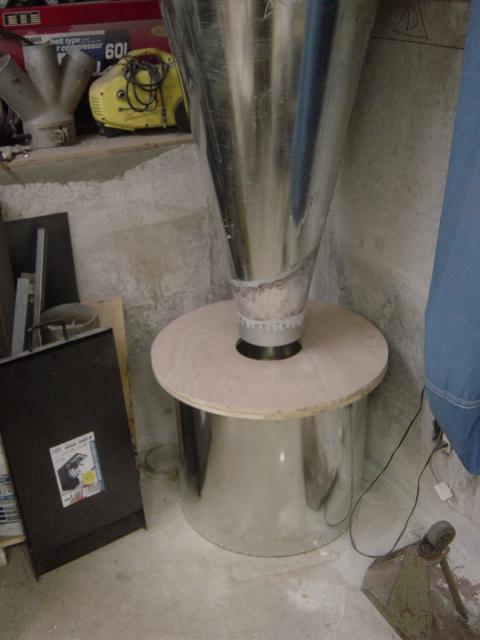
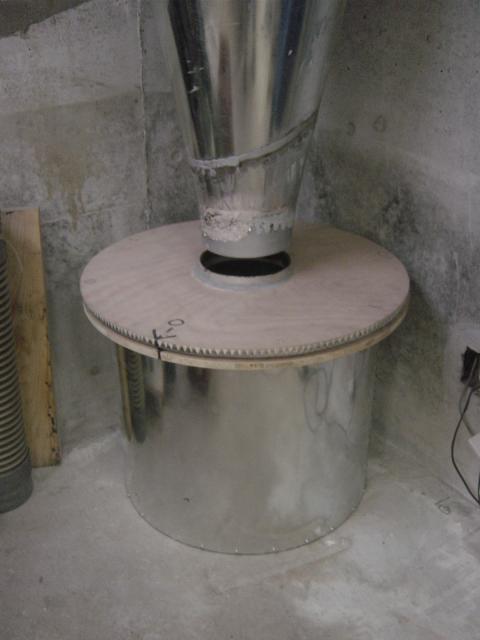
Here you can see the old bag from my DC under the cyclone, this bad is holding a
fair bit of sawdust, so a dust bin about the same size should be good.
Some people use plastic or paper kind of bins, while these may be easy to get and cheap, they offer zero protection against fire. If a piece of metal gets into you system and and hits the blower's impeller or if you cut a nail with a tool, a spark could end up in your dust bin or filters. The filters I'm trying to get are coated with a fire retardant, so I hope that area is covered, but the dust bin is a whole other story. I do not have access to any ready made steel drums or such, so I made one myself.
I used the same basic techniques used in making the main cylinder for the cyclone, a number of people have asked how I did this, so I thought I would share what I did, as I get so much help from others on the net.
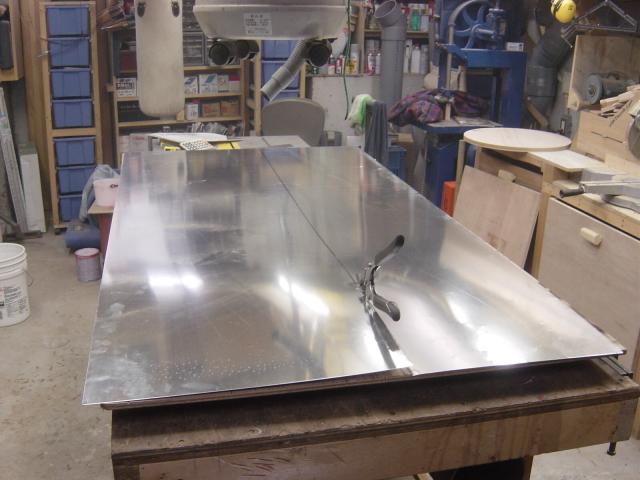
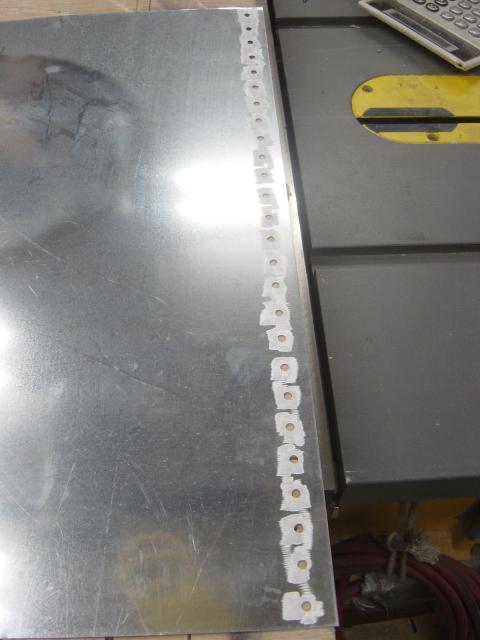
I started with some 0.7mm galvanized steel
I've made the bin just a few cm shorter than the space I have under the cyclone.
Most commercial hobbyist cyclones come with 35 US Gal dust bins, I figured out
mine should be around 39 US Gal.
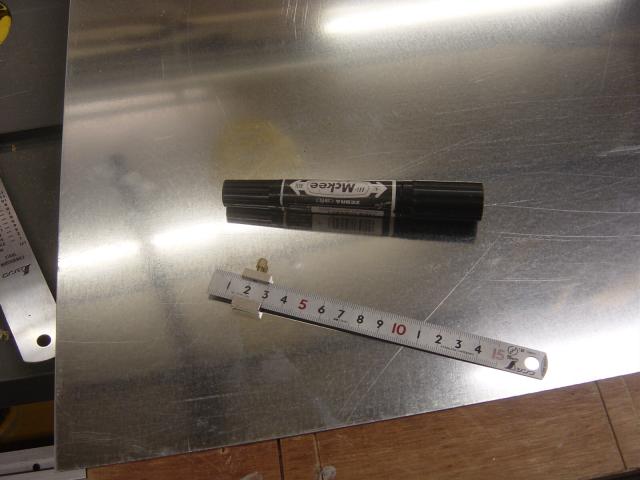
Once I did the first cut, I want to mark the tabs on the bottom and the ends.
I use this short ruler with a locking stop thing on it, and a big black marker.
I've made the line very thick, and I will then scribe the exact line that I
want.
This process works very well, it is outlined in Bill Pentz's cyclone building
pages,
Thanks for the tip Bill!!
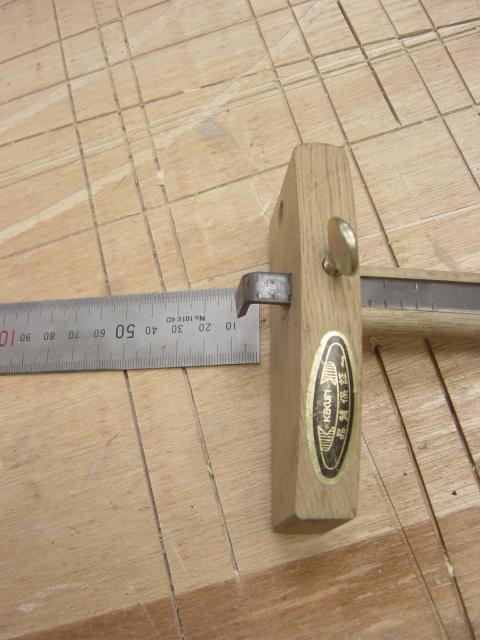
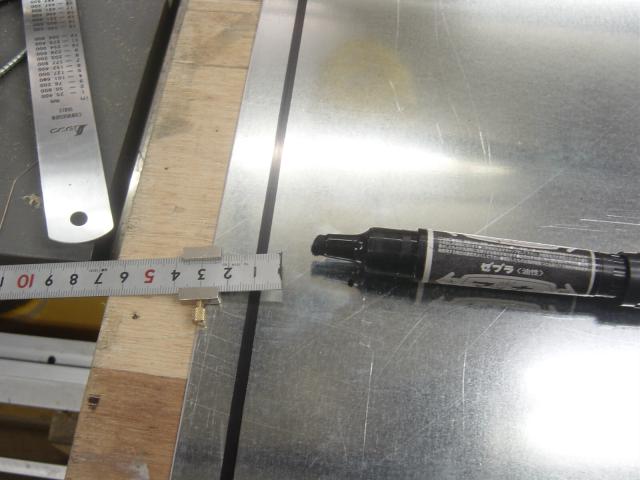
I have this cool Japanese marking gauge, it has two knives that cut the
mark,
instead of the usual one pin that scratches a line.
Nice and sharp, it puts a good line down on the black marker line.
I think you can see the line scribed in the black marker there.
I then mark the hole I will drill do do the MIG button hole welding to stitch
the cylinder together.
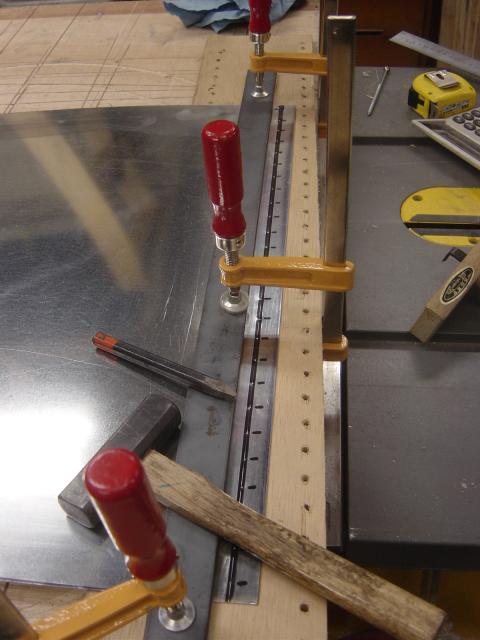
I then center punch each hole location, as the drill bit will dance on the sheet metal
without the punch mark.
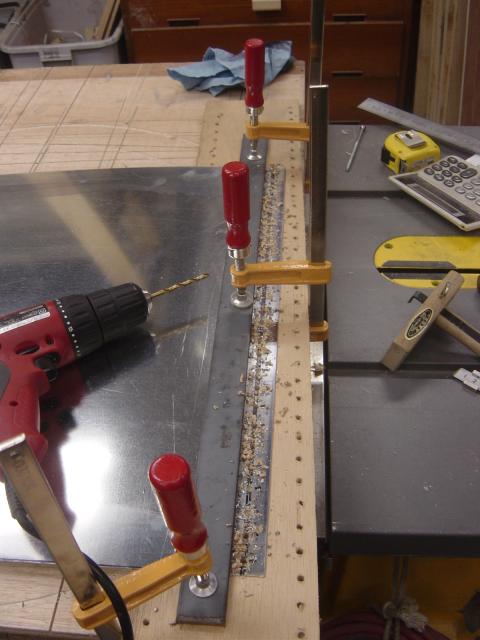
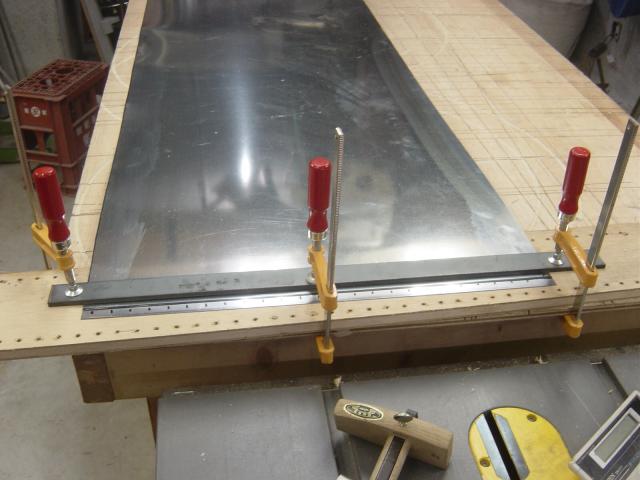
OK I drilled the holes, I find it much easier to do with a bar of steel clapped
down on the sheet metal,
this keeps everything flat and nothing moves around.

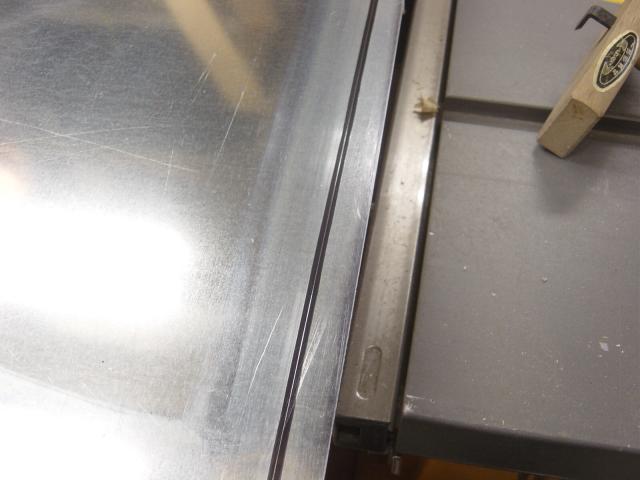
Now as this is galvanized steel, and galvanized steel when welded gives off a toxic
gas,
I grind the steel just a bit, this also makes the welds splatter less,
giving a nicer job.
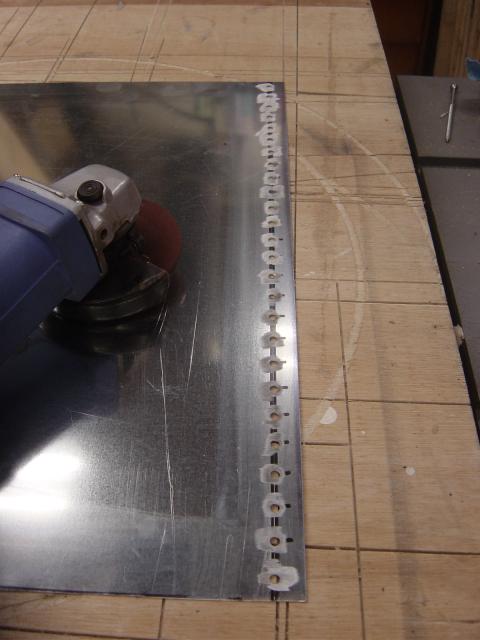
Just a light grinding is all that is needed
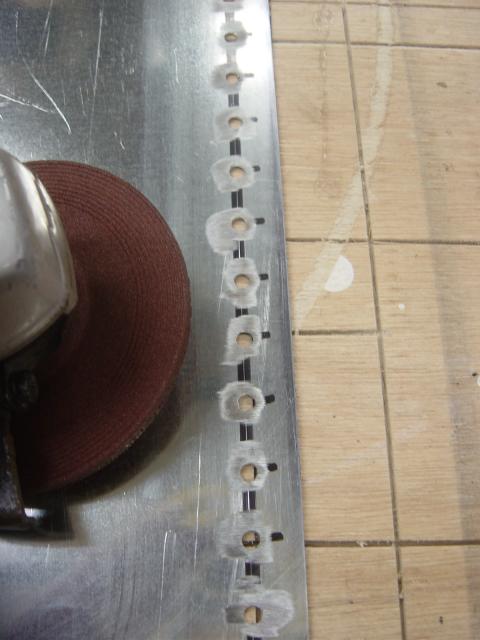
A close up
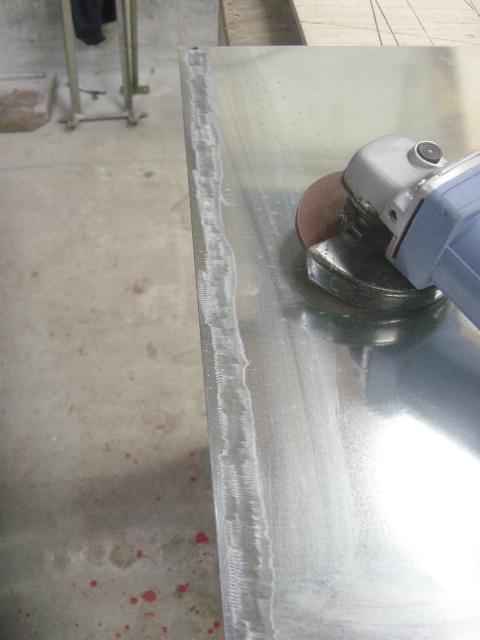
I grind along the line that on the opposite side as well
and the back side of the holes as well, this also make the joint
tighter,
as it removes any burrs left from drilling
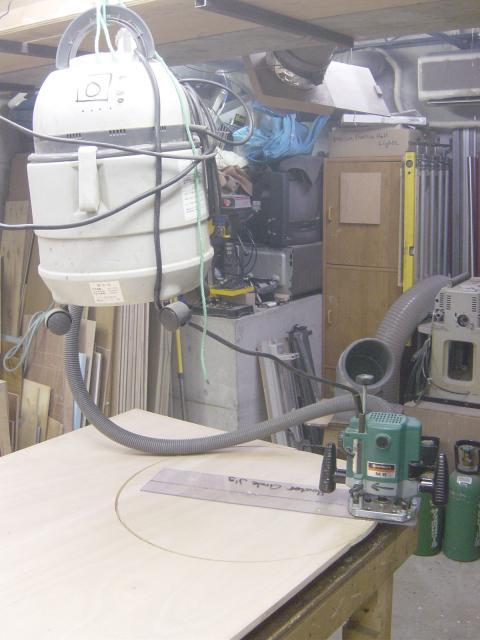
Now I need to cut some templates, I'm using 3/4" lam-core luan plywood
Notice my R2D2 unit at work!
With some work on the 6"PVC pipe, I now have a cylinder, or near enough
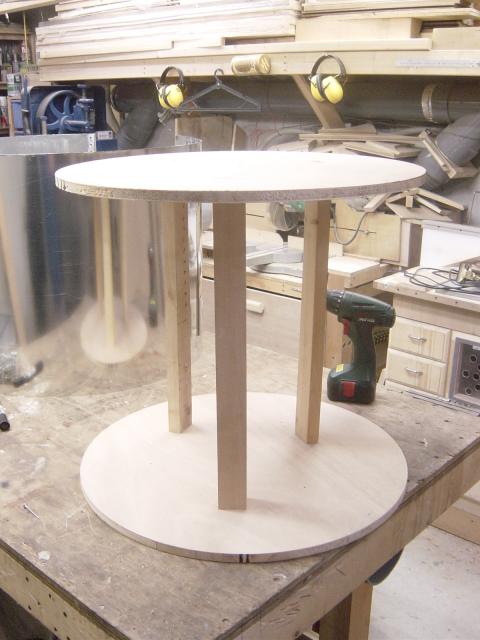
To make things easier, I put three legs between the two templates,
only the bottom one is screwed in, the top on is just sitting on the tops of the
legs
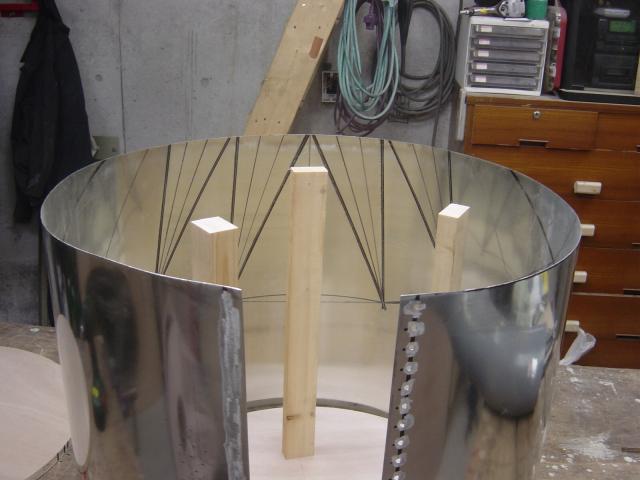
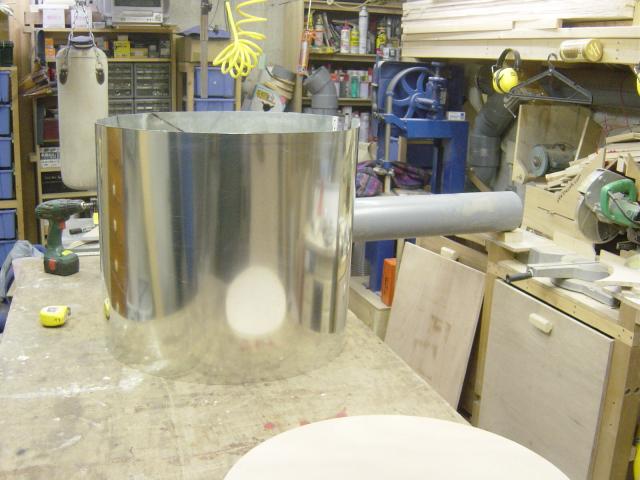
Here you can see the sheet metal wrapped around the template
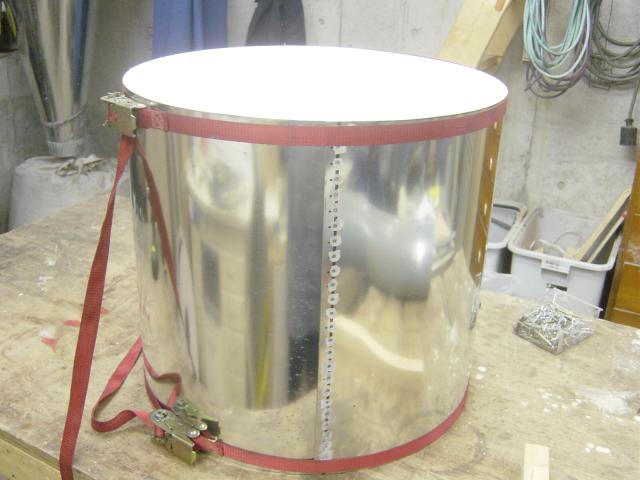
With the top and bottom templates in place, I now turn to the web clamps to
tighten everything up
I used a couple of screws to pull things tight, and now I'm ready to spark up
the MIG
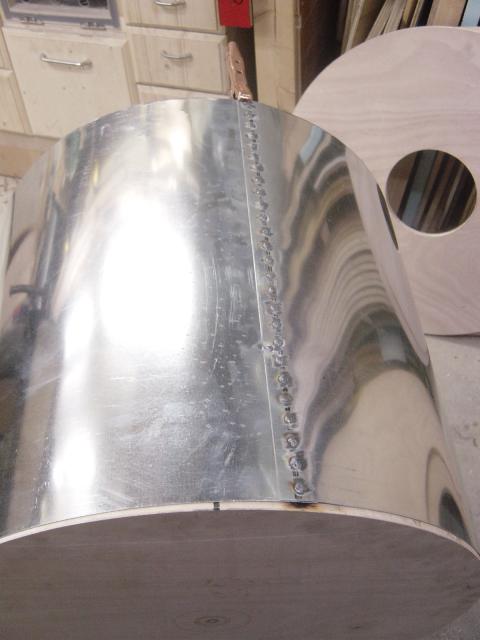
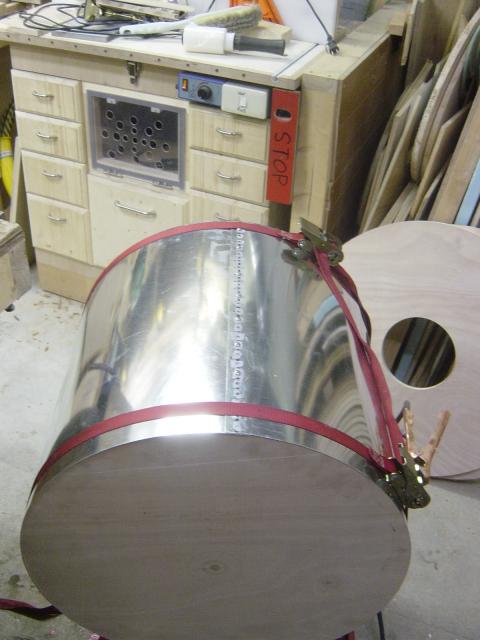
OK all welded up.
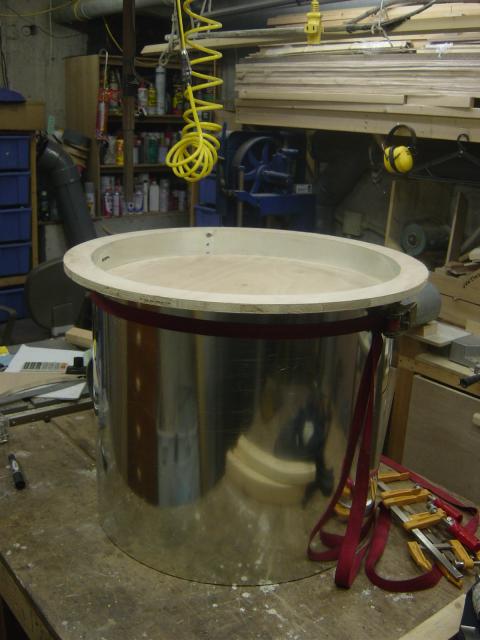
To hold the dust bin in shape, I used one of the templates as the bottom,
(it will be covered with steel later) and I made up this top outside ring,
this will also be the sealing point for the lid
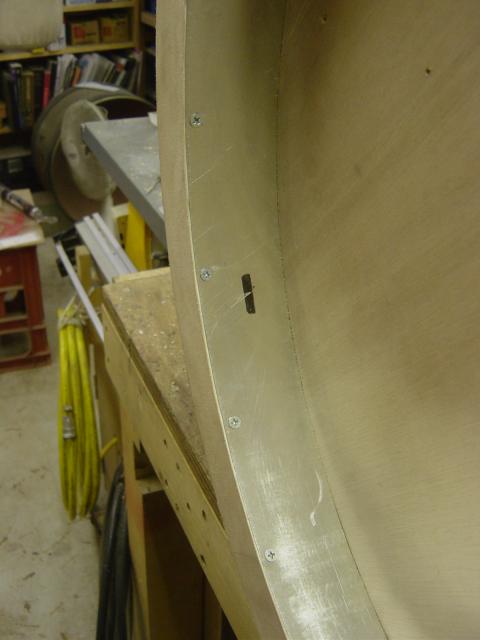
I attached the outside top ring from the inside out.
I first drilled the holes and then countersank them so the screw heads would be
as flush as possible
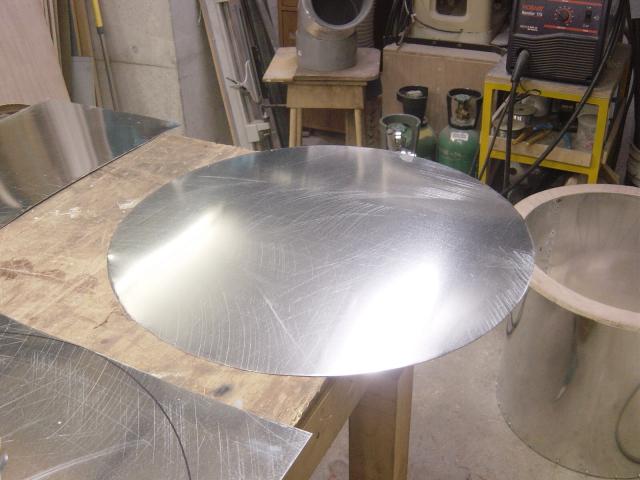
Here is the piece for the bottom
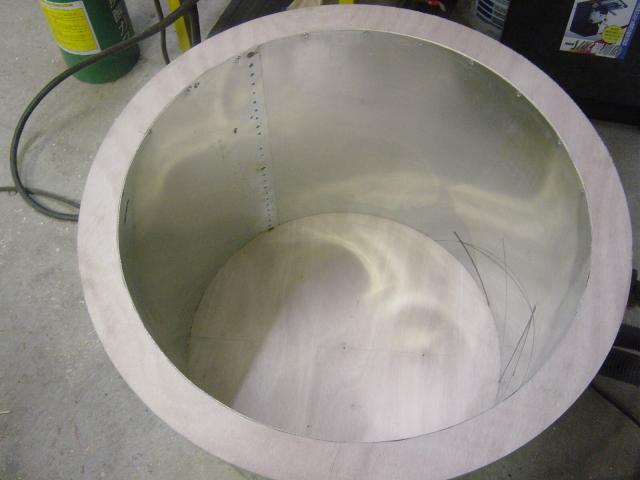
The bottom is wood now......

and now it is steel. I'll caulk all of the joints, and seams.
There is the Dust bin with the lid in place.
The lid will get a sheet of steel for protection as well.
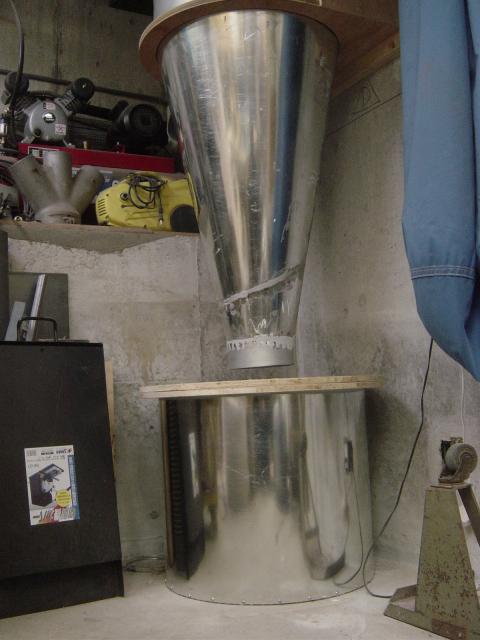
As you can see, there is not much space between the bottom of the cyclone dust
chute,
and the top of the dust bin, I will make a very short pipe up from the lid
of the dust bin and then use a piece of waterproof tarp like material to make a
short flex hose (it is 19 cm and I don't have any flex hose that size)
A pic with the lid off
Next will be the sheet metal for the lid, and then I need to get some T-nuts and some T-handles to hold the lid down to the outside circle ring, I'm just about good to go!
The Lid
OK, now on to the lid. I needed to cover the lid with
steel,
so I would have the required protection against any dust bin fire.
How I did this was to cut a donut of sheet metal,
this time leaving about a 1.5 cm tab on the inside and the outside edges of the
donut.
I did this, and then I cut tabs all the way around.
I had pics of all of this, but the stupid camera that I was using decided to hiccup
and eat all the pics from that night's work!!
I first secured the sheet metal to the lid by screwing it down, then I used a
small hammer to bend the inside and the outside tabs over the edges.
The tabs were not staying like I had hoped they would, I think the Luan core
plywood was a little too soft for this, so I ended up nailing each tab in
place....
Kind of like sheet metal upholstery!!
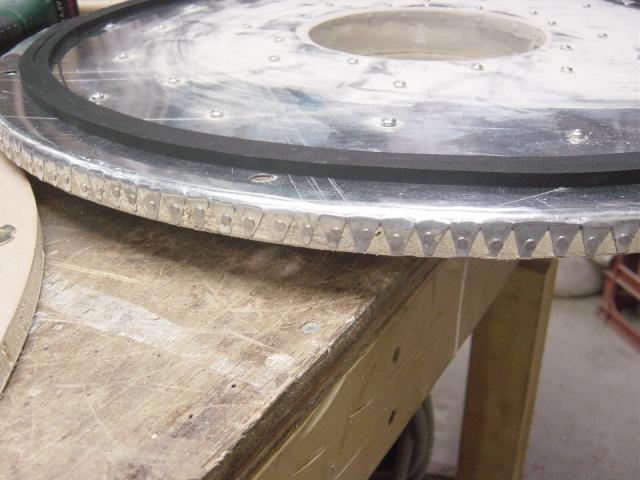
I then put some very good weather-stripping on the lid, in fact I put two rows of the stuff.
Here is the lid in place, now it just needs the flexible joint, between the lid
and the bottom of the cyclone, and it needs the 8 knobs that will tighten the
lid against the dust bin.
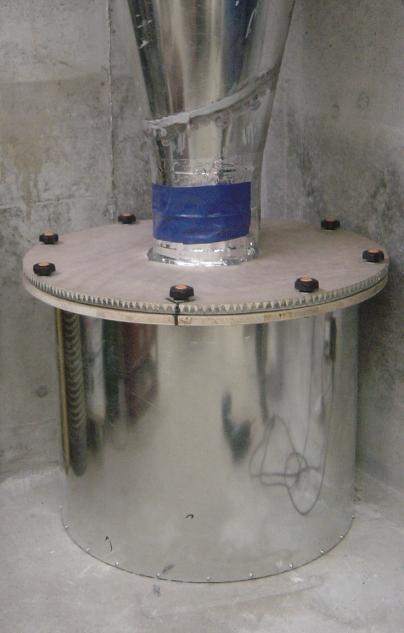
Here you can see the flex hose I made, I bought some of that hose for a water
pump, you know, the kind that lies flat when not full of water. I cut it in
half, split it wide open I guess.
I then wrapped it around the two parts, taped it up, inside and out with the aluminum
duct tape. Next I used a big hose clamp to secure the bottom to the lid, and I
just taped it to the cyclone.
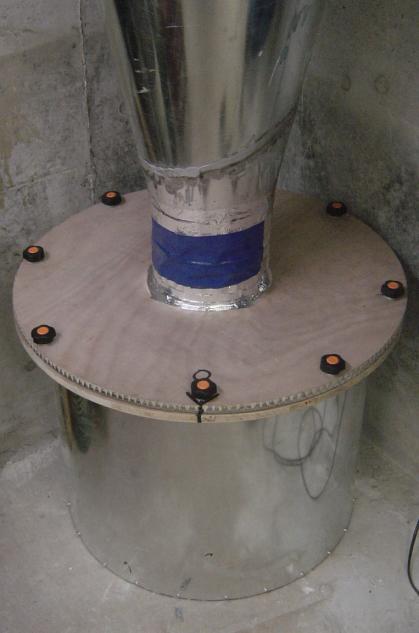
I drilled the eight holes around the edge of the lid, and
installed the T-nuts, and then the knobs.
I think it has worked out well......
Really now, I'm just waiting on the filters, I want to build a filter stack like
the one that Dizzy built.....
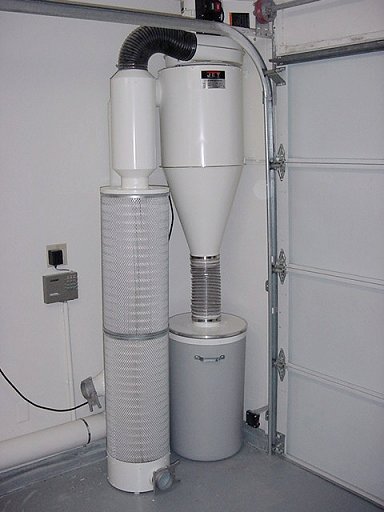
Dizzy's filter stack and cyclone
OK my filters got here, a big "thank you sir" to fellow Oaker Bob Jensen!!
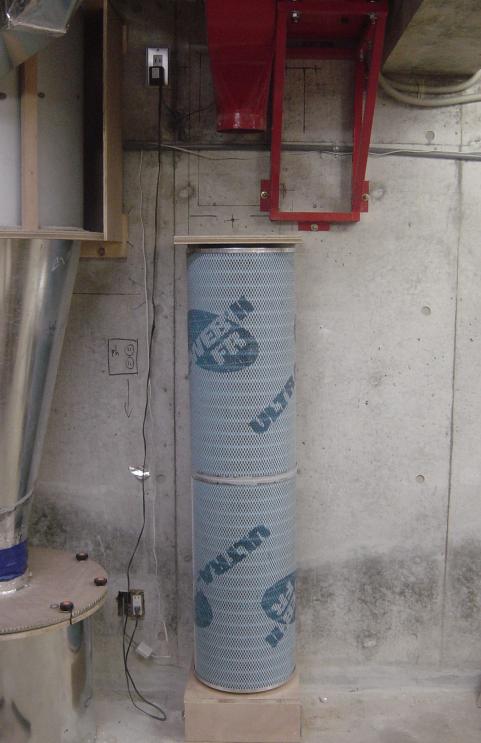
I put them together, the two steel sides,
and then used some caulking for galvanized steel to seal them.
I put a heavy weight on the top and left them for almost two days.
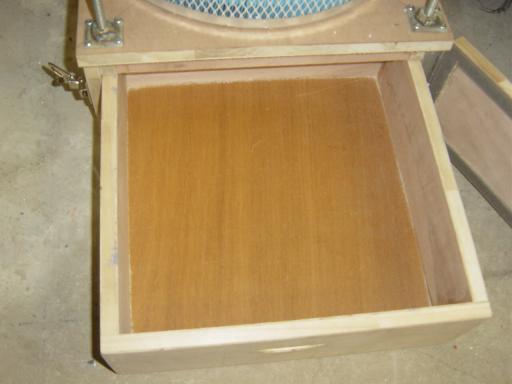
The piece on the bottom is a clean out.
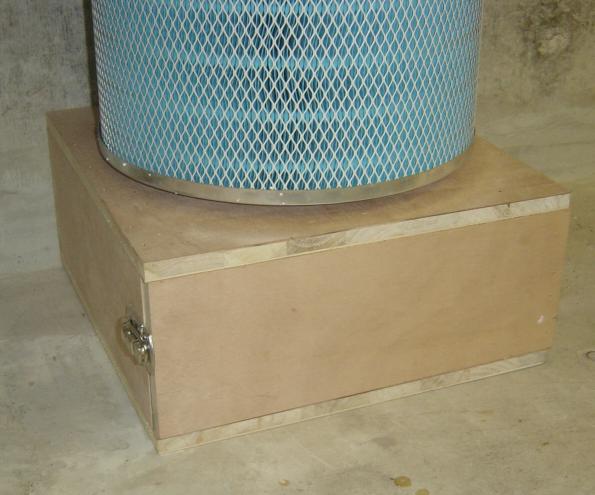
It has a hole in the top to let any dust fall off the filters into the clean out
drawer.
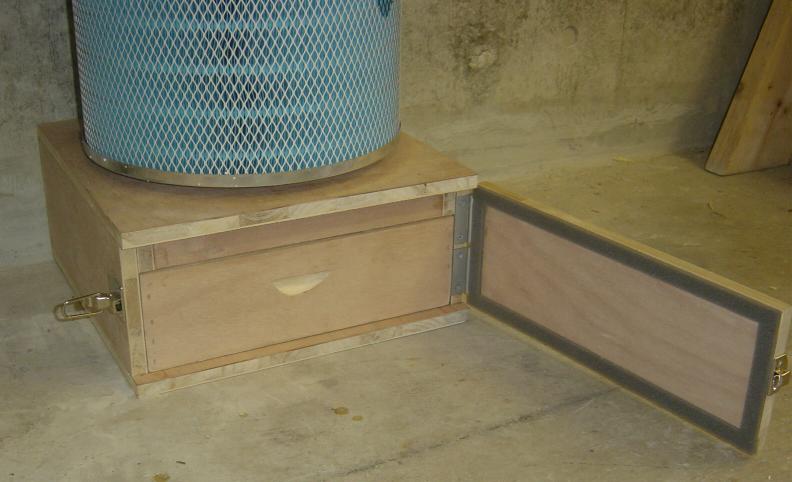
It is all sealed up and the door has weather stripping on it.
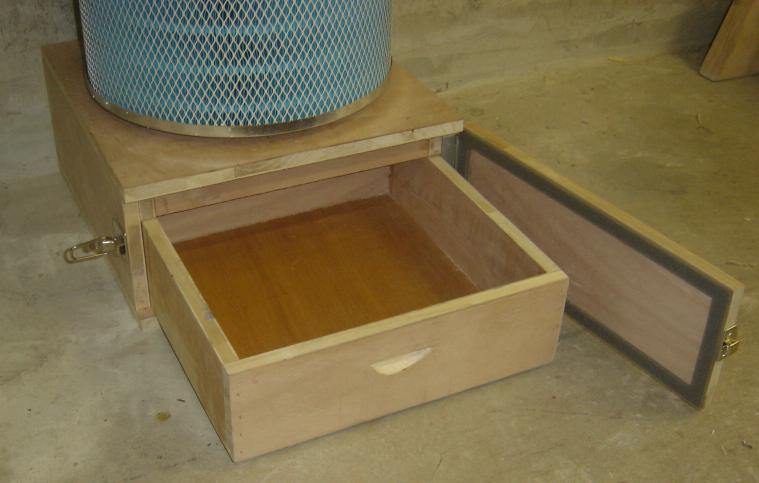
Here you can see the drawer open.
Now I need to get four long pieces of ready rod, and some nuts and washers.
I'll put one in each corner to hold the top flange and
the
bottom clean out tight against the seals on both ends of the filters.
Then a piece of flex hose and a couple of clamps and I should be good to go
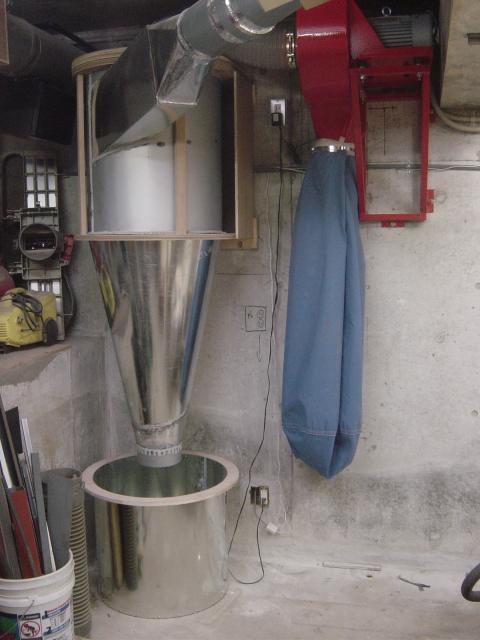
It should look like this when done......
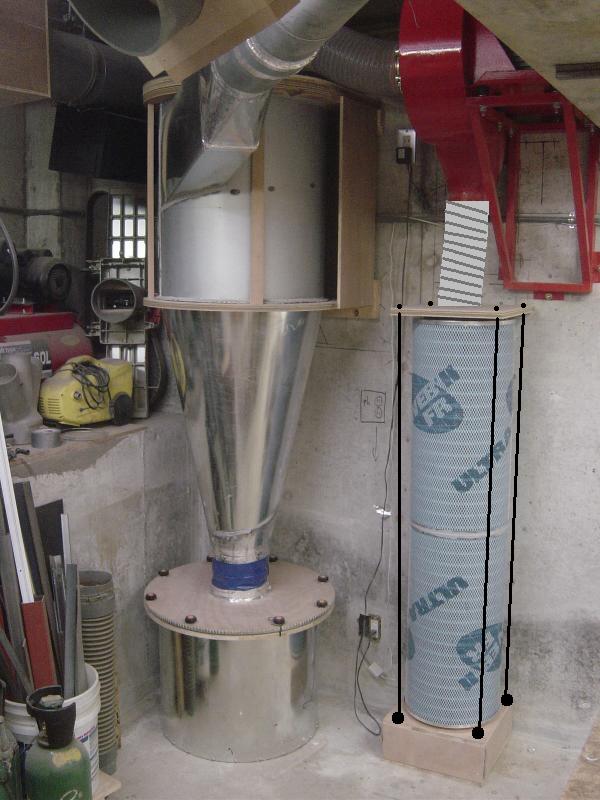
Well, what do you think??
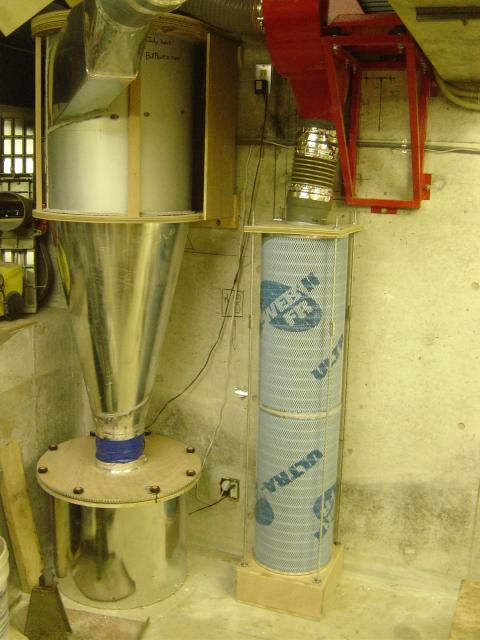

All done, now I have to start making something....?
UPDATE!!
OK,
I had some boards to joint, then plane, plus I ripped a couple of 6' long 2x6s
into 2x2,
and then I cut up a whole stack of scraps for the garbage man to take away.
The Dust bin was about 1/2 full, maybe 30 or 40 liters of dust. I put that in a
bag, then I thought, "I should check the clean out and see how much got by
the system....
Well, I could not see any dust....?
I put the
drawer back in place and beat the filter stack (lightly),
and then used the compressor to blow some air around the filter stack,
trying to dislodge anything on the filters, took the drawer out again,
and still nothing, zip, nada, zilch, zero, arimasen......
Seems to work just fine!!
Cheers!