_____Stu's___Dungeon__
Joyful Honda
Treasure
Lesson Room Cabs
In the beginning
2
3 4 5
6 7 8
9
10 11
12 13 14
15
Jointer1
Jointer2
Router
Table1
Router Table 2
The Doors
Do
Pa
Give Me A Brake
Cyclone
Cyclone 2
Cyclone
3
Cyclone 4
Liquor
Shop Reno Tenjinsama Shrine Tree Tour
Beer Shelves
Wine Shelves
Five Cuts
Drill Press <NEW
DoPa 2007 <NEW
Turning
Jean Francious Escoulen
Eli Avisera Demo Day One
Eli Avisera Day Two
Lathe Stand!!
Turning
Roughing
It
Sharpening Station
Bowl Blank Processing
Captured Hollowing Rig
<NEW
Logging In Tokyo
Woodlot Woodlot
2006 Woodlot
3 Woodlot 4
Chainsaw Mill
Chainsaw
Mill Mk II
New Old Drill Press
I've been looking for a good used drill press for some time, they always seem to go for a good price, more than I'm willing to pay, yes, I'm cheap!
I've seen some of the Chiwanese offerings, and for about $300
I can get an OK bench top drill press, but really, they are not that great,
I do not expect them to out last me. What I'd rather get is a good used one,
even if it is in rough shape, I figure I could rebuild it.
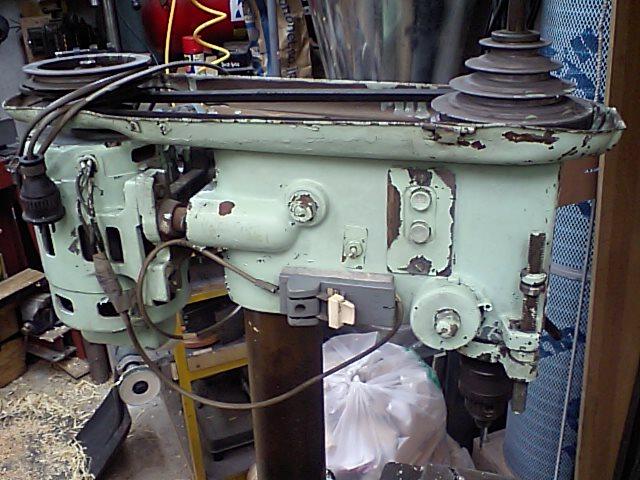
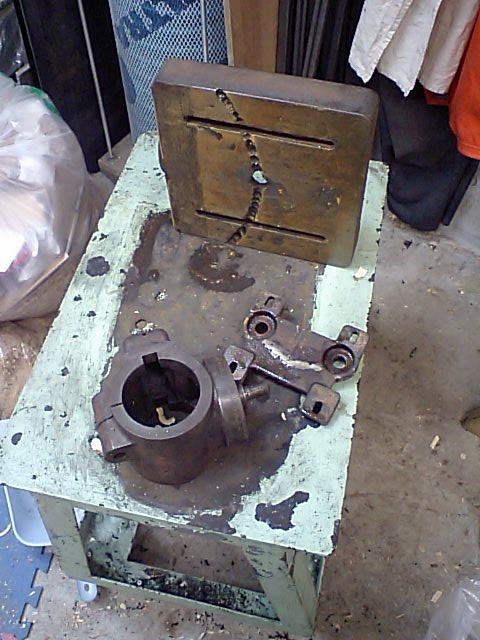
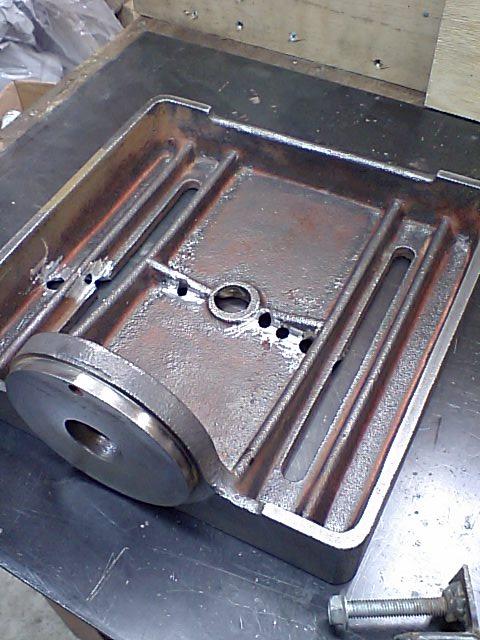
I found one on auction here in Japan, it is not "New" in any way shape or form, but it was cheap, about $125 US...........
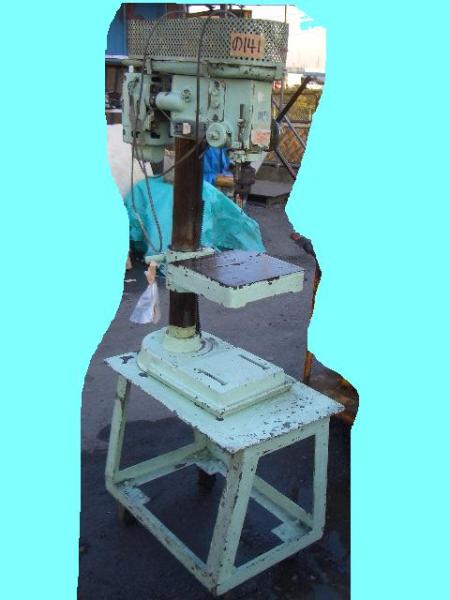
Yep, looks fairly rough, but might be a diamond in the rough.......?
Well I did the 2 hour drive out to the hinterlands of Saitama
(an area outside of Tokyo proper), only about a 30 mile trip, one way, but all
on normal crowded roads.
I finally found the place and paid my money, and got
the guys to help me load it into my long suffering little truck
(after having to
convince the guys there that it would fit, it did, no problem). Two and a half
hour drive back (yes, an average of 12 miles per hour!!).
I got back home and dropped the drill press into the Dungeon in the usual fashion (electric hoist!).
Once the Drill press had touched down, I took a closer look at it, and did some inspecting.
OK, it did look rough!
I did notice that the plug looked like it was 100V, so I plugged
it in and flipped the switch, it lives!!
It runs well, thank goodness!
I noticed that some kind soul had painted the name plate on the front of the DP, thus saving it for me to uncover............
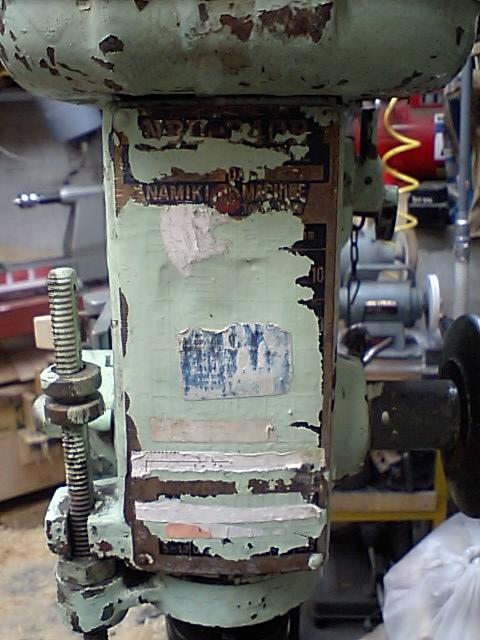
I applied some heat and made the pain bubble, then let it cool
slightly and slapped a piece of Duct tape on it, then pull the Duct tape, and
the old paint came with it!
With a little elbow grease, and some Autosol.....

Which really works well, and I got the name plate all cleaned up.
Still needs some work, but not bad for 10 minutes work........
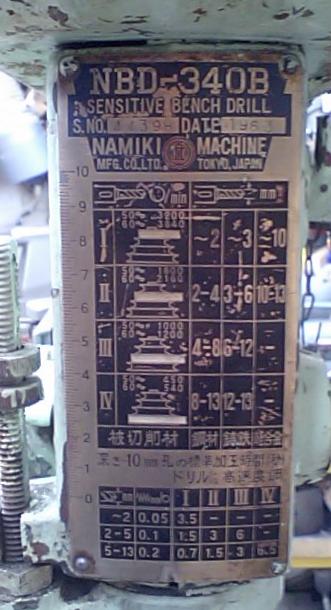
On closer inspection I found out that as well as this being a "Sensitive" Bench Drill press, it was also built in 1963..... so it is older than I am!
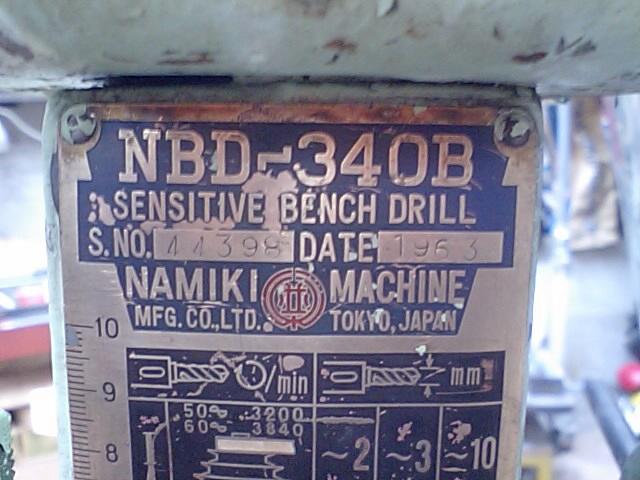
Looks not bad!
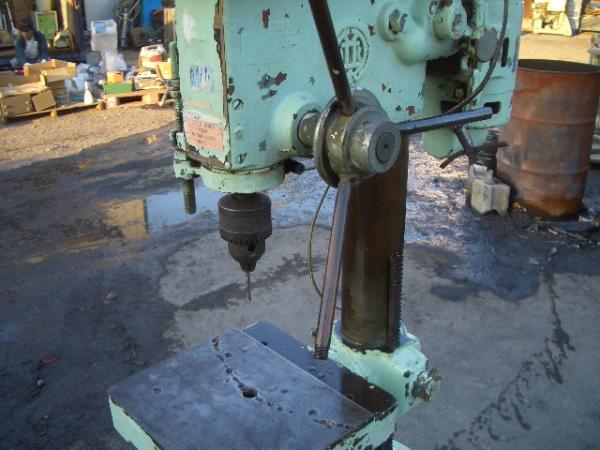
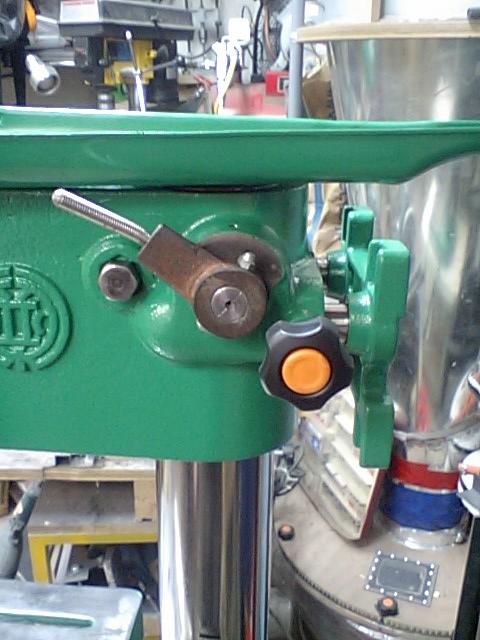
Now on to some of the "Busted" stuff......
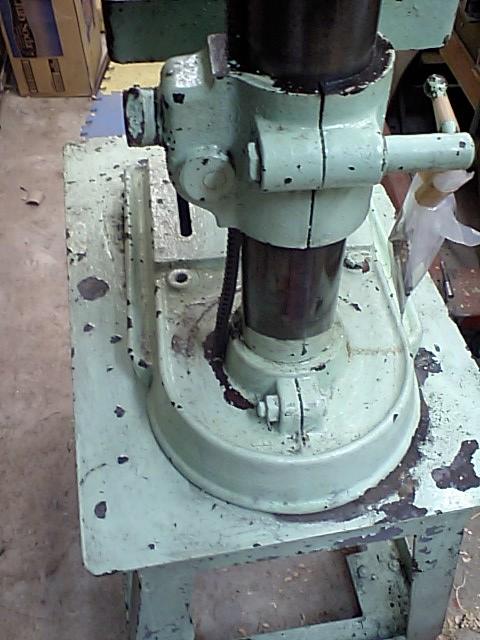
That geared bit, on the left side of the column is not supposed to go down that
far, or be bent out to the left like that...........
As you can see here, after I removed it, this is going to need some
adjustment.....
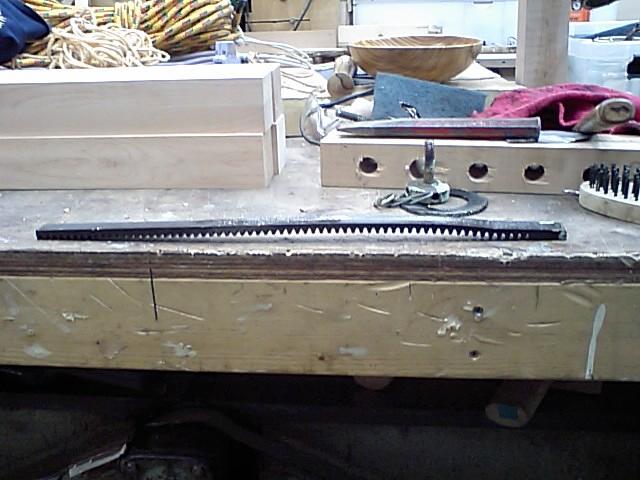
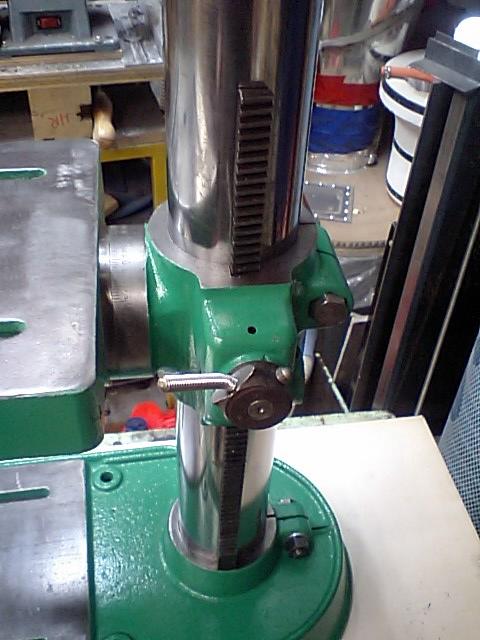
Here is another view, and you can see here that the handle for raising and lowering the table is also busted., going to have to make a new one of those, if I cannot easily buy one.
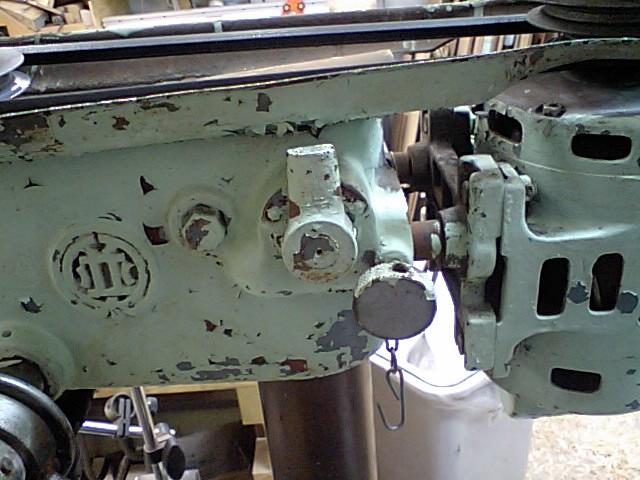
Another busted handle, this on is the belt tensioning thing, another handle I'll
have to make, or buy.......
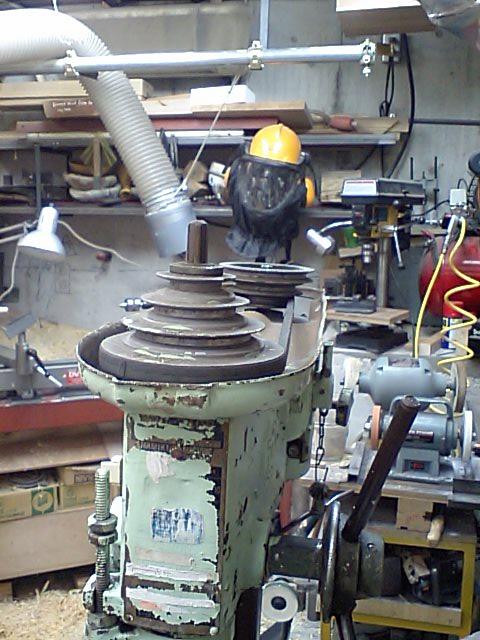
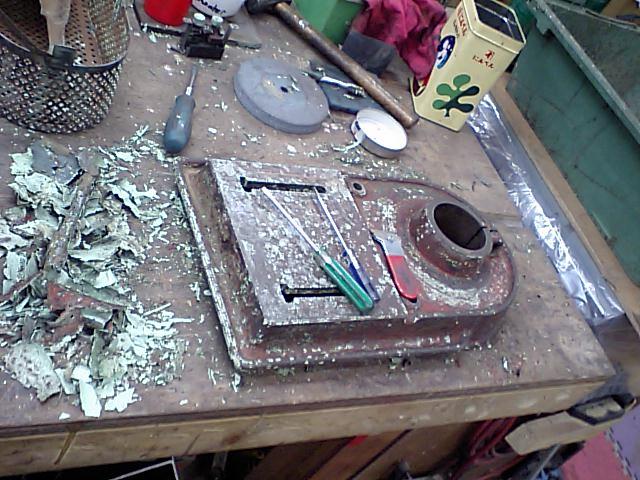
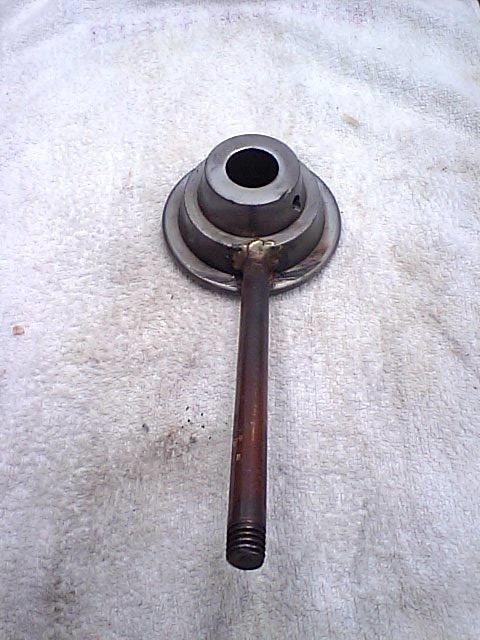
With the handmade cover removed you can see the pulleys, the rear one only has 3
sizes, and the front has 4 sizes....
![]()
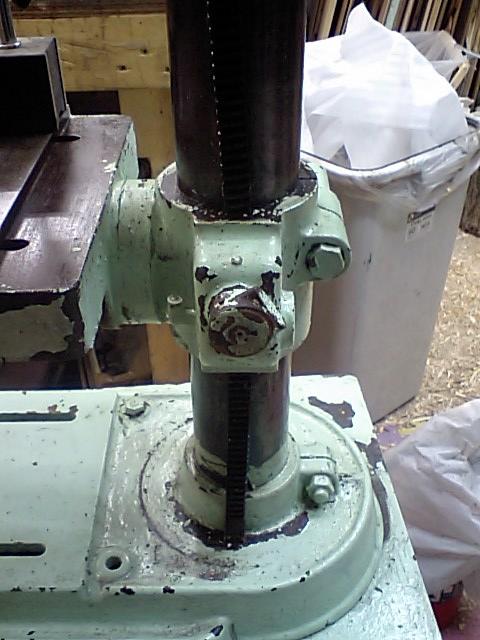
I guess the bolt was too long, so they put this spacer in, makes me think that
the motor may not be the original unit...?
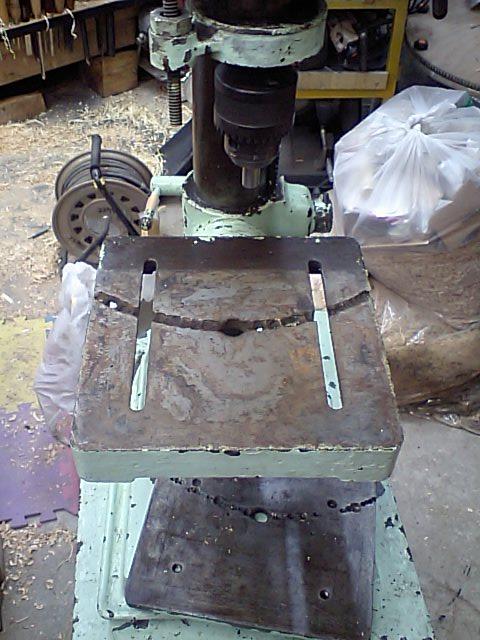
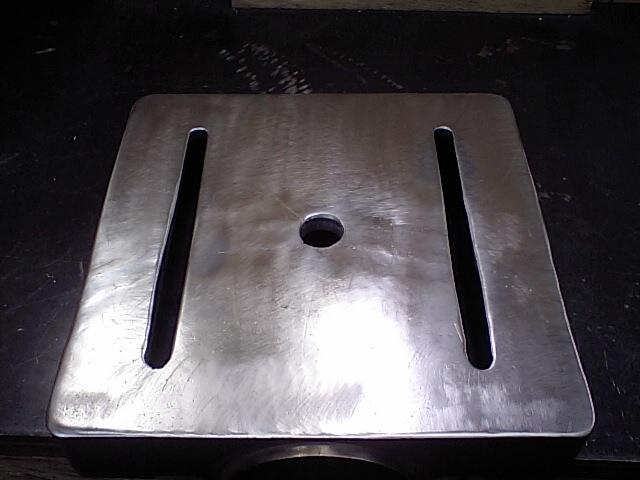
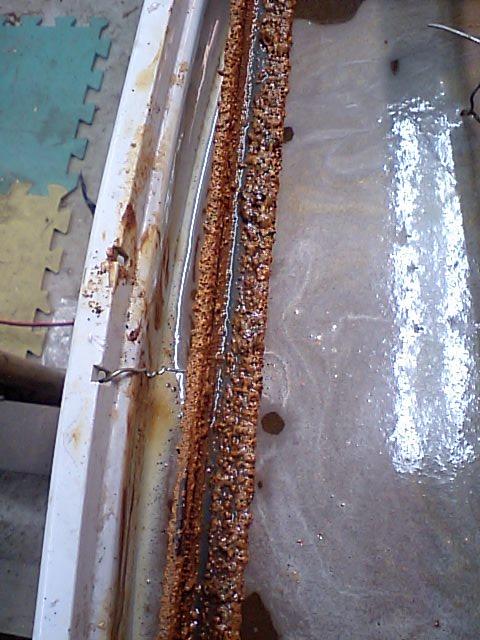
On to the table.......
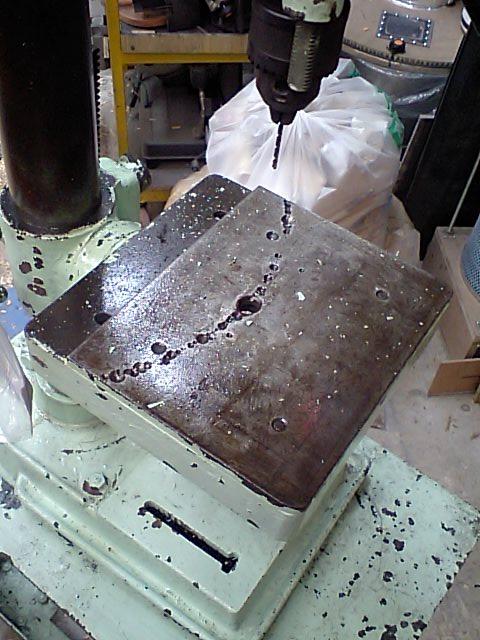
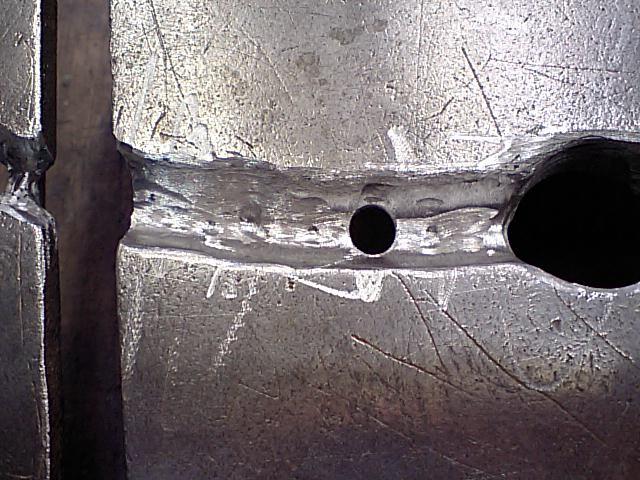
They put a 1/2" thick plate on the table, this plate has it's own
"Smile of shame".....wonder what is under that plate....?
Yep, you can see why they covered that up!
Won't matter much, as I'll be using it mainly for woodworking, and I'll build a wooden table for it.
This is the "Switch side" of the DP, you can see the
switch that they rigged up, nice eh?
There are two painted over switched, one a button switch, for the DP, I think,
and one a toggle switch, which is for a light, I think...?
I'll have to rewire the DP, and put a good switch on it.
Now for the money shot.......
Got to check the run-out of the DP.........
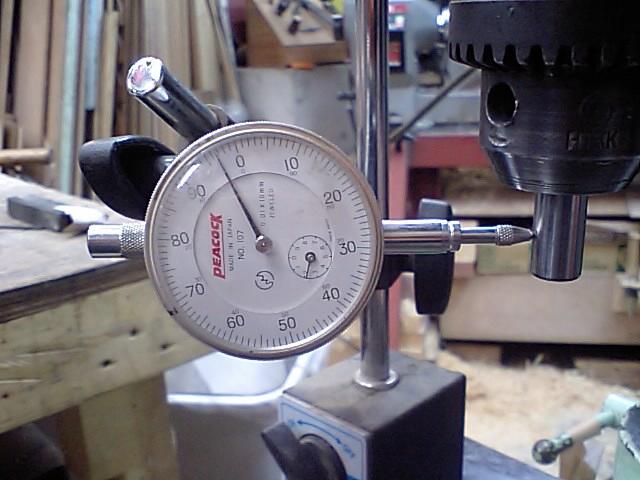
First I chucked up a alignment pin left over from my Nova DVR lathe extension
bed, I got 0.04mm of run-out......
Not bad, I think, could be the pin, or even just some dirt in the chuck, I did
not really clean it well.
I eventually got the chuck off so I could check the quill for run-out.......
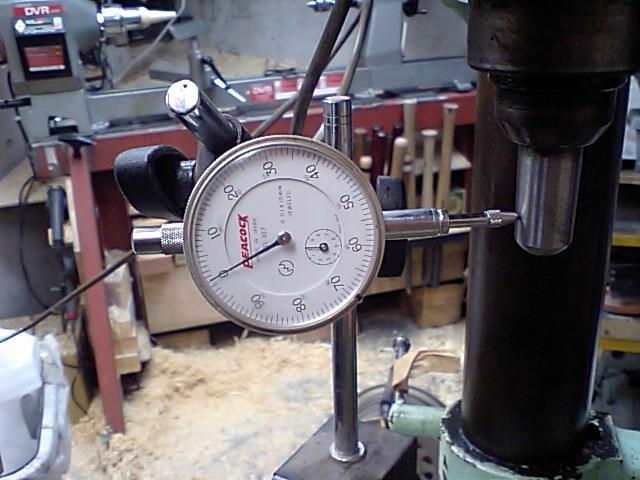
Dead straight, hardly even a flutter on the needle....Not bad for a 44 year old
machine!
I'm betting that most of the $400 Chiawanese machines are not this good, new out of the box!
Next I'll take it all apart, and replace whatever nuts and
bolts need replacing, clean it up,
PAINT IT and put it back
together. I'm thinking I'll build a wooden base for it, just so I can have some storage
under the drill press.
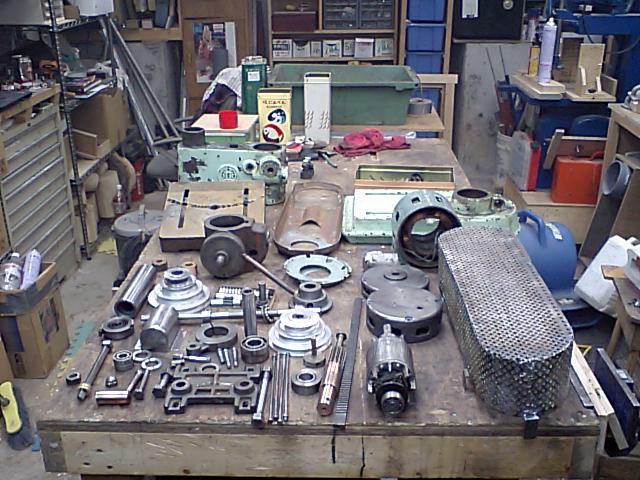
Gone to Pieces!!
OK, I got the drill press broken down to basic components.
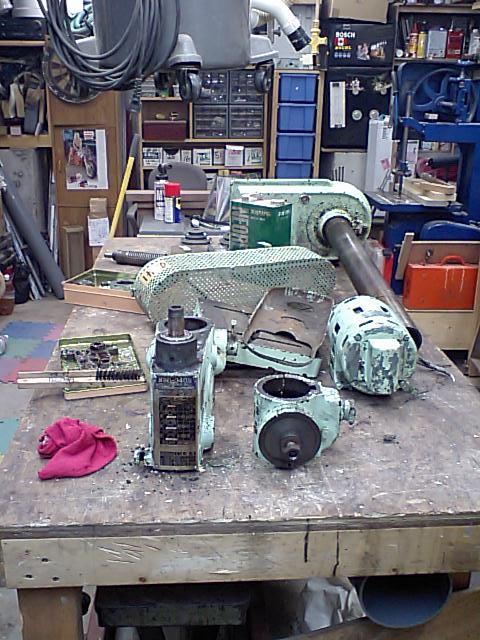
The one thing I did not get apart was the column from the base (more on that
later).
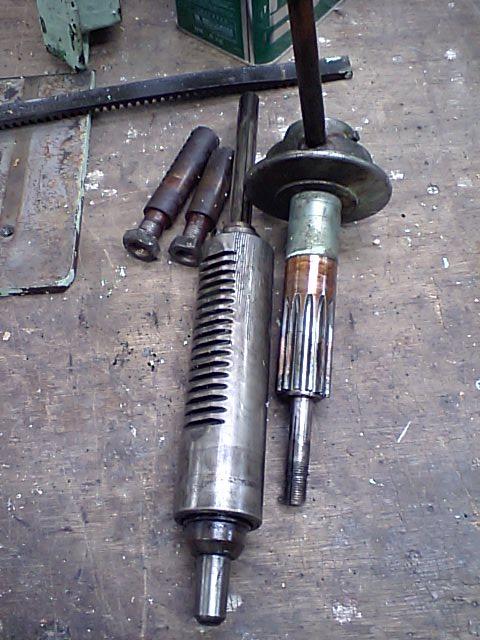
The main moving parts, are in good shape!!
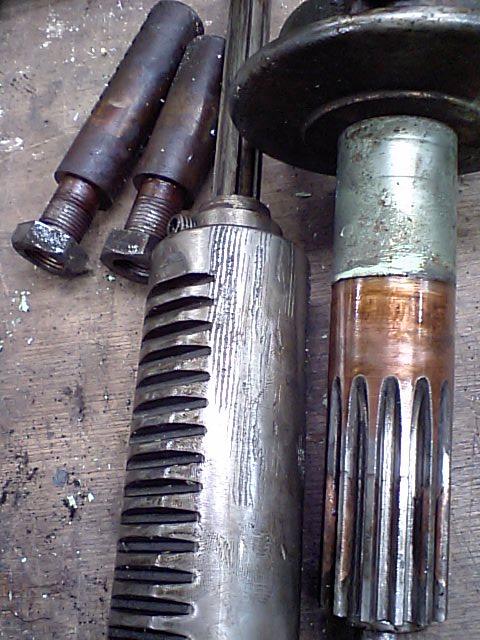
There is some damage here on the shaft of the DP,
but it seems to be very old damage, and does not seem to effect the movement of
the machine...?
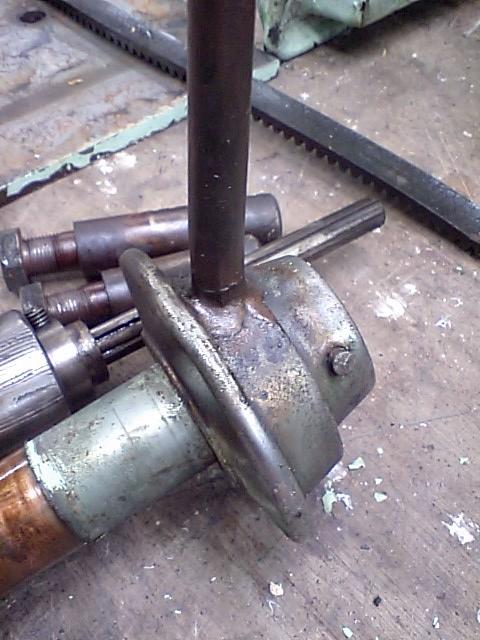
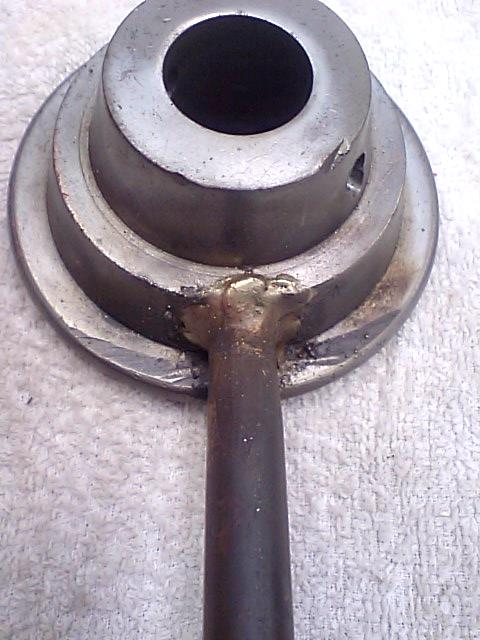
One thing that I found that sucks is that one handle on the machine is welded in
place, don't know if I'll leave it, or try to fix it.
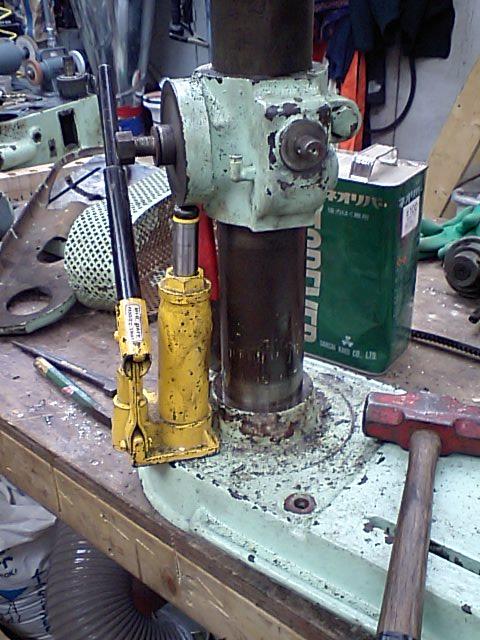
OK how do I get the base off the column?
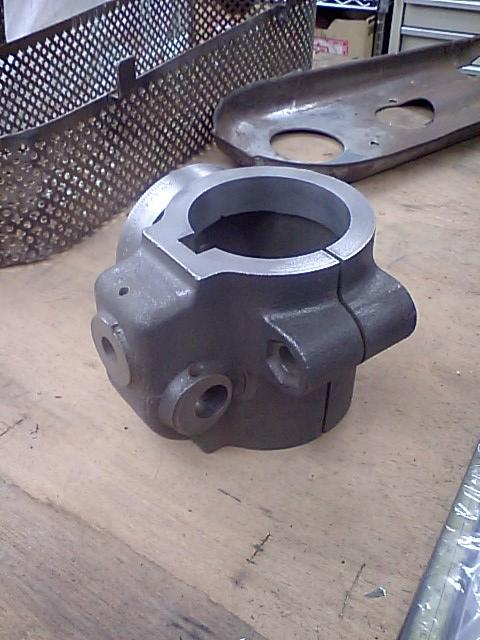
I got the head of the DP off the column with the use of a
bottle jack and a piece of wood.
I was trying to figure some way to take the base off, I was thinking of a clamp
of some kind, when it hit me...........
Just use the clamping section of the table!! (boy am I "Stu-pid" sometimes....)
I removed the pinch bolt from the base, to release the column, and then I
scraped off as much paint as I could,
and soaked the joint with WD40. Then I took a torch and heated up the base, all
around the column.
I then put upwards pressure on the column with the bottle jack, and then tapped
the base around the column.
I had to move the bottle jack a few times, but it came out!!

Now that the column is out, I can really start cleaning things up!
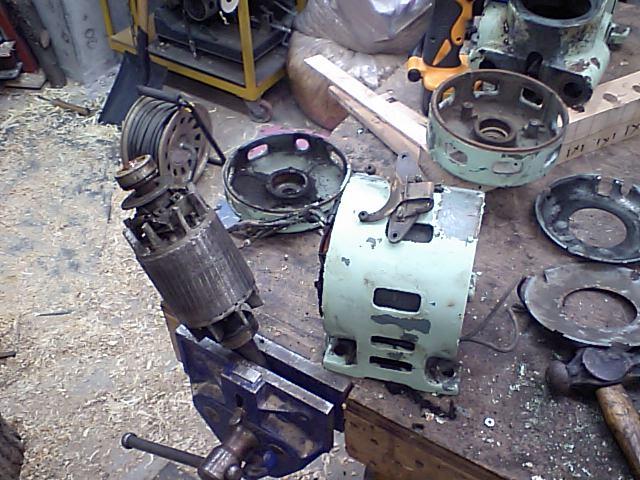
I took the motor apart, I was concerned about the bearings in the motor,
and they are rough, one is certainly gone, the other is close, so I'll replace
them both.
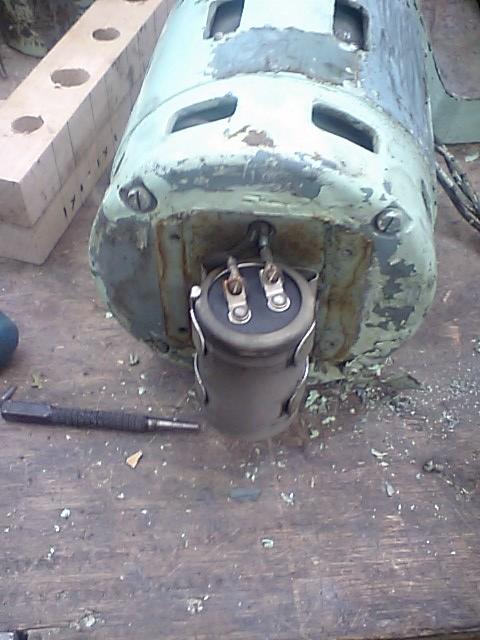
This is the start up capacitor, looks a bit large.
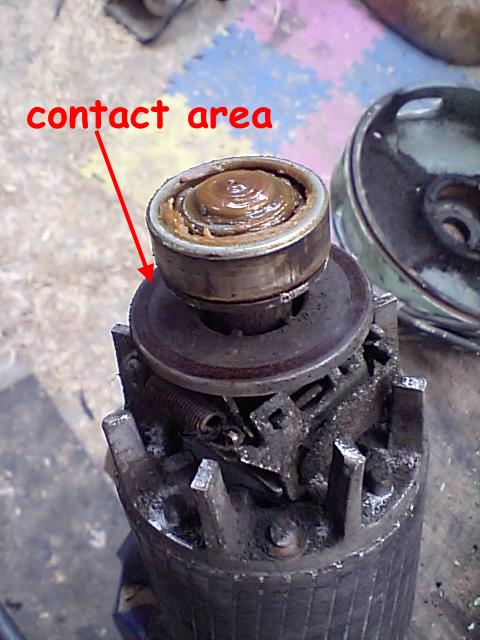
The contact area on the motor is VERY dirty, so that will get cleaned too!
Now I need to get some better gloves, as the ones I have are eaten by the paint stripper in seconds!!
Coming along it is!
Did some more....
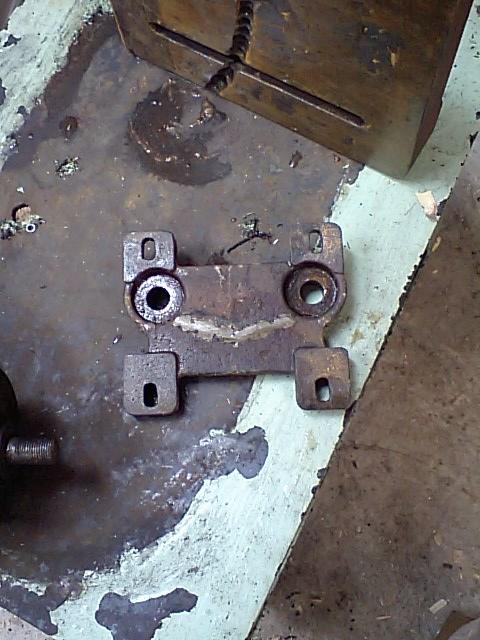
When I got the motor mount off the back of the drill press and got it
cleaned up,
it looks like it was busted at some point and welded up. Looks good to go, so it
just needs paint.
I got the table, the column table clamp and the motor mount all cleaned up,
now they need a wire brushing and some paint.
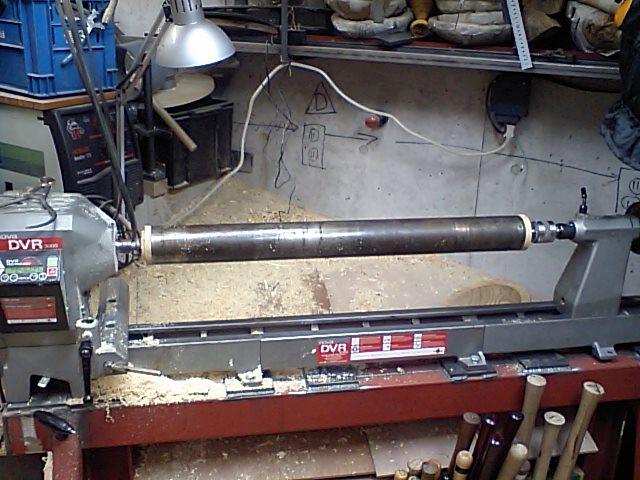
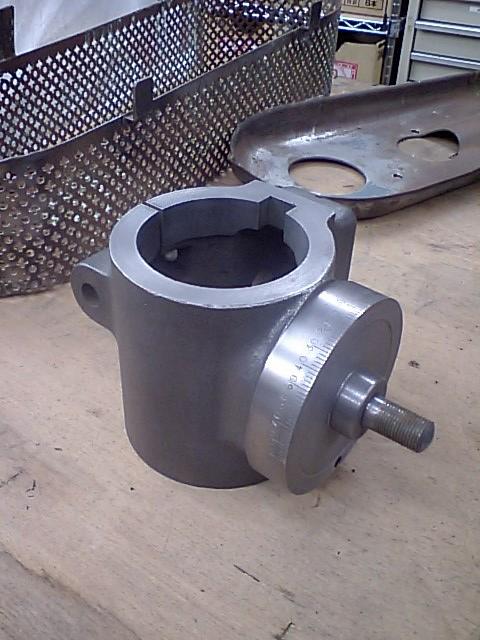
I turned some end plugs for the column, and put it on the lathe.
After a lot of cleaning and then sanding, I got most of the scratches out, and
got it shining again!
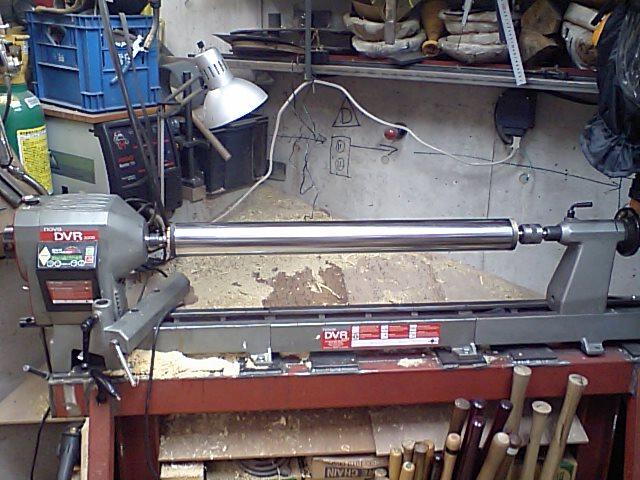
All bright and shinny!!
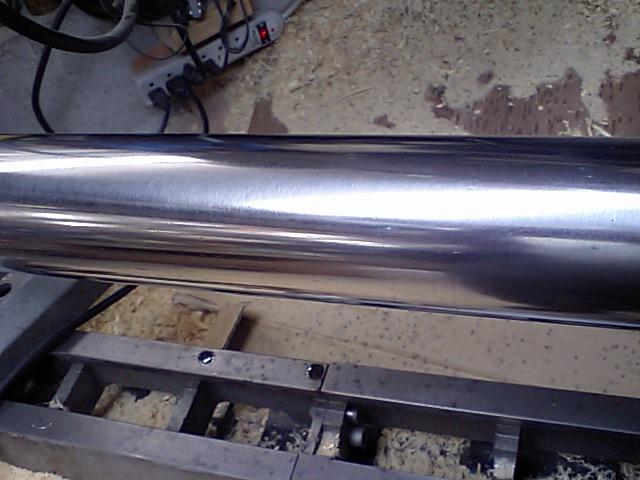
Still some scratches in there, but it looks a LOT better than before.
Bit by bit, I'm getting it done!
The Parts that I've gotten cleaned up
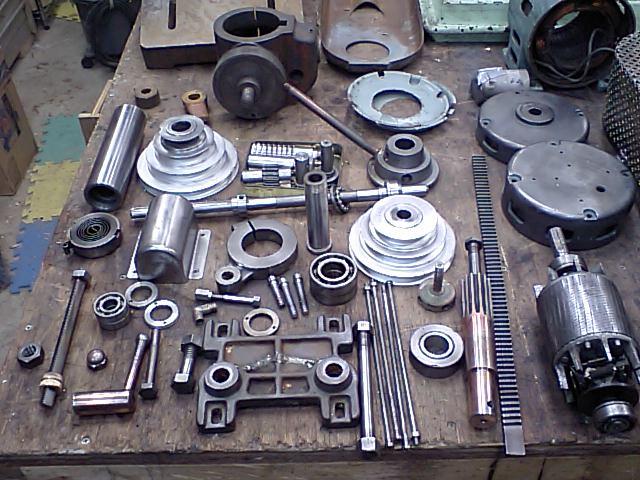
A closer shot
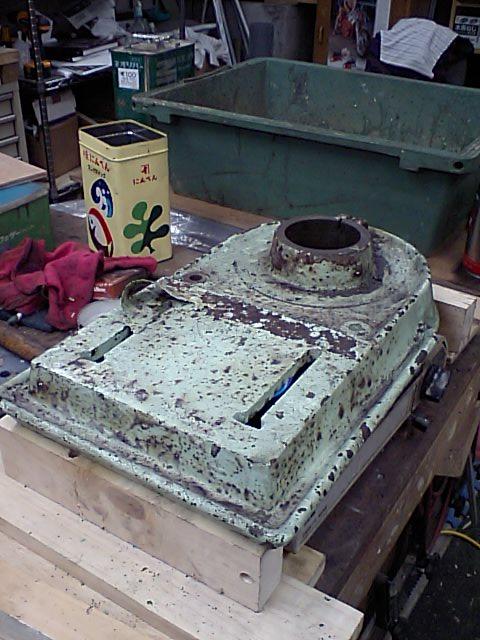
To get the paint off the base, I decided to use heat and scraping, instead of
the nasty paint stripper.
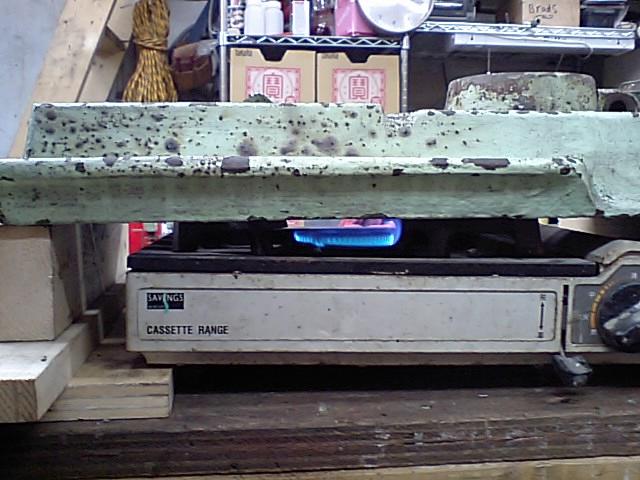
I put a small gas stove under the base, and let it cook.
After the heat, I scraped the paint off, with ease.....
Lots nicer than dealing with the nasty stuff.
Now I hit it with a wire wheel
Ready for the tank!
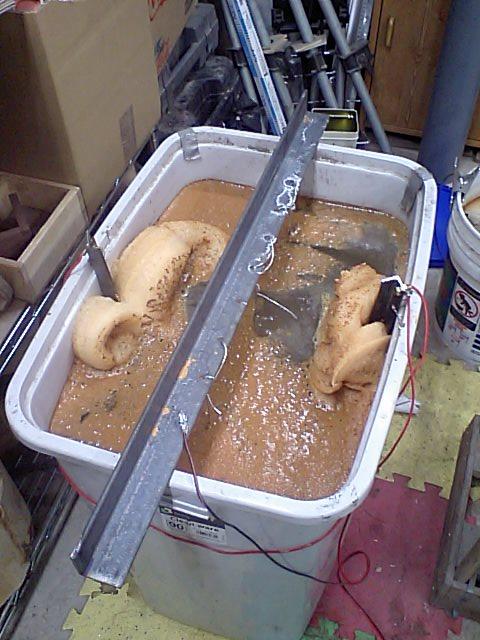
I made up a small electrolysis tank up, about 5 gallons, I added baking soda,
about 1 tablespoon per gallon,
two sacrificial pieces of steel, and a small batter charger.
Here we are at the one hour mark...
Here it is after three hours.
I've then made up a larger tank, but I really need a larger power source.
Along that line, I heard an old power supply, from a computer..........
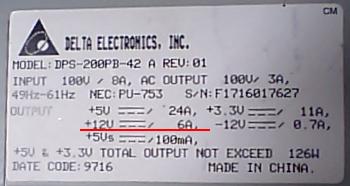
At 12 Vdc I get 6 Amps, that should be faster than the 1.2 Amp charger I have
now!
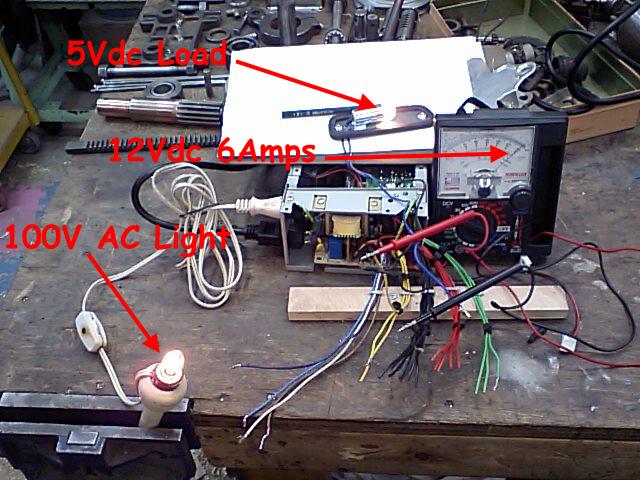
OK, I finally figured out, that I needed a "load" on one of the
5Vdc lines to make the power supply come to life.
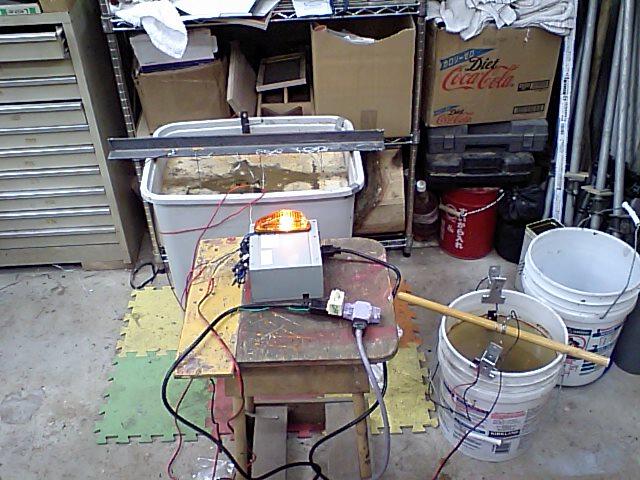
I made it with two outputs, so I could do both tanks at once.
It really rocks and rolls now!
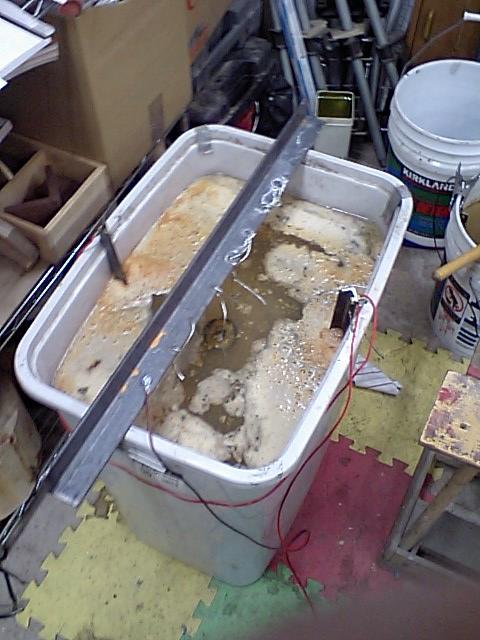
This is 5 minutes at 6 amps, boy what a difference, you can see the process
working, man alive, what a change!
Yep, one happy guy!!
OK another update!
That is about 8 hours on the new power source, sure works great!
I took the table clamp and the drill head out of the bath, they needed some
clean up with some small brushes, and a 3M scrubby pad, but the black coating
left on the metal came off really easily.
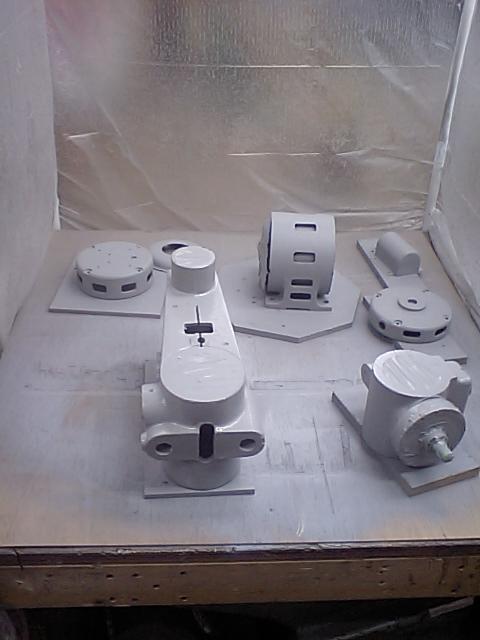
Here are the pieces painted with primer, the motor parts are there too.
The motor will remain gray, but the rest of the drill press, I don't know, maybe
green?
OK, I decided on Green, not a dark green, but a nice soft green............
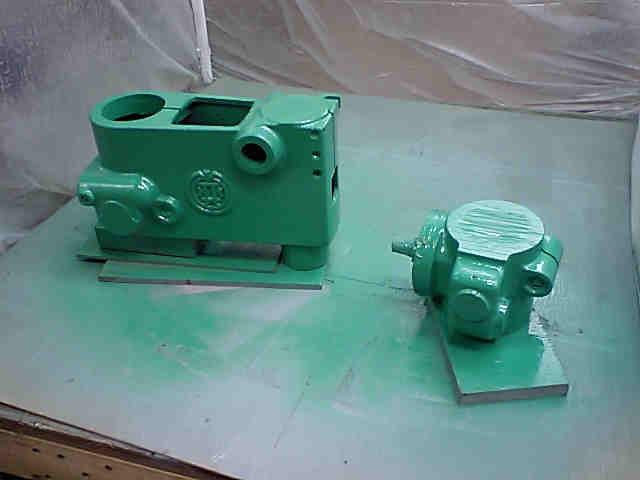
Yep, and the Drill Press has now been christened "Kermit"
The base will get painted, and the table will get MIG welded to cover the
smile of shame!
Sunday!!
Well, I've been busy I know, no one is surprised....
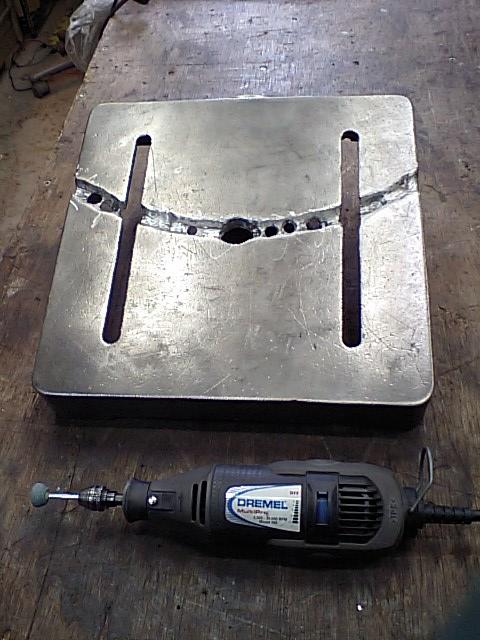
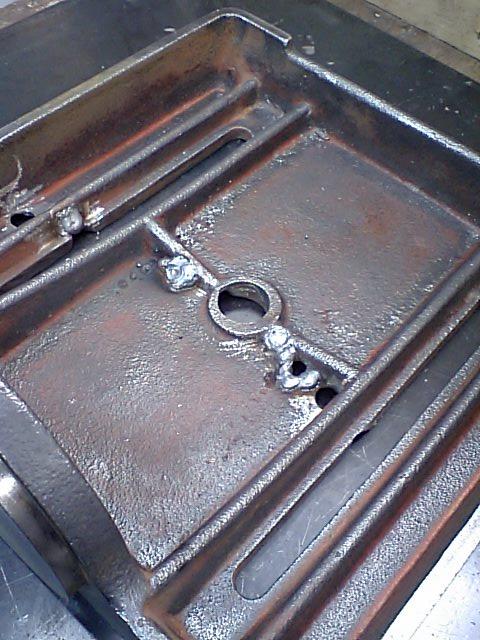
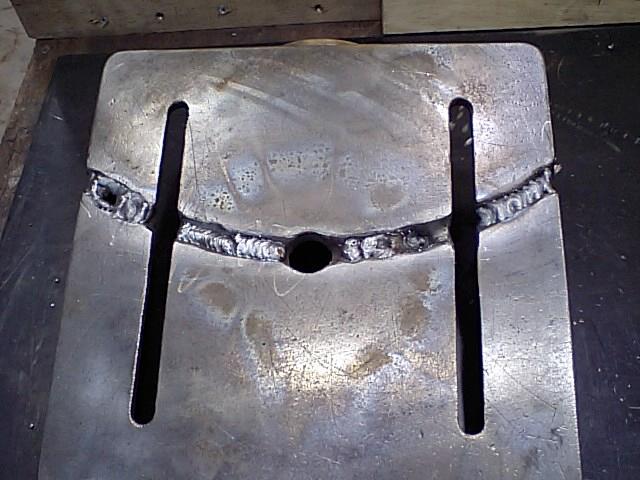
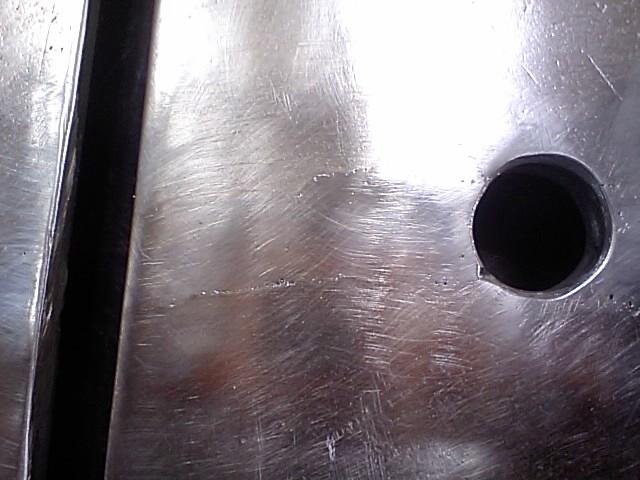
I decided to grind the smile of shame down to new metal, as the old metal is full of oil etc, which would not be good for the welding stuff.
I must have worn out half a dozen little grinding wheels, but it went nicely, cast is easy to work!
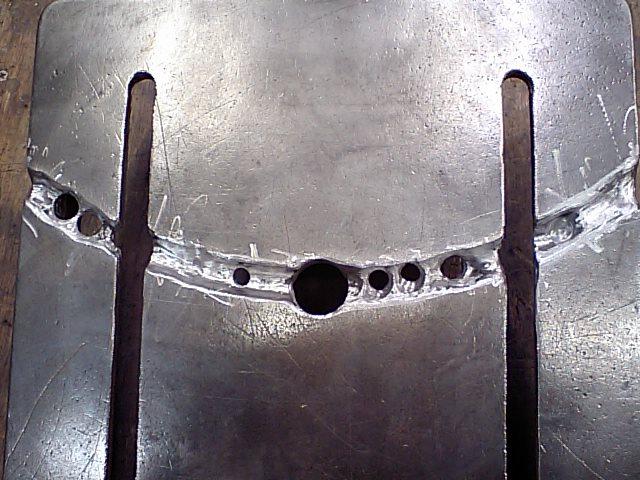
All ground out ready for some welding (I feel like a Drill Press dentist!)
I even ground the underside, as I've decided to start here......
I heated the table to around 100C, water would skip across it if dripped on, like a skillet ready for pancakes
The I started to weld, the welder (a 200V Hobart Handler 175) was on the #3 setting and the wire speed was set at about 50 (around the middle of the speed, there is a 4th, higher heat setting, I did not use this.
I'd weld a bit, maybe 3/4", then switch sides, and do some more, then wait maybe 5 minutes and brush it clean and do some more.
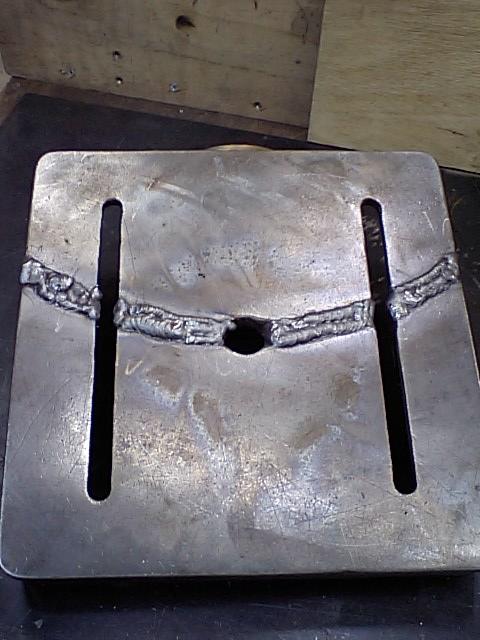
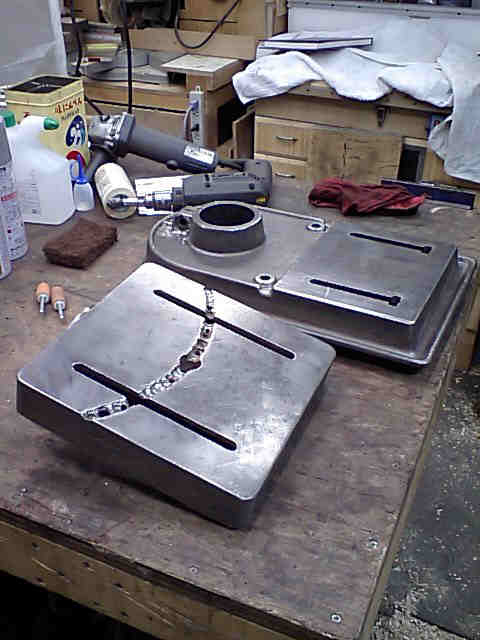
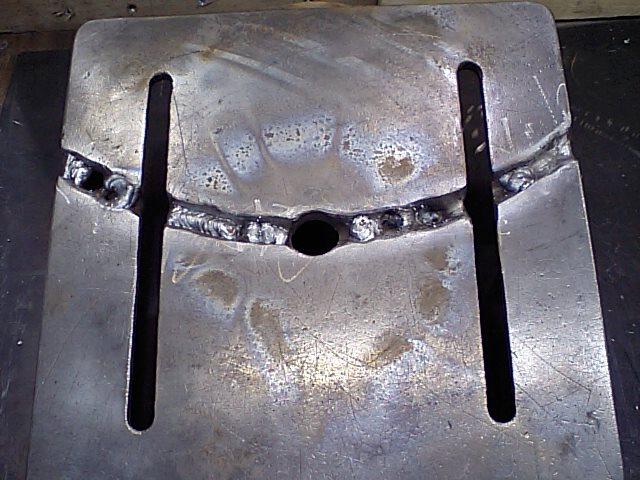
There it is all welded, well the first time, I'll grind it sort of flat, and have another go!
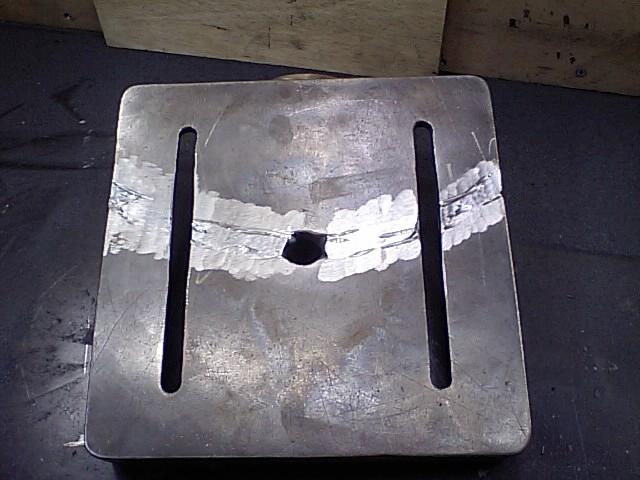
Ground down sort of flat.........
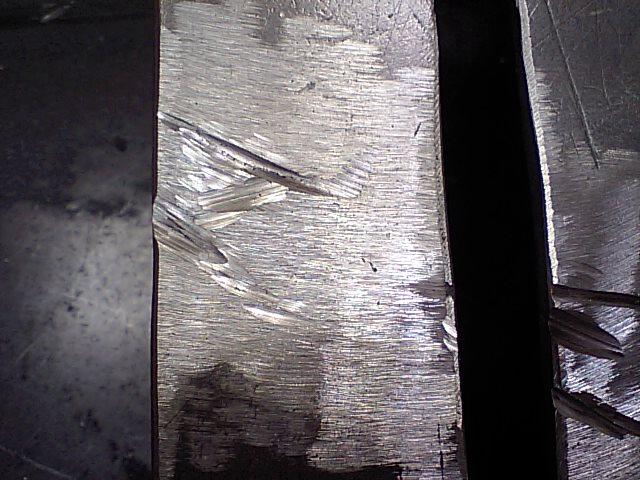
I reground the small spots I' missed or undercut, ready to do some more welding................and, we shall see how well this worked...
Perfect............? Nope, but a whole lot better, oh yeah, I'd say so!
I can live with that!
No cracks from what I could see from the welding, so I guess that worked well.
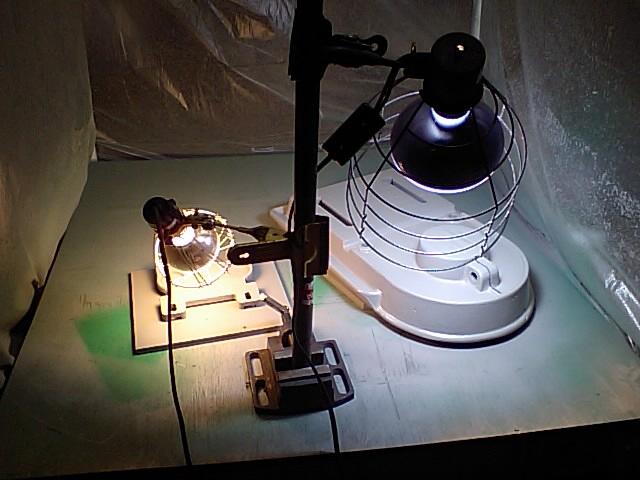
The Dungeon is a bit cool (NOT cold) but on the limit of what they say I should be painting at, so I used these heat lamp things to warm the metal and then help dry the paint, worked really well.
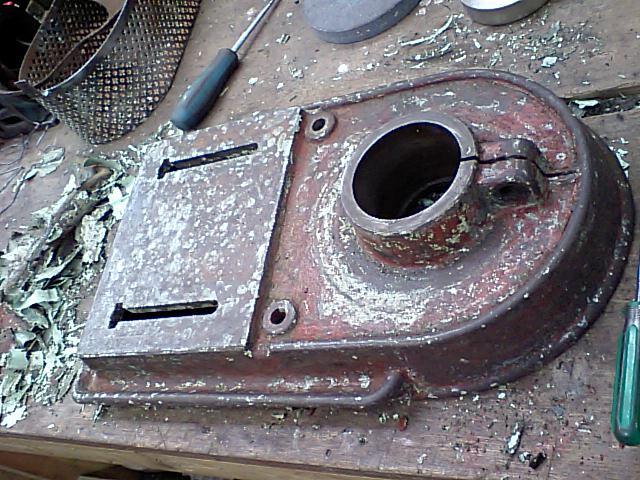
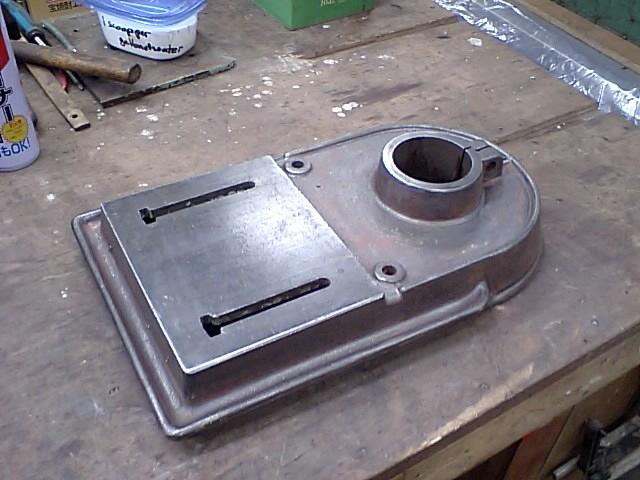
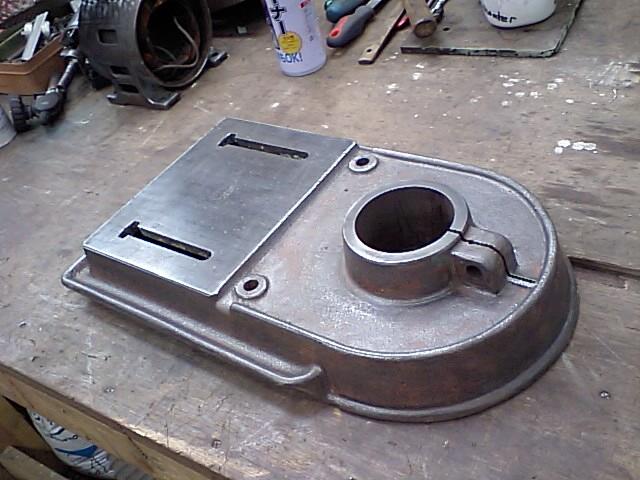
Here is the top cover, the last piece out of the bath, all it took, for about 90% of it, was a wipe with a rag, and it was this clean!

I took the steel bits that were attached to the positive terminals, and they were a bit rusty.....
Oh yeah, you can say that they were rusty!

A better shot of the green color, like they say, it is a "Soft Green".....
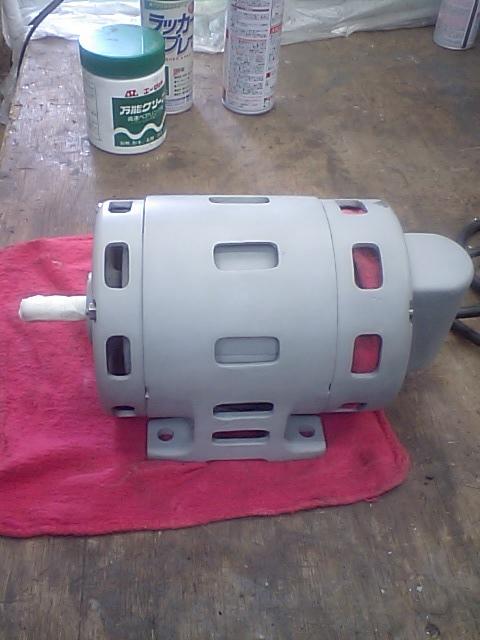
The motor is all back together, and it even works (BONUS!!) I'm just going to shoot one more coat of paint on it.

and lastly the old stand, the wheels are shot on it, so I'd have to replace them, if I use this stand, it is rock solid, heavy steel, but I'd have to clean it all up, and paint it, besides, I want a stand with some storage in it.........
I've got the bearings on order, now I just have the top cover to paint and when the bearings get here, I can put Kermit back together!
OK now this is starting to look like a drill press again!!
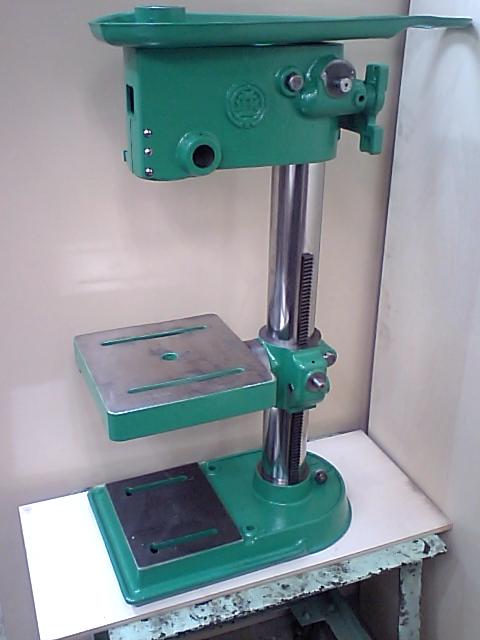
I put some plywood behind to make a less cluttered shot

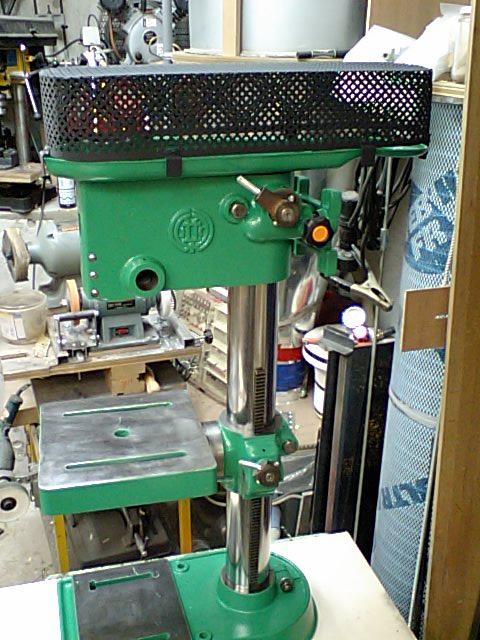
I hope that by painting the cover thing black it will kind of disappear!
This is the side handle to adjust the tension on the belts, the handle was
busted, and I'm trying to find a new one, but until then, I'll make it work.
Here is another busted handle, this time on the table, again, I'll try to
find a new one, but until then....
Only bad part on the press, that I'm really not liking and will most likely end up fixing, and NOT living with it........
This is the main handle for the quill, the one handle was welded in place....
Really ugly........
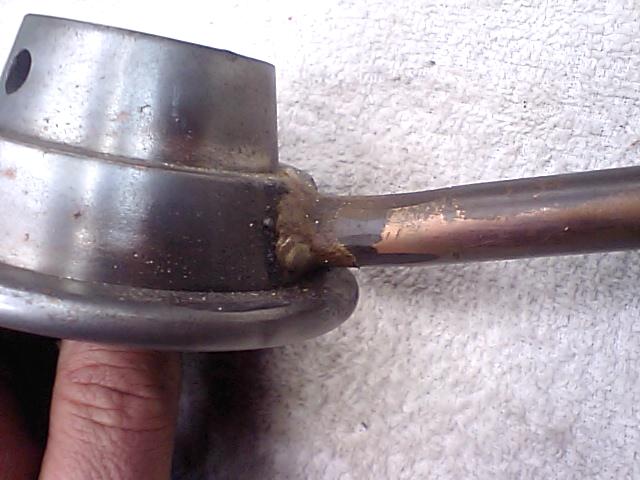
I'm thinking of grinding it off, and welding new metal in if I have to, then
turning it on the lathe to make it round again. After that, I'd drill and tap a
new hole for the handle.
Now I'm waiting for the bearings to put the guts back into Kermit, should come tomorrow, I hope.