_____Stu's___Dungeon__
Joyful Honda
Treasure
Lesson Room Cabs
In the beginning
2
3 4 5
6 7 8
9
10 11
12 13 14
15
Jointer1
Jointer2
Router
Table1
Router Table 2
The Doors
Do
Pa
Give Me A Brake
Cyclone
Cyclone 2
Cyclone
3
Cyclone 4
Liquor
Shop Reno Tenjinsama Shrine Tree Tour
Beer Shelves
Wine Shelves
Five Cuts
Drill Press <NEW
DoPa 2007 <NEW
Turning
Jean Francious Escoulen
Eli Avisera Demo Day One
Eli Avisera Day Two
Lathe Stand!!
Turning
Roughing
It
Sharpening Station
Bowl Blank Processing
Captured Hollowing Rig
<NEW
Logging In Tokyo
Woodlot Woodlot
2006 Woodlot
3 Woodlot 4
Chainsaw Mill
Chainsaw
Mill Mk II
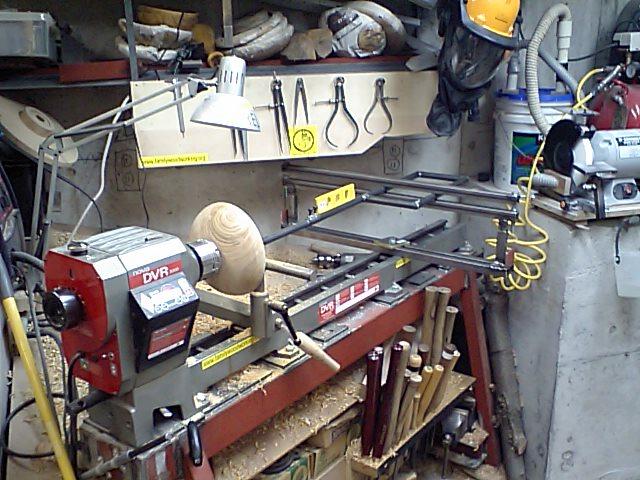
Hollowing Rig
I decided to get into some hollow forms (HF) as they look great and seem like another fun thing to do.
The type of rig I made is what is called a "Captured D-handle" rig.
OK, I put a lot of thought into this, before I built it, but
start to finish was about 4 hours, not counting a coffee break or two ")
I decided to make this up today, as I had all of the welding stuff out, and the
Dungeon was a mess anyways
so why not just make a bigger mess, and get this done!! 

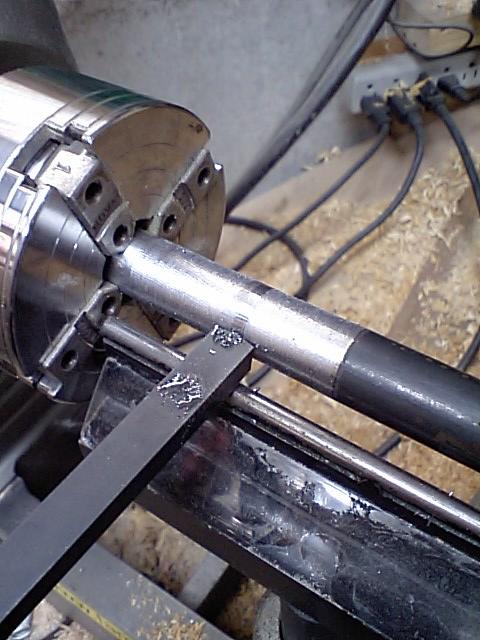
I started out turning down one end of the solid piece of steel rod so it would
fit inside the pipe that I'm going to make the D-handle out of. This took some
time, and my scraper needed a lot of resharpening, but I got it done.....
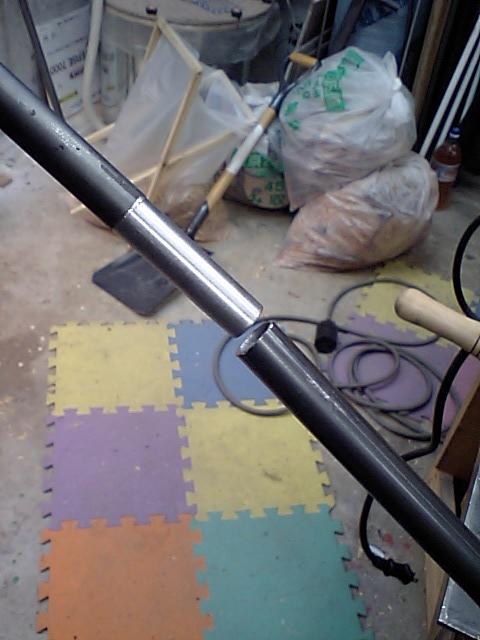
Not bad for a wood lathe, I think!

Fits just right
There is even a bit of a shoulder for it to stop at.
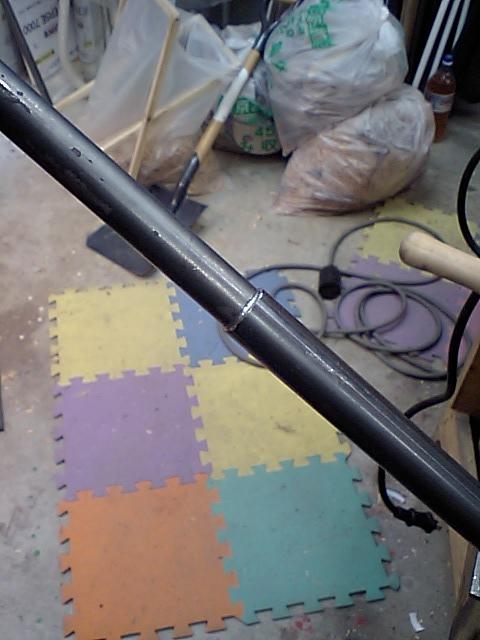
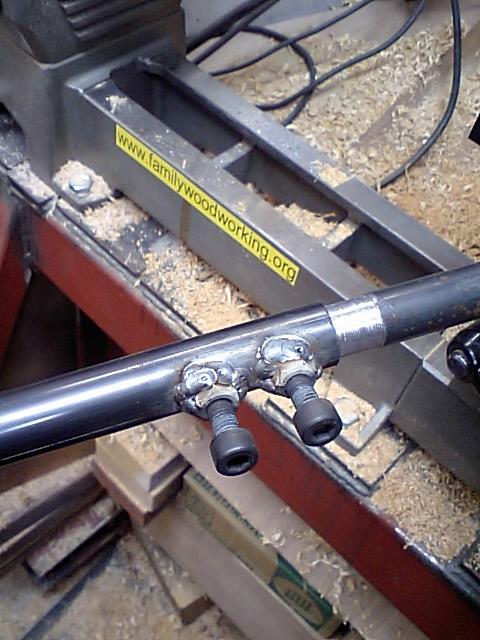
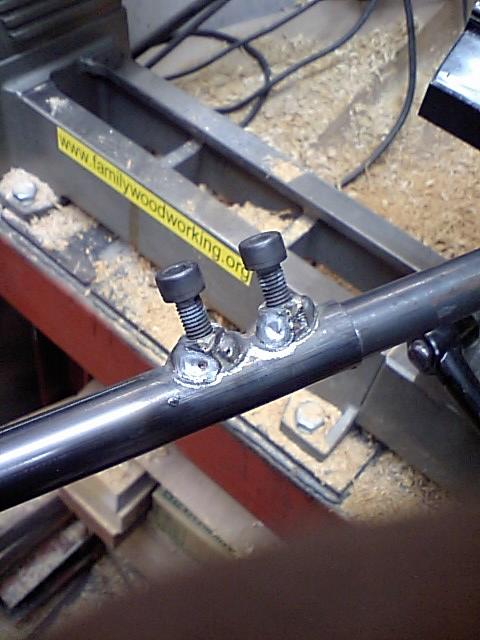
Now onto the "D" handle....
I cut the pipe at 45s and then welded it up, worked well, I added a few nuts
with Allen bolts to hold the tool insert, and then I ground the D-handle smooth.
I then built the tip of the tool, not much there but a bit of grinding, then
filing, drill a hole and tap it, and I have a tool tip.
I cut up an old circular saw blade that Mark Rios sent me (thanks again Mark!)
and it works OK, but the steel is a bit on the thin side, I need to find
something that is more like at least an 1/8" thick, if not more, and is for
sure HSS, dunno if the saw blade was... 
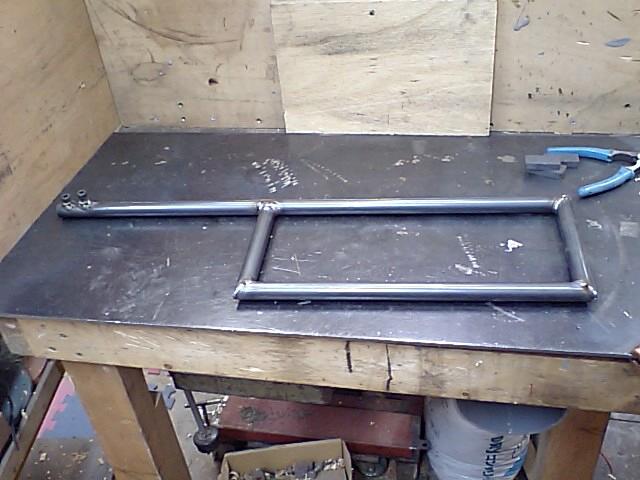
The capture part was next, this was fairly simple, I was working hard to get it
done, so I did not take any "In progress pics" (I know, I know) as the
cell camera and hot steel and sparks to do with welding don't really mix either
(nor do my dirty hands all over the cell phone).
All you get is the finished product...............
A head stock view
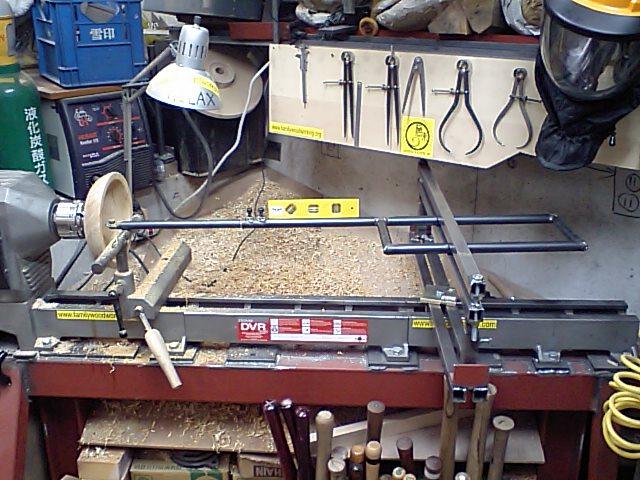
from the other end

here is the part that captures the D-handle, simple and works like a trick!
I chucked up one of the ROCK hard Keyaki blanks, this stuff is seriously hard, I
DNAed it on July 28th 2006 (the wrapper said) so it was seriously dry and when
so, it is seriously hard!!
The rig worked fine, the only thing is the tool tip dulled in about 1 minute of
scraping!

Some more work done on the rig.....

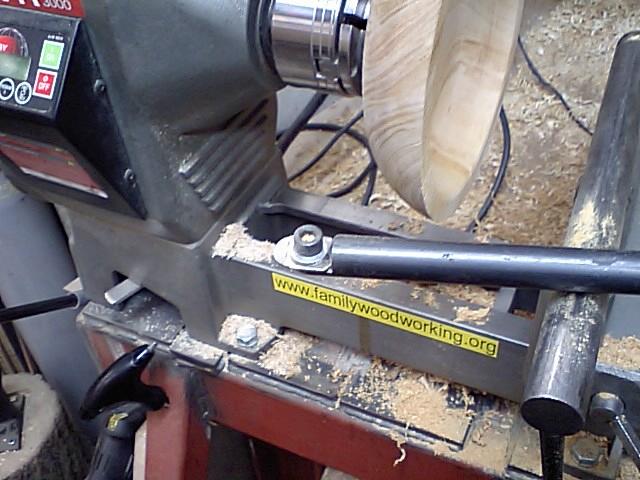
Here is another piece of rod in the lathe ready to be turned down slightly so it
will fit into the D-handle
You can see that the very inside of the chuck holds the rod at this end, and at
the other end it is just a live center, but I mark the center of the rod and put
a dimple there with a center punch.
Now you could use a file to do the whole thing, I guess the idea of an angle
grinder would work too, but really this is no big deal, the HSS scraper cuts
fast enough. I keep the lathe speed down to about 300 rpm.
You might have noticed I took the jaws off the chuck, no need to have them
knuckle bashers there if I don't need them ![]()

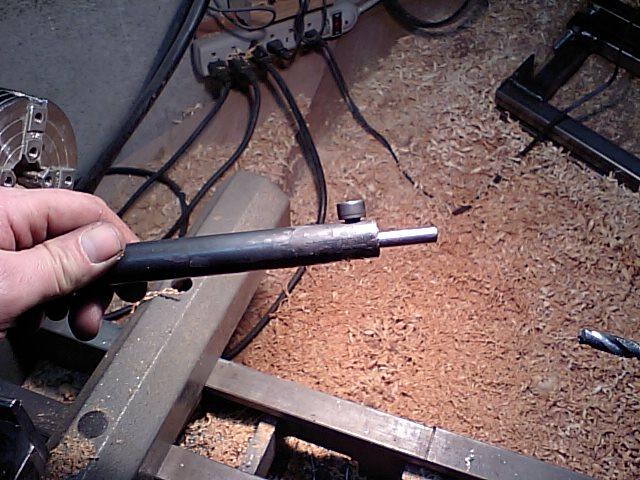
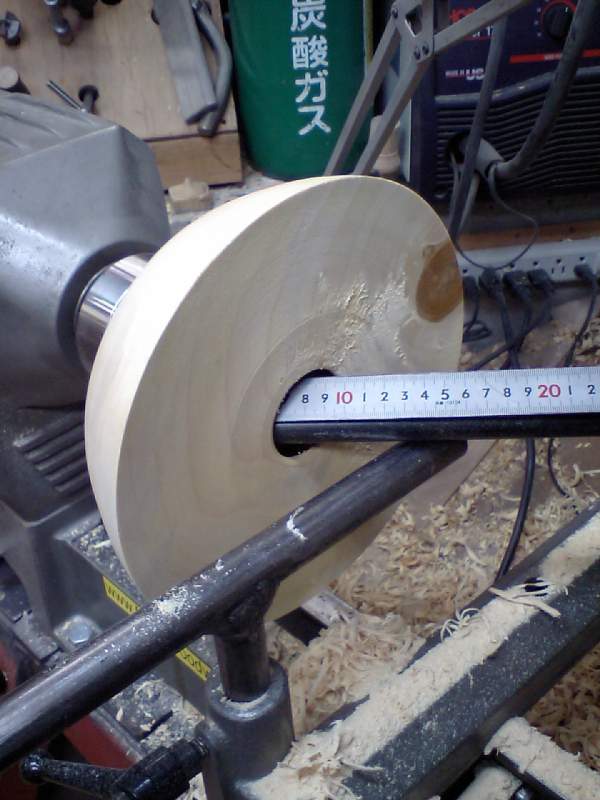
Here I've turned the end down to where I want it, (28mm) and I'm ready to
reverse the rod, so I can do the last little bit that the chuck is holding onto

I reversed the rod and did the last 1/2" or so, you can do the whole thing
out here on the tail stock, but I found I got a lot of vibration, and it is
faster to do the majority of cutting close to the head stock and the chuck, then
just the last little bit here at the tailstock end.
Nice fit, not too tight, but it slides in really easy, and out!
Slid in all the way, and locked down with two allen bolts. The allen bolts will
be replaced with set screws when I get the chance to go buy some, I don't liket
these bolts sticking out everywhere, but that is what I have right now, so I'll
use them.
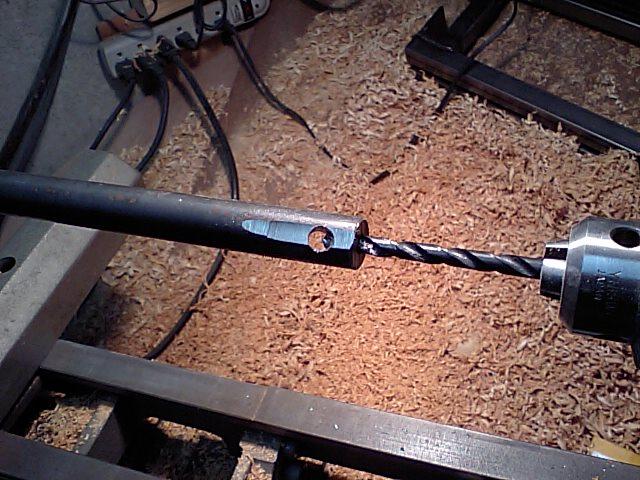
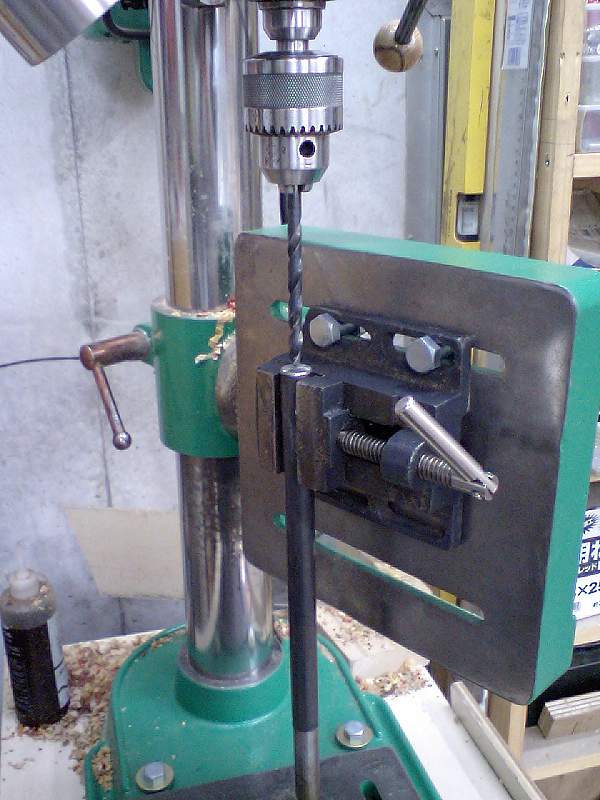
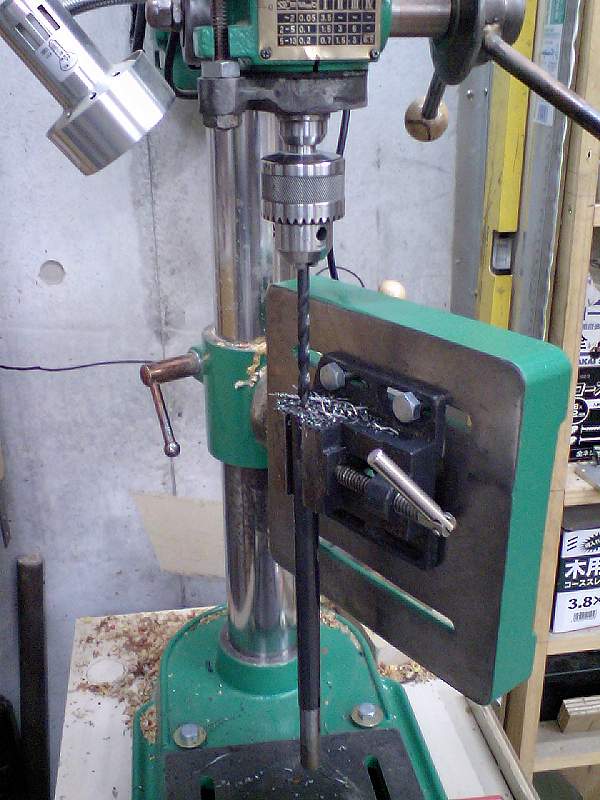
I drilled the first hole at an angle on Kermit, to hold the 8mm diameter rod
I'll be using for a cutter, and here I'm drilling the hole in the end of the rod
to tap and take a bolt to hold the cutter in place.
I had a 6" or so long piece of rod kicking around, so I drilled a hole in
the end to hold the cutter, and then drilled and tapped a hole in the side to
put another bolt to hold the cutter, this way I have a grinding jig for the
cutter.
Well I guess it works, but, I have to say, this drill rod cutter still dulls
fairly quickly.......Next step.....
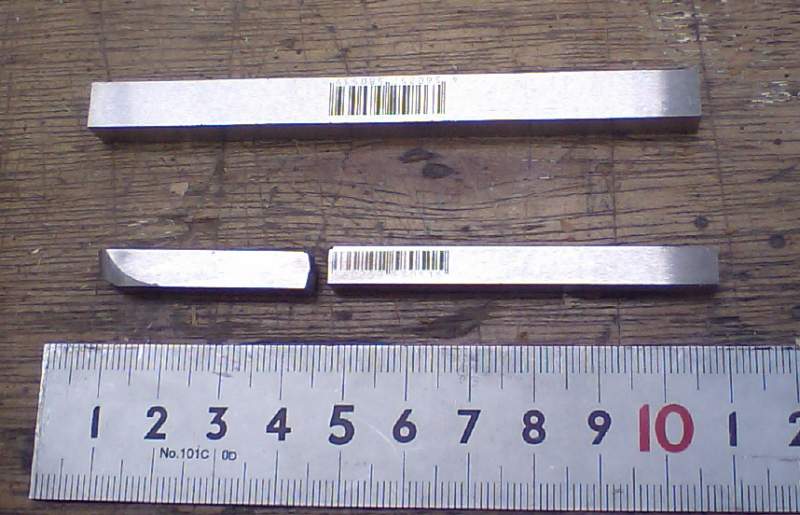
These are HSS bits for a metal lathe, but they will work well
for me here.
I've cut and shaped one cutter already.
Here it is installed

I started this bowl, then decided to try making it a hollowing
Yep, there is some hollow space in there!!
I needed to make a straight boring bar,
so I set Kermit up to do the drilling
Yep, Kermit works well!!

There is the straight boring bar
Yep, that one works too!!
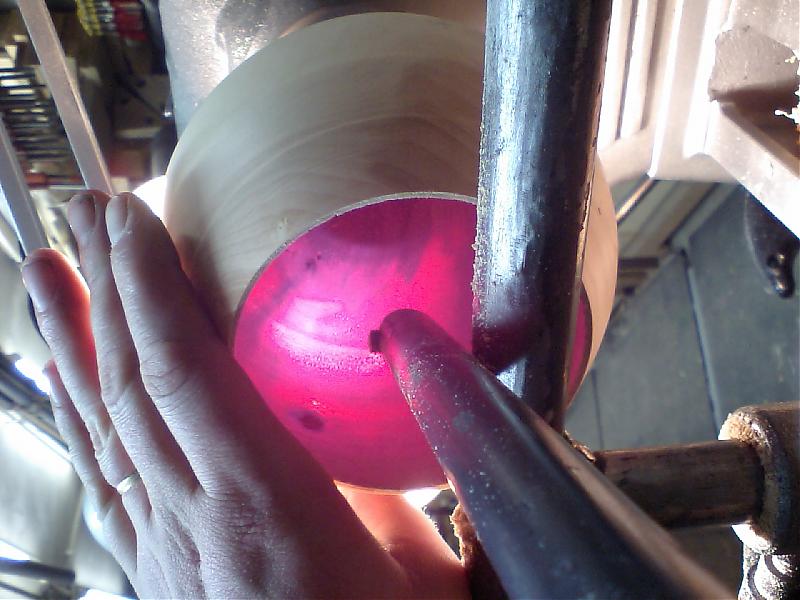
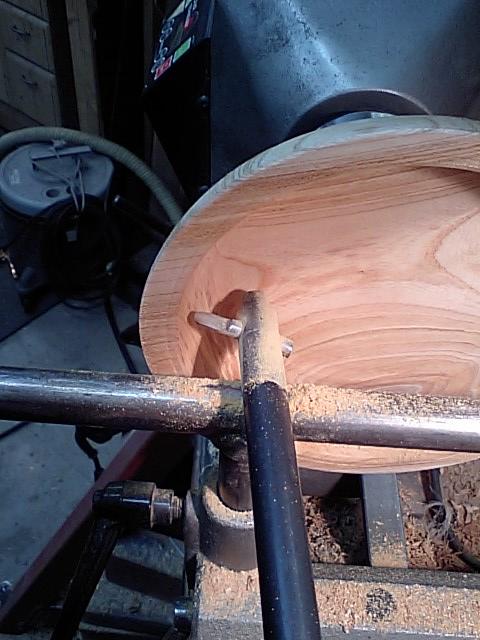
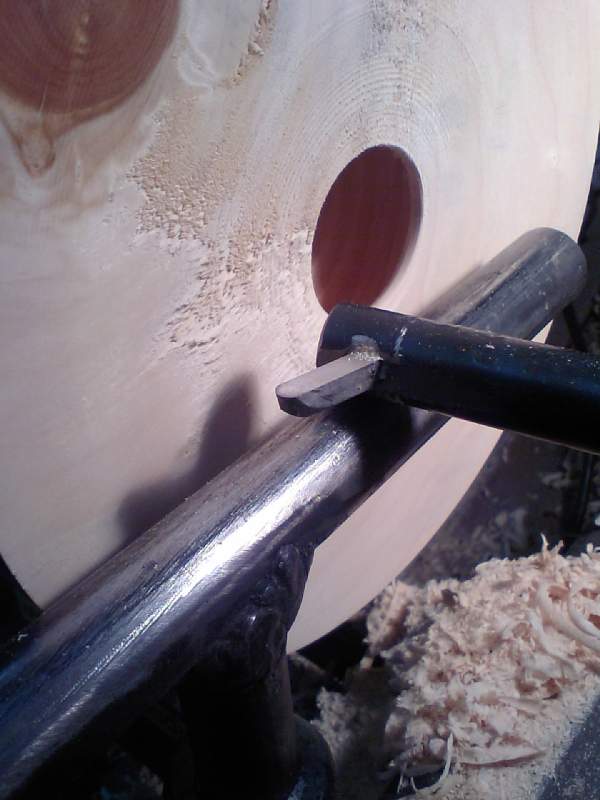
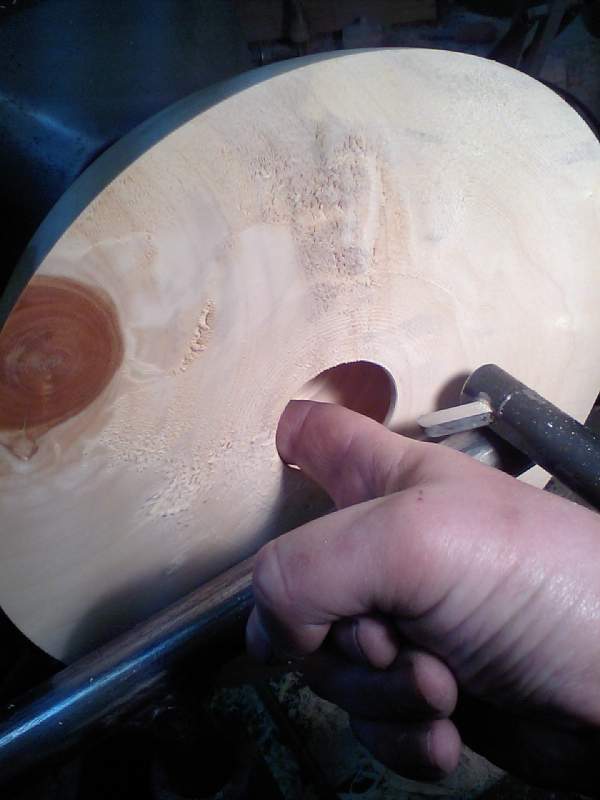
I got started on another piece of wood, this one I'd try to make a real
Hollow Form,
I make the opening quite large, as I wanted to see what was going on in there,
as you can see, things got quite thin!